
The initial decision was made to be a multi-functional, commuter tote bag, which evolved over time.
Combining historical motifs (steamer trunks) with modern sensibilities (tote bags) would drive the development of the concept.
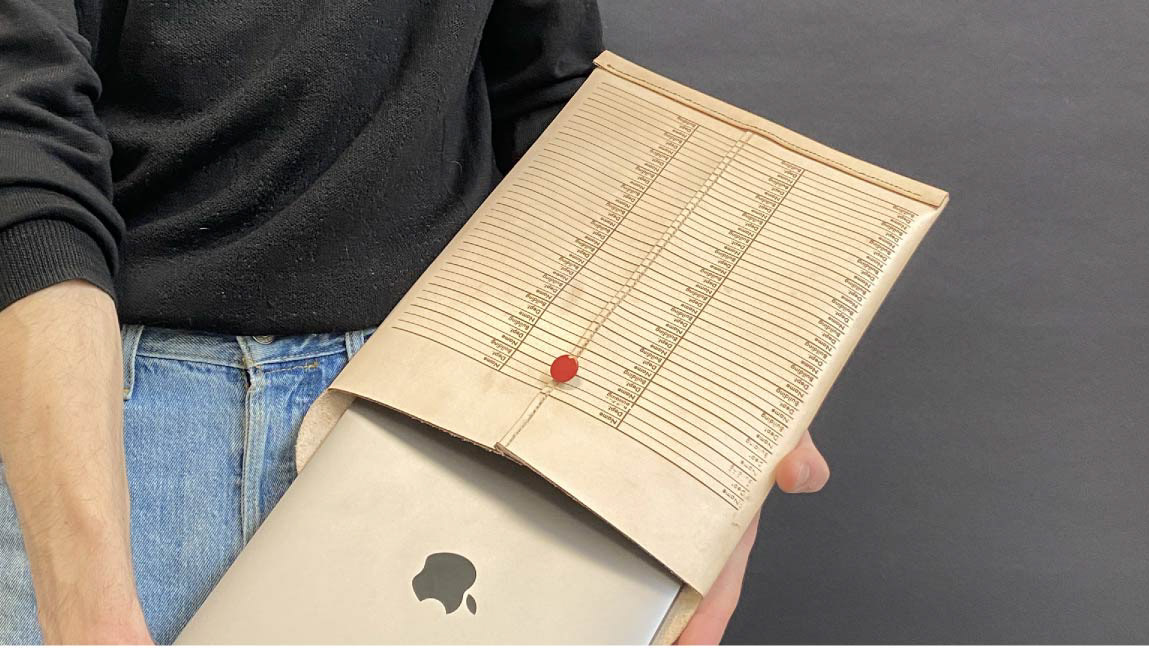
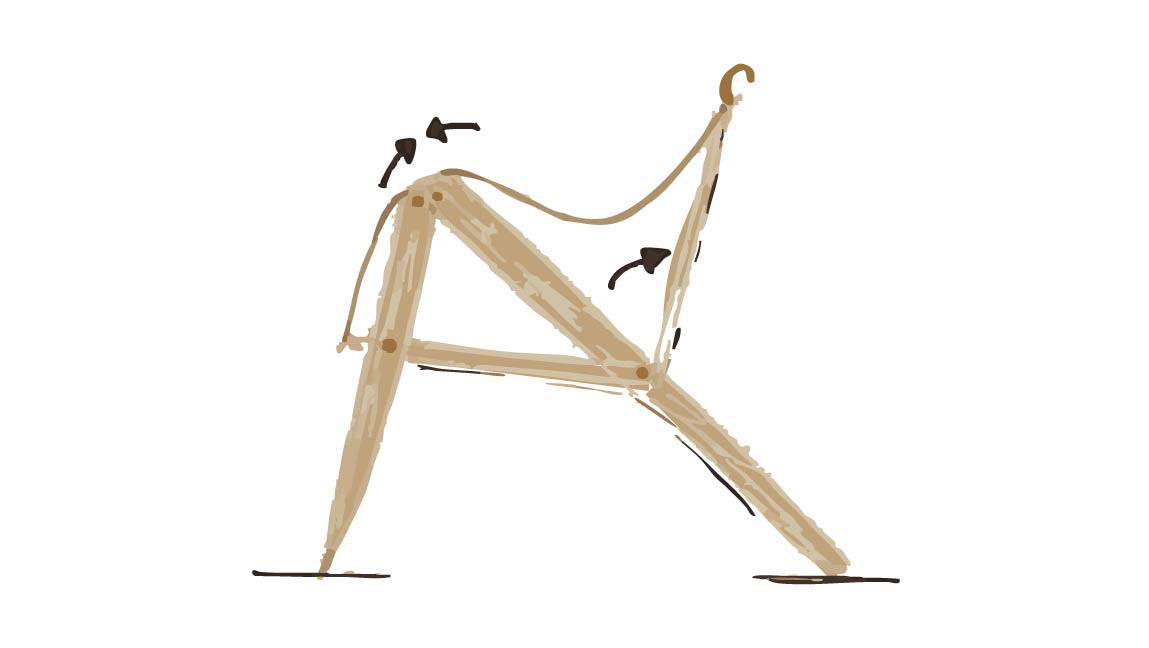
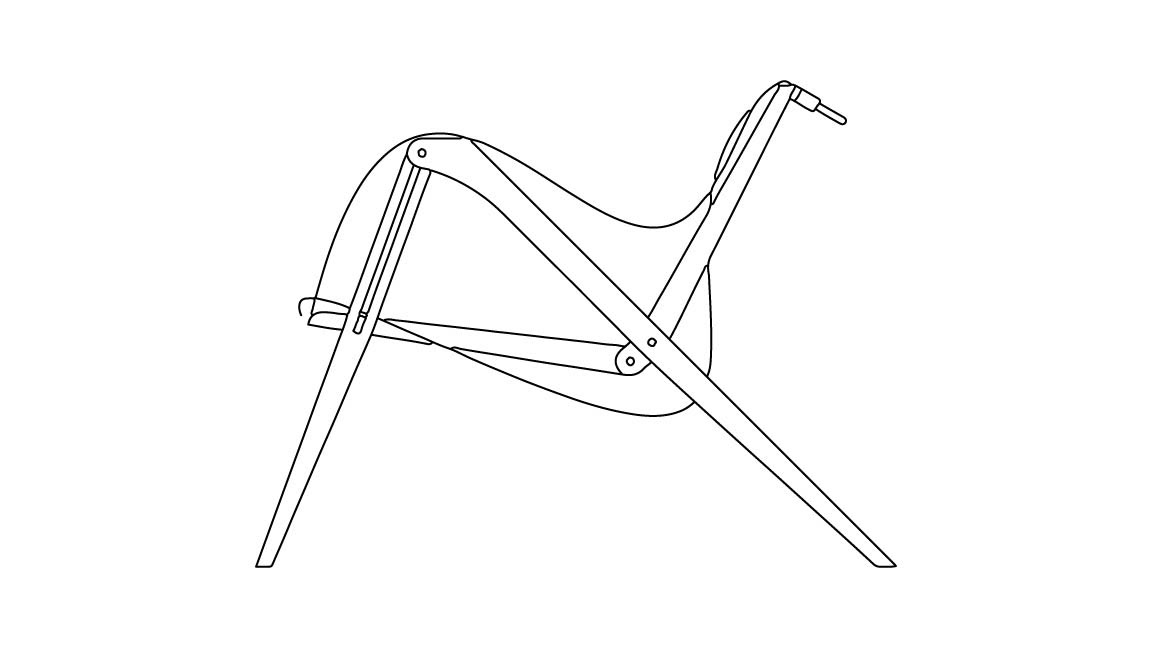
Paper Prototype I: A tote bag (left) with exterior pockets and a removable interior bag (right), with a rigid compartment underneath the bag to store bulky items or the interior bag when not in use
Paper Prototype I Main Bag

Paper Prototype I Mini Bag
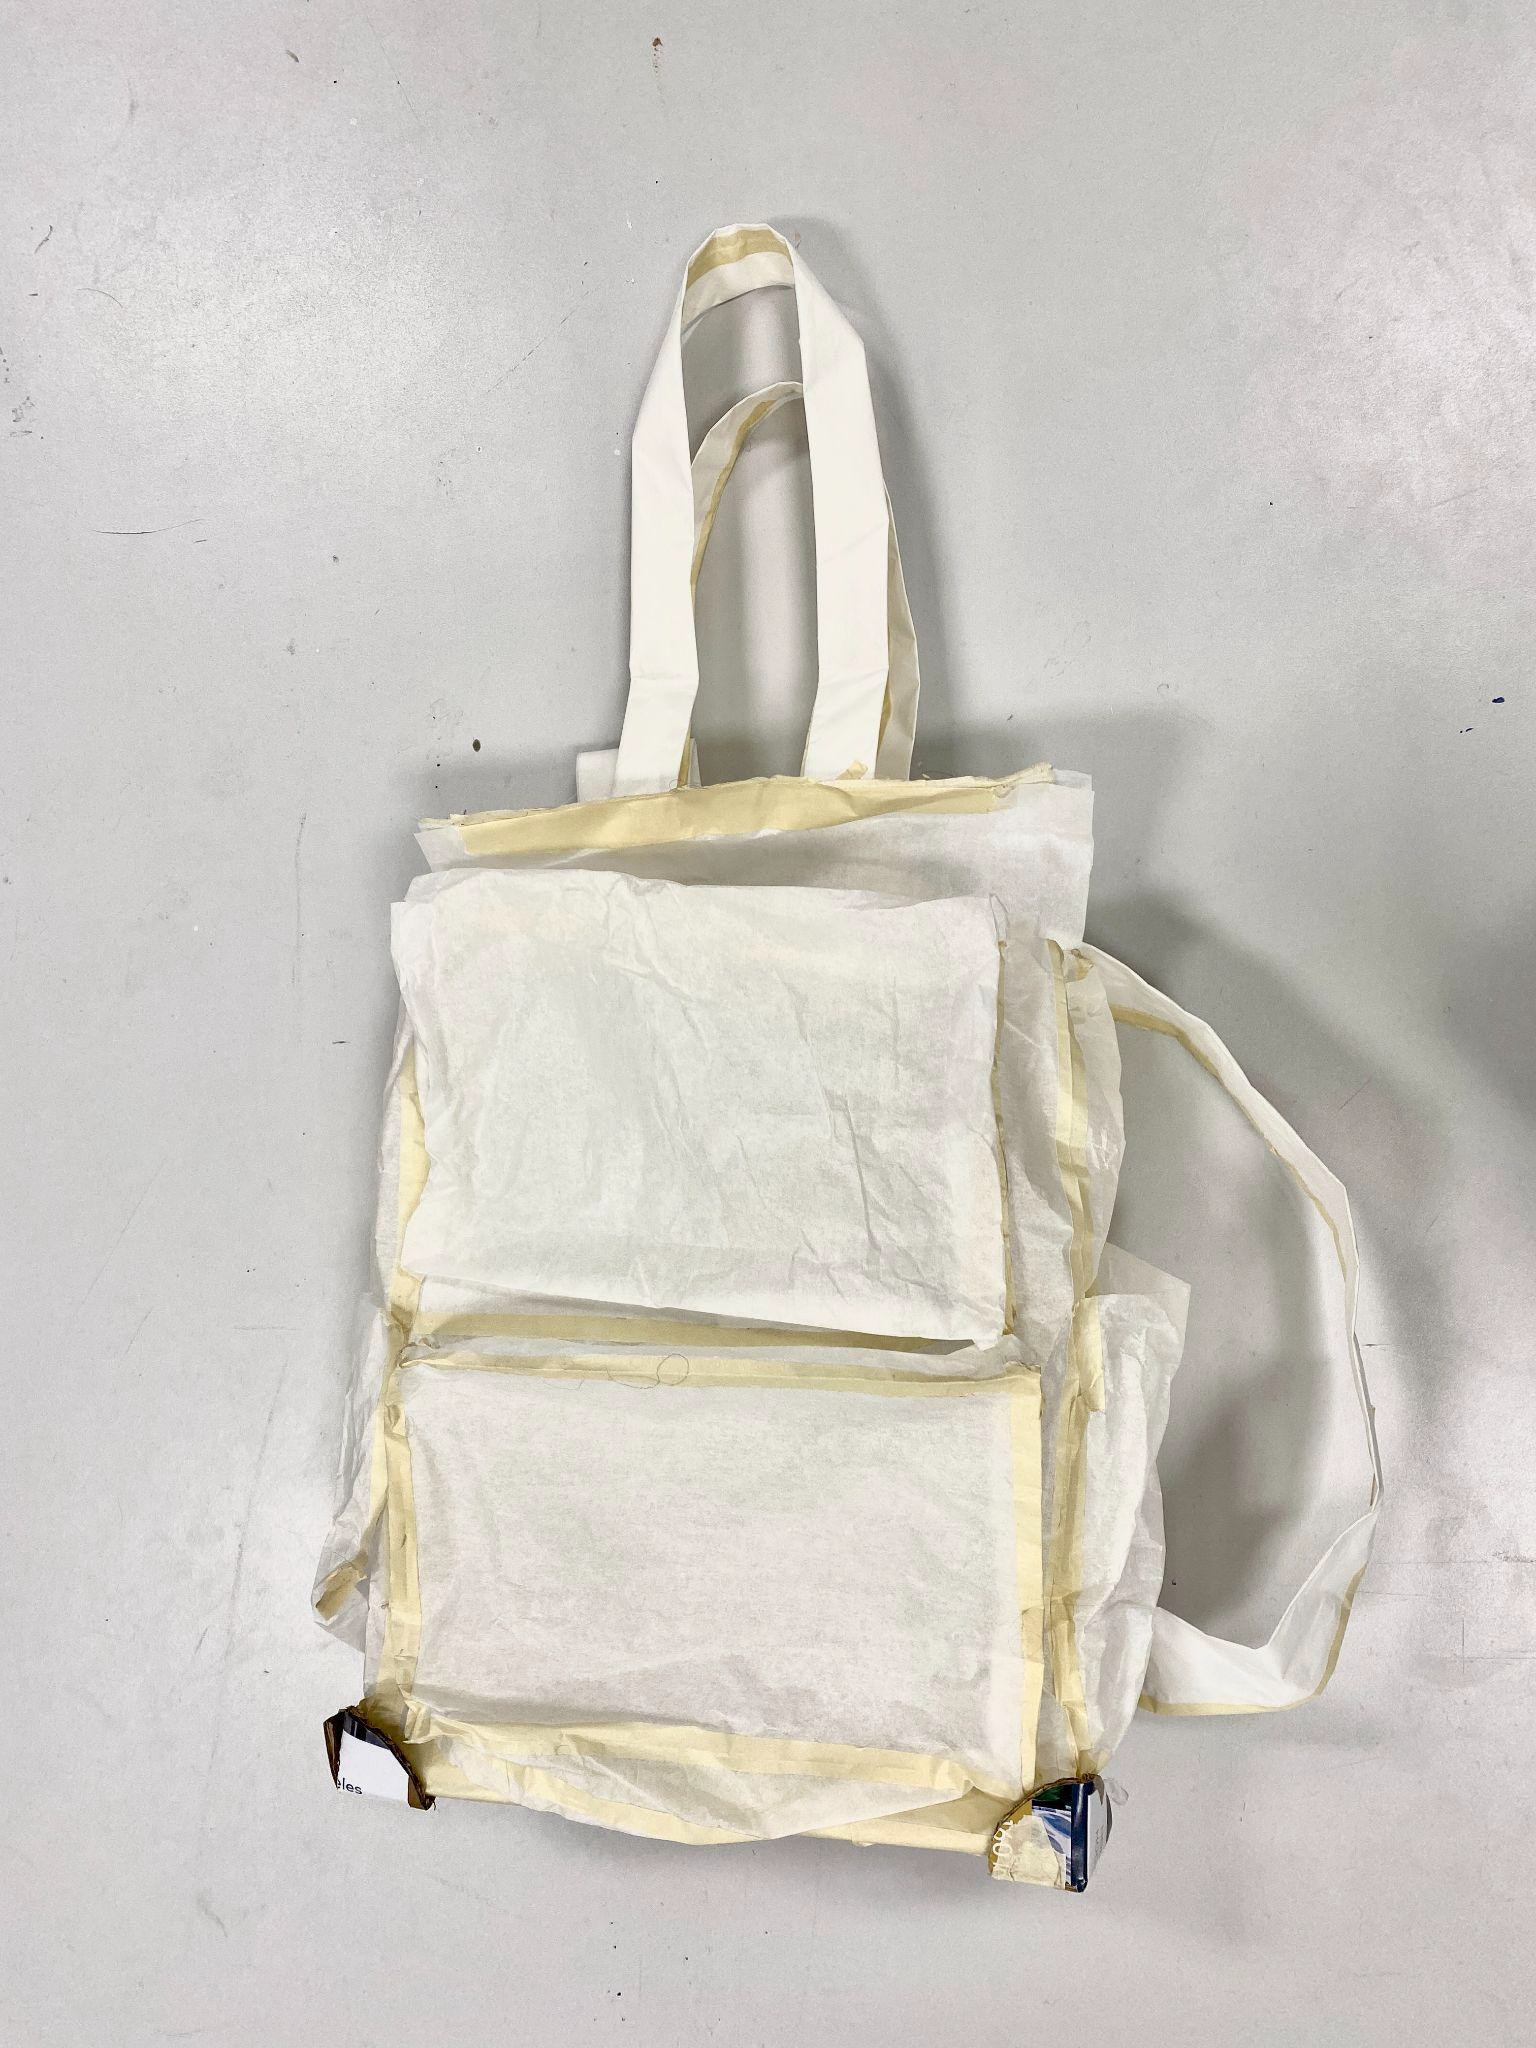
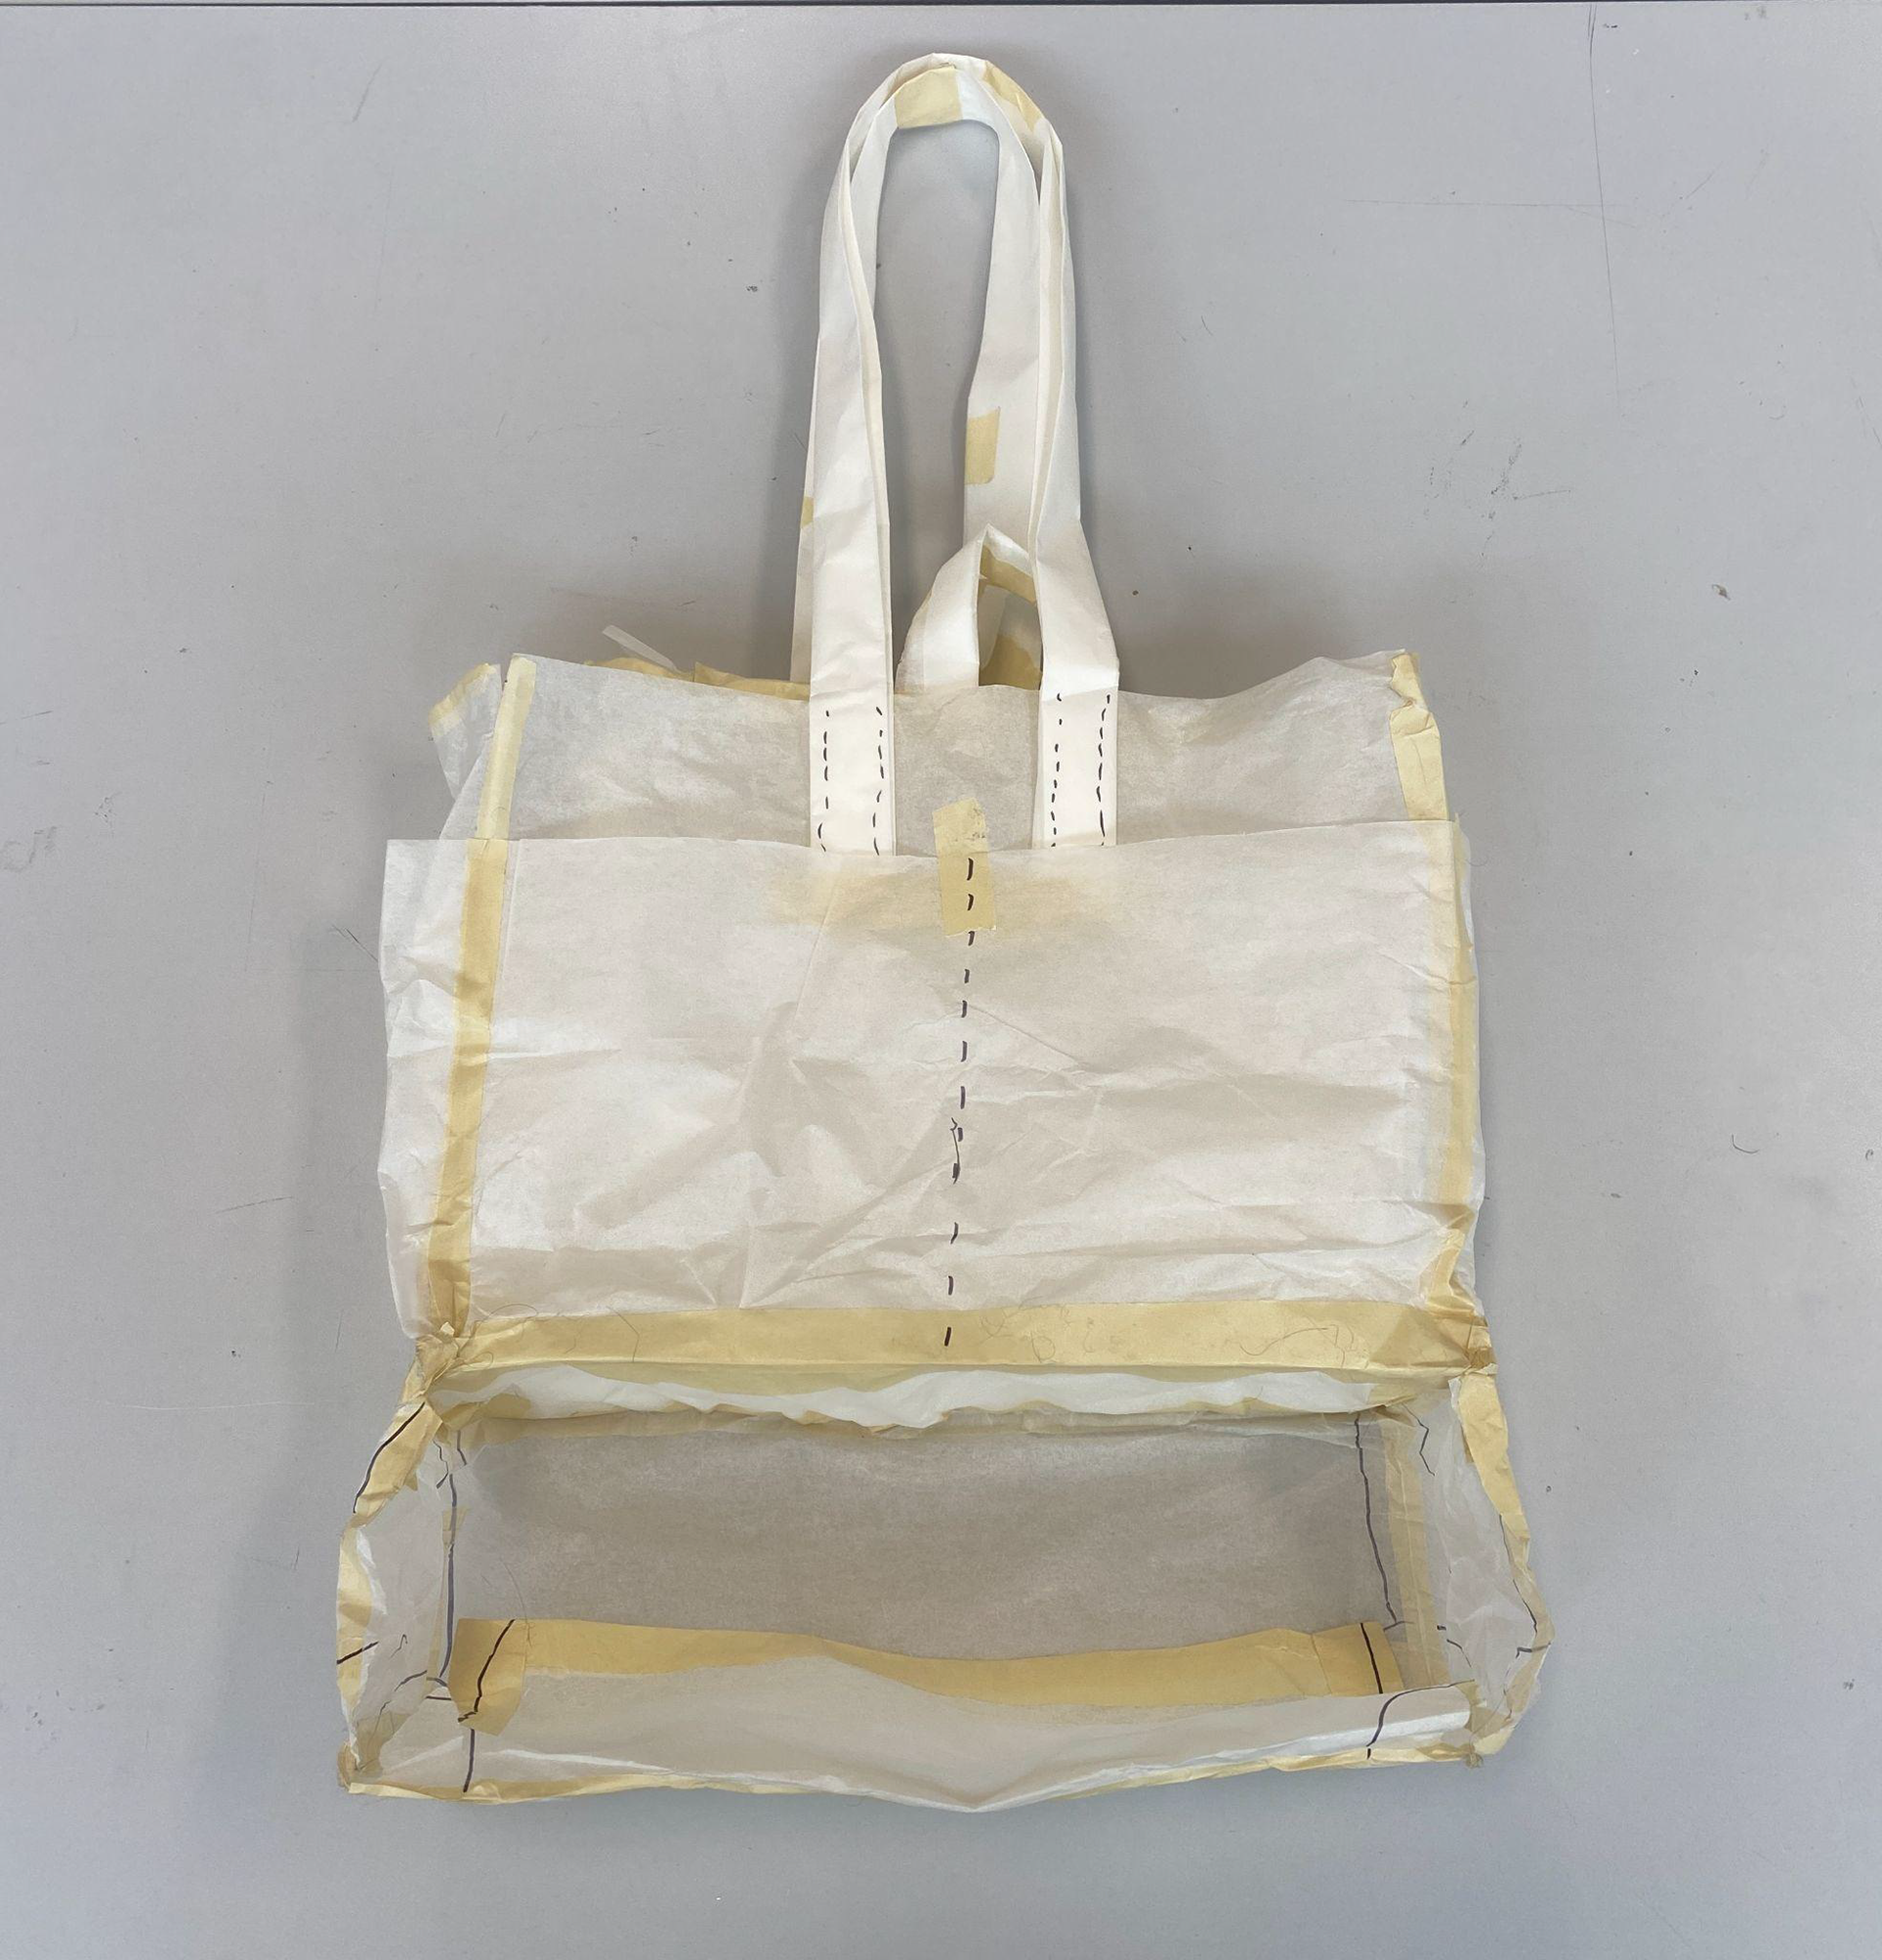
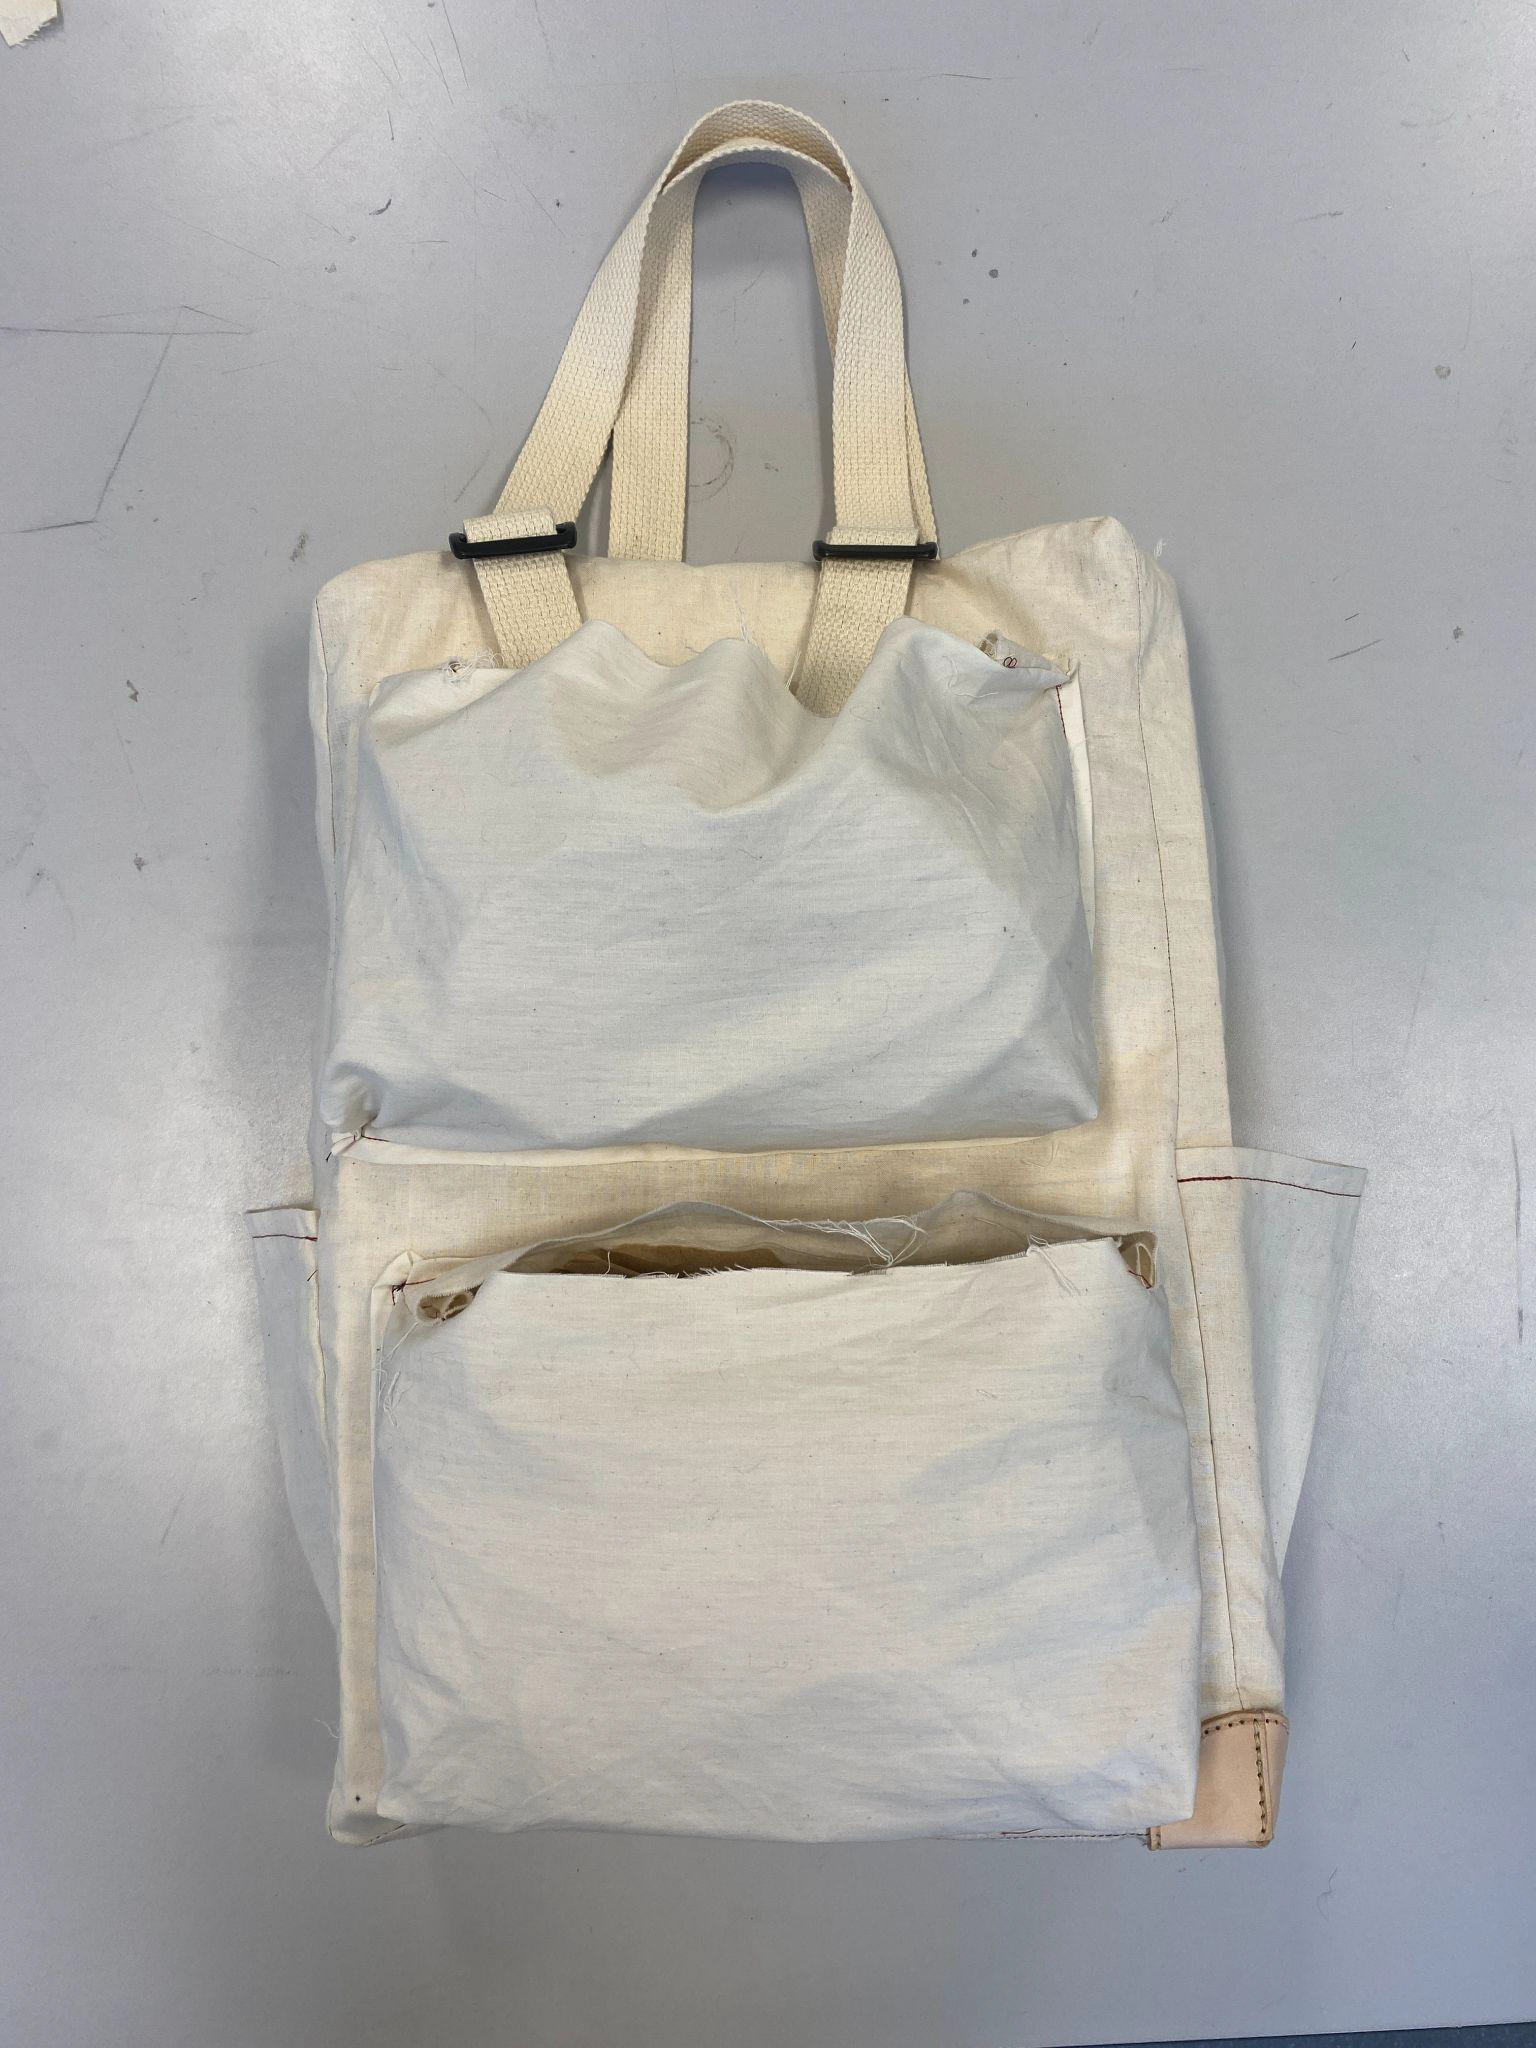
Paper Prototype II Front
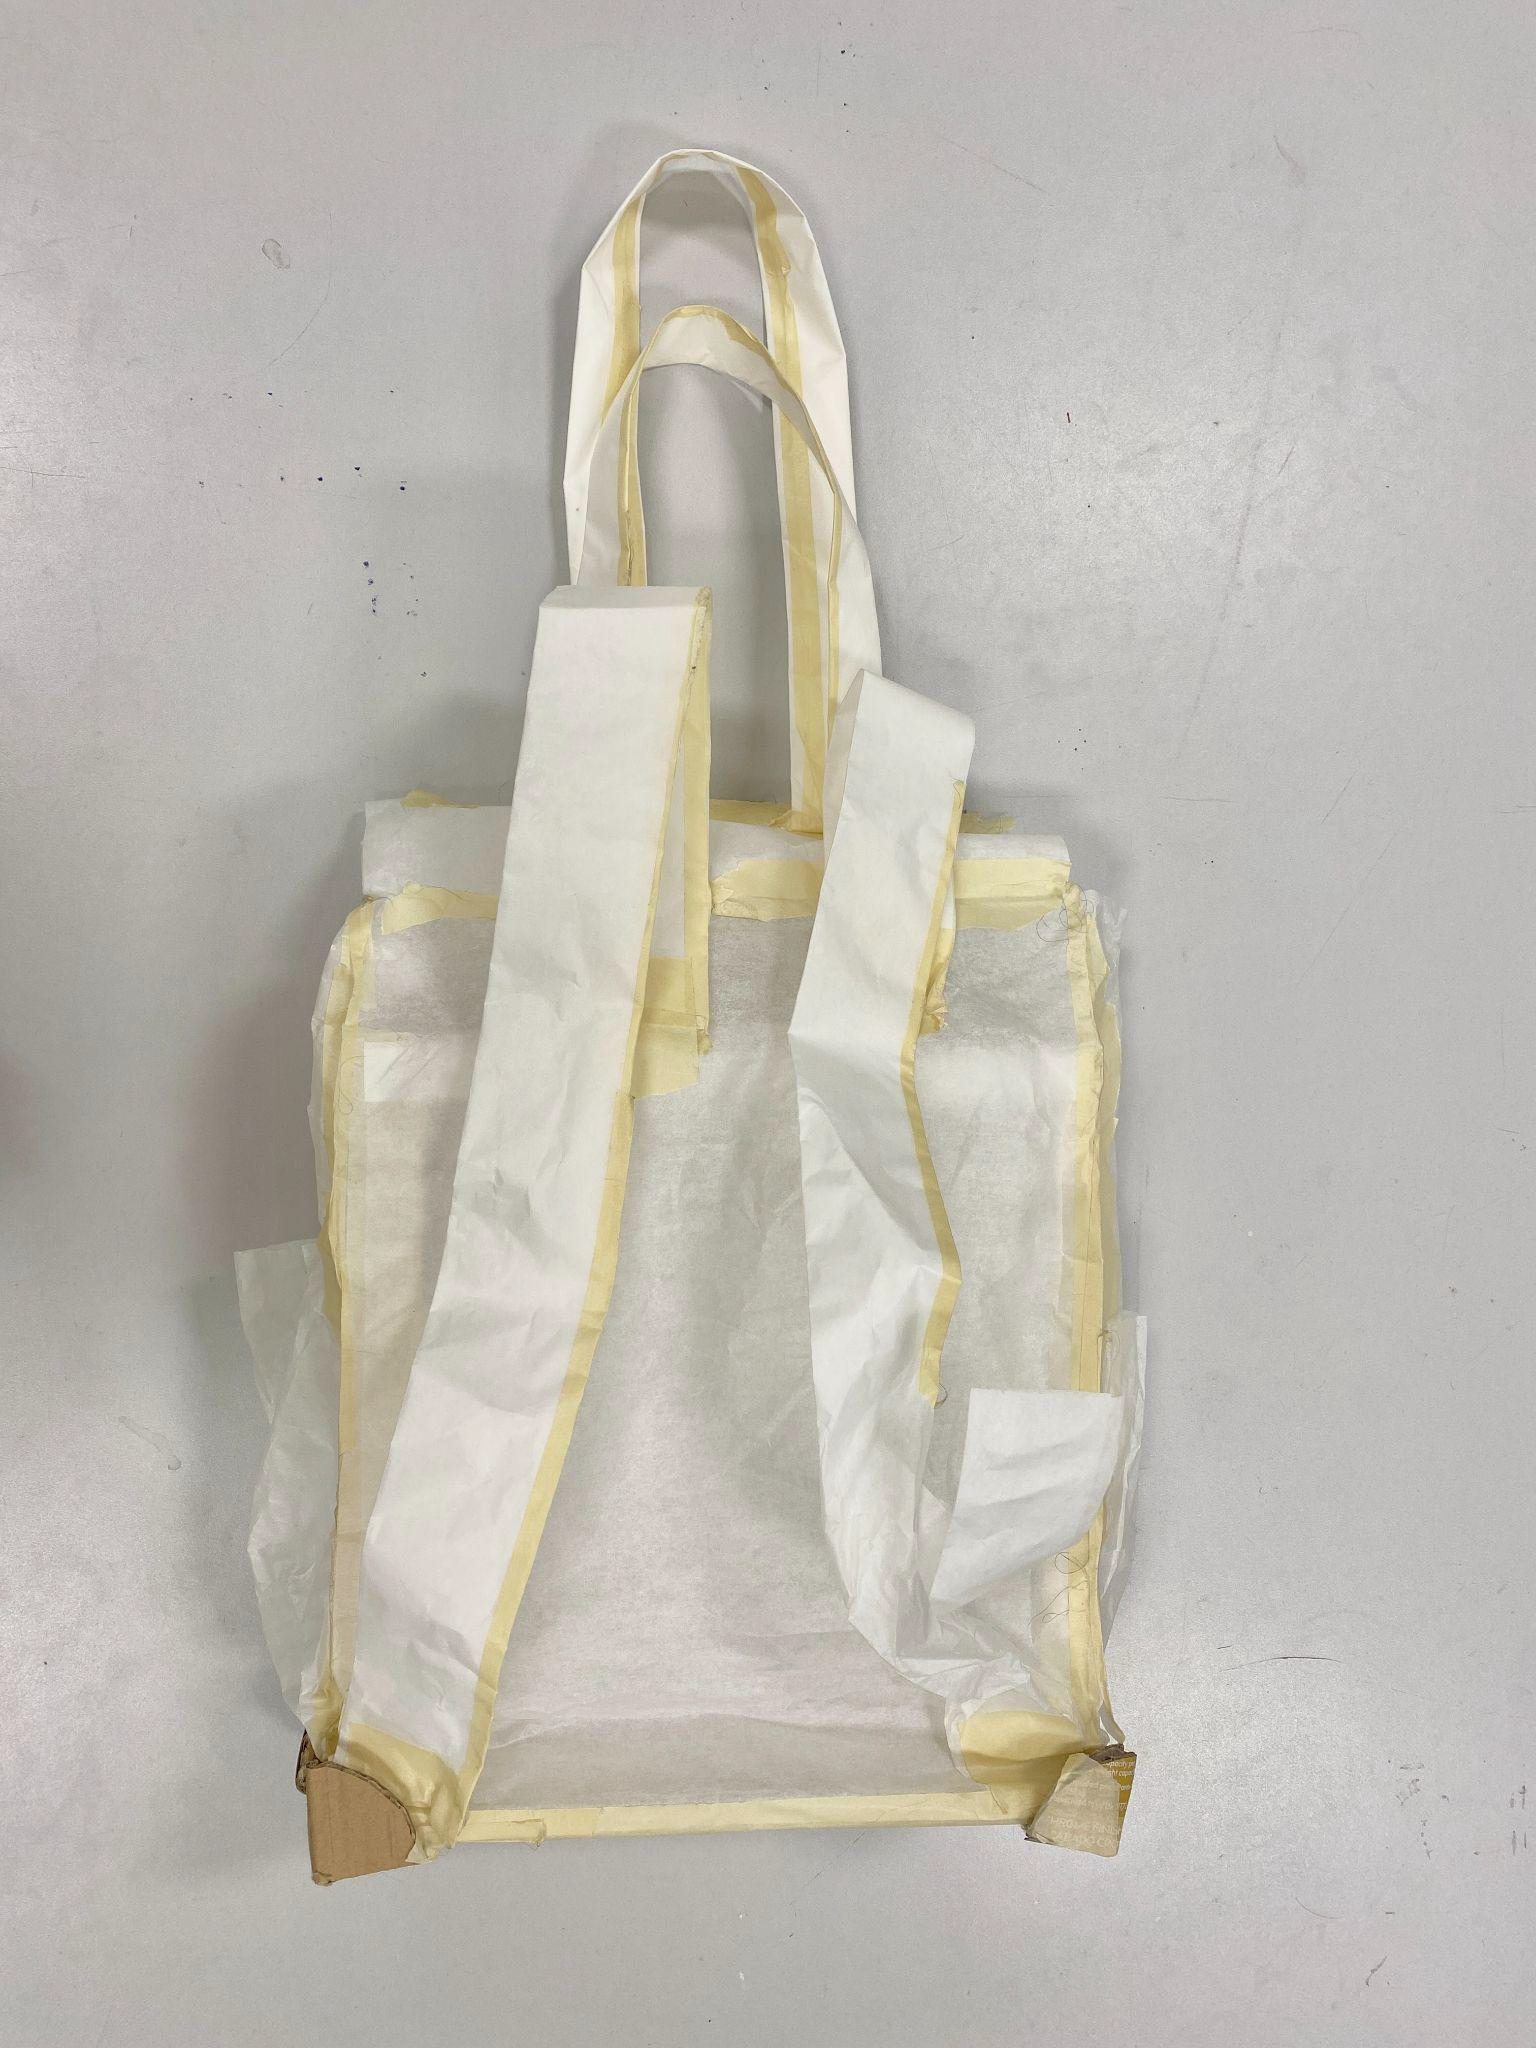
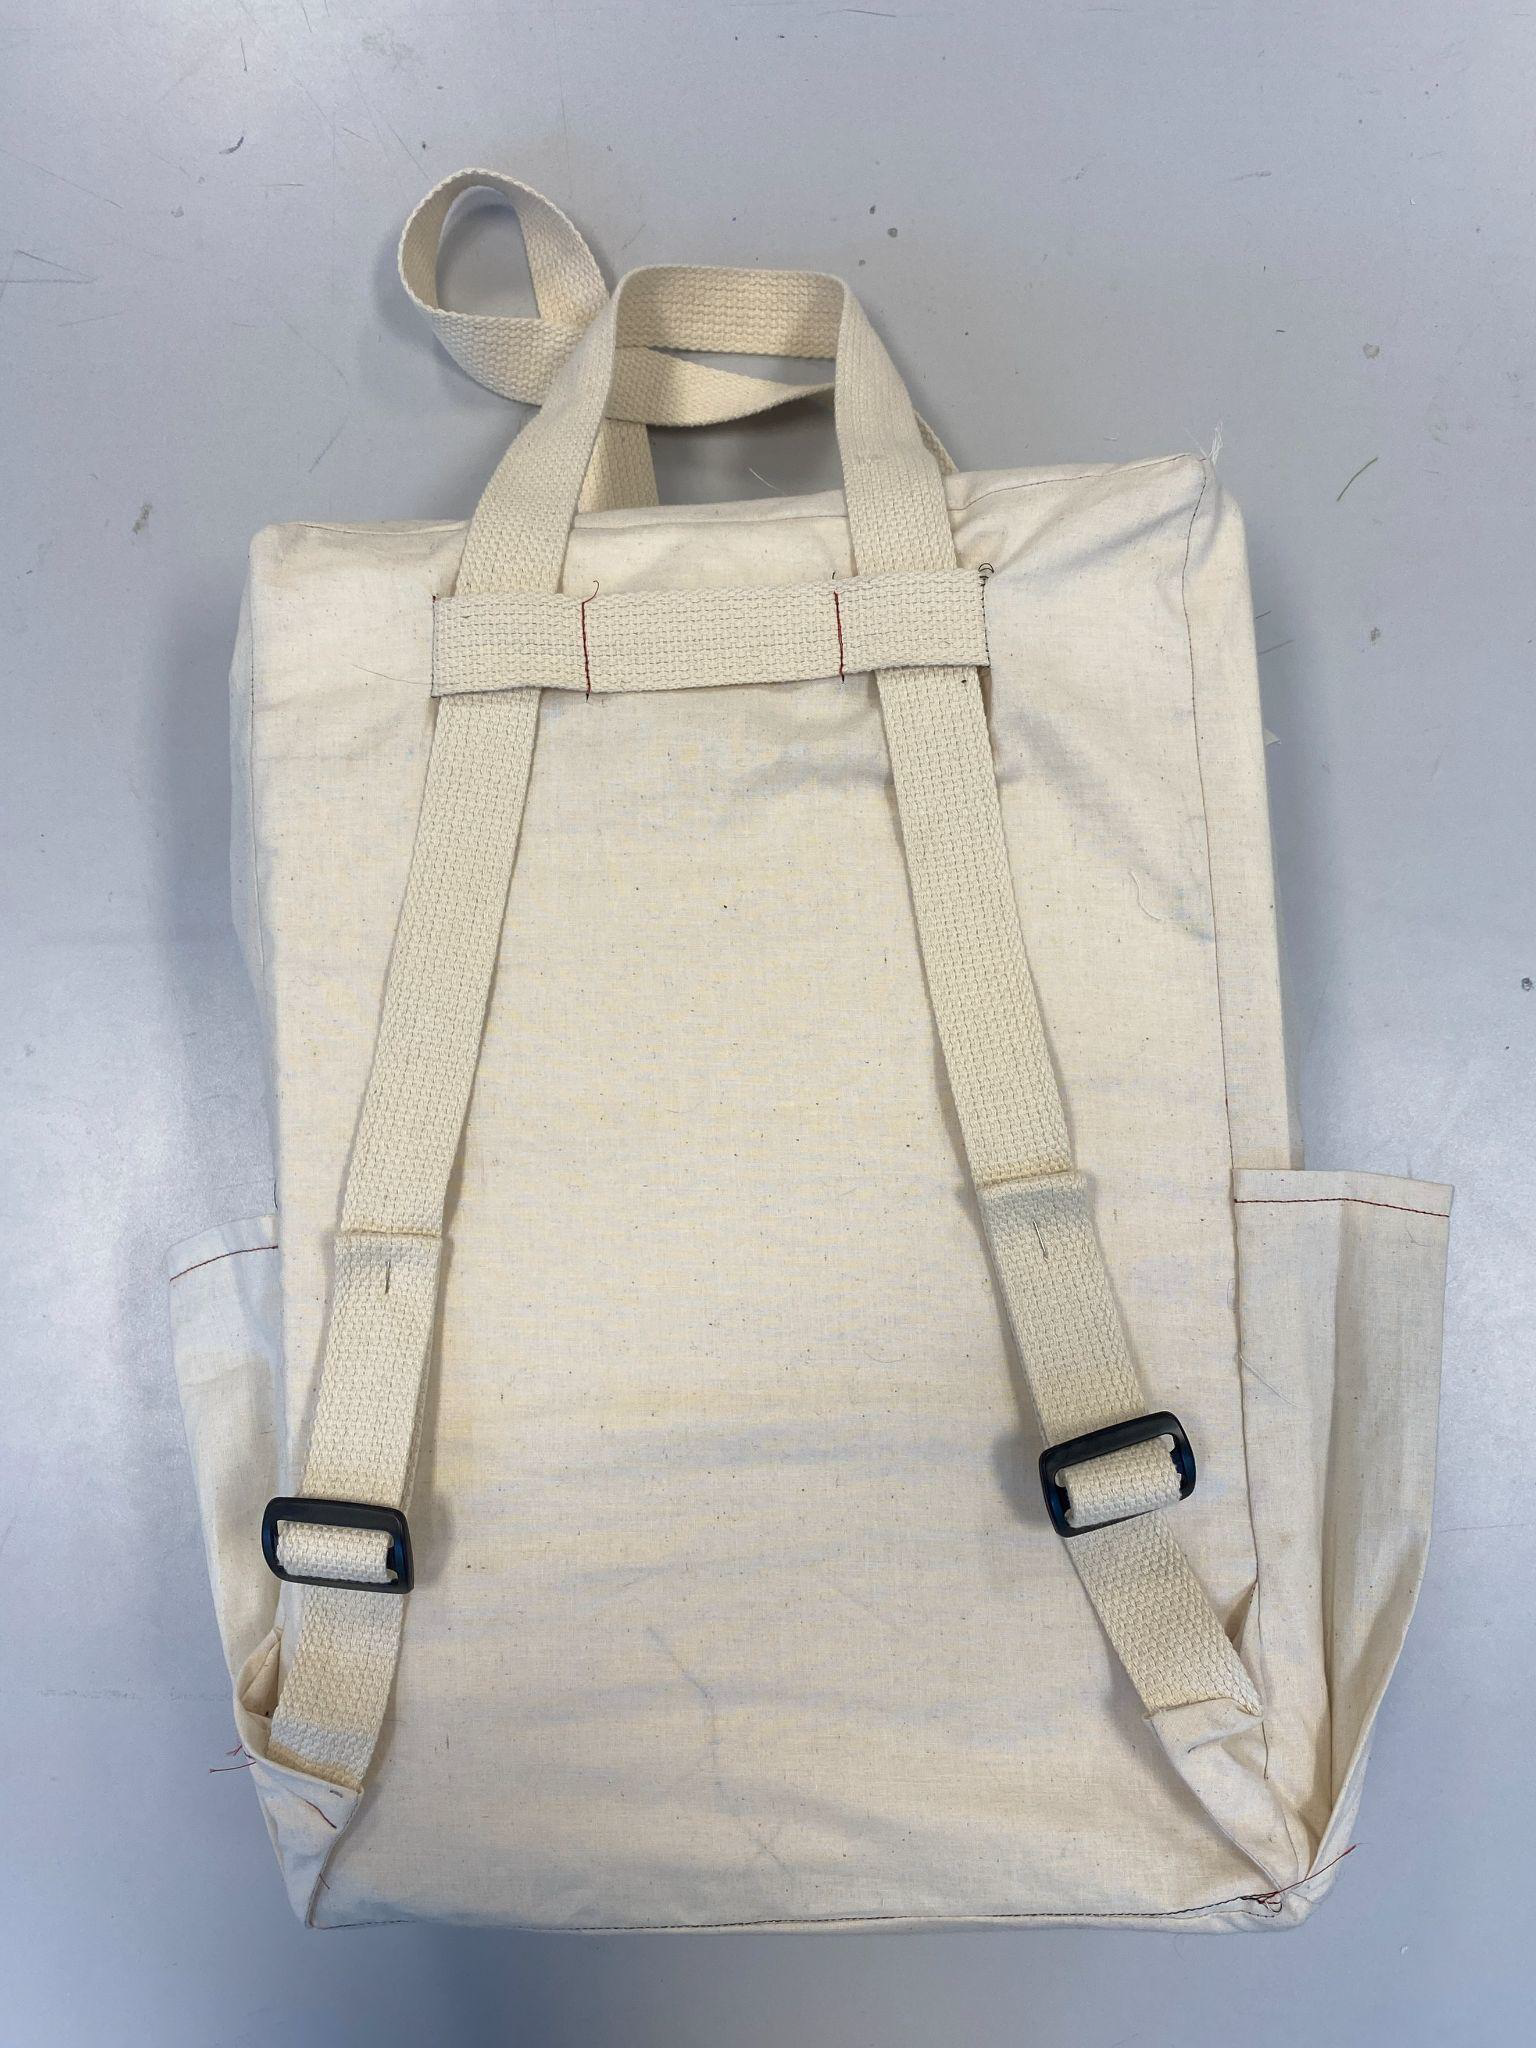
Paper Prototype II Back
Prototype II: A large backpack with generous front box pockets, water bottle pockets on both sides, and straps that allow it to be used as a backpack or a tote bag. Inside the bag, there is a laptop sleeve. The bottom of the bag is reinforced with hard cardboard corners, like a steamer trunk.
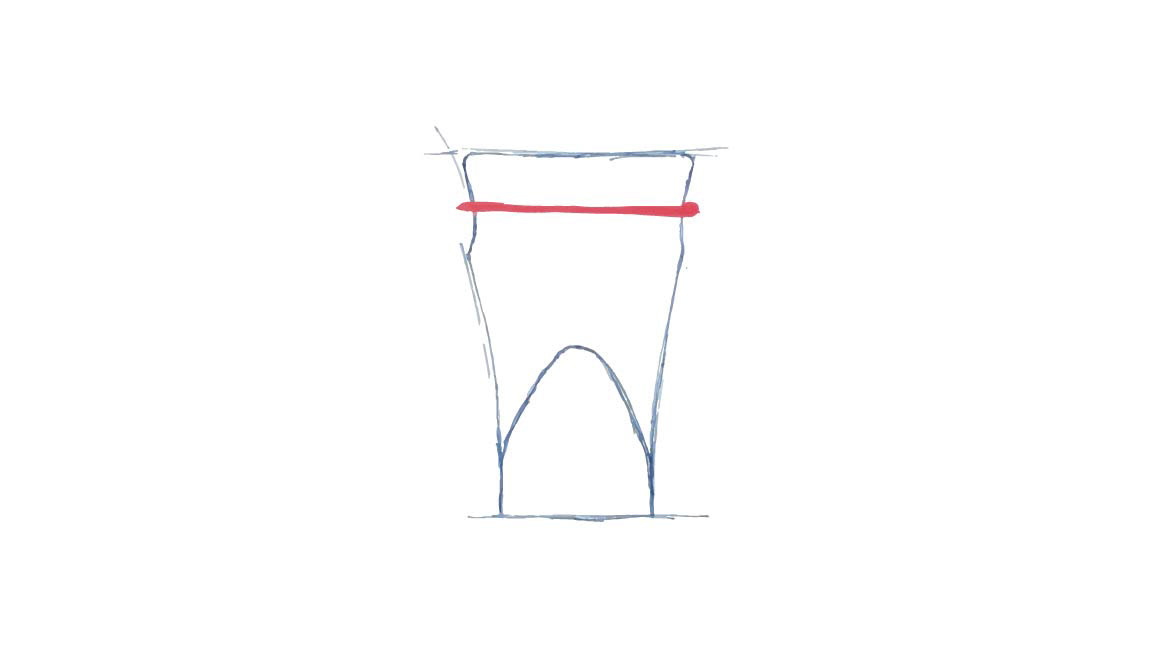
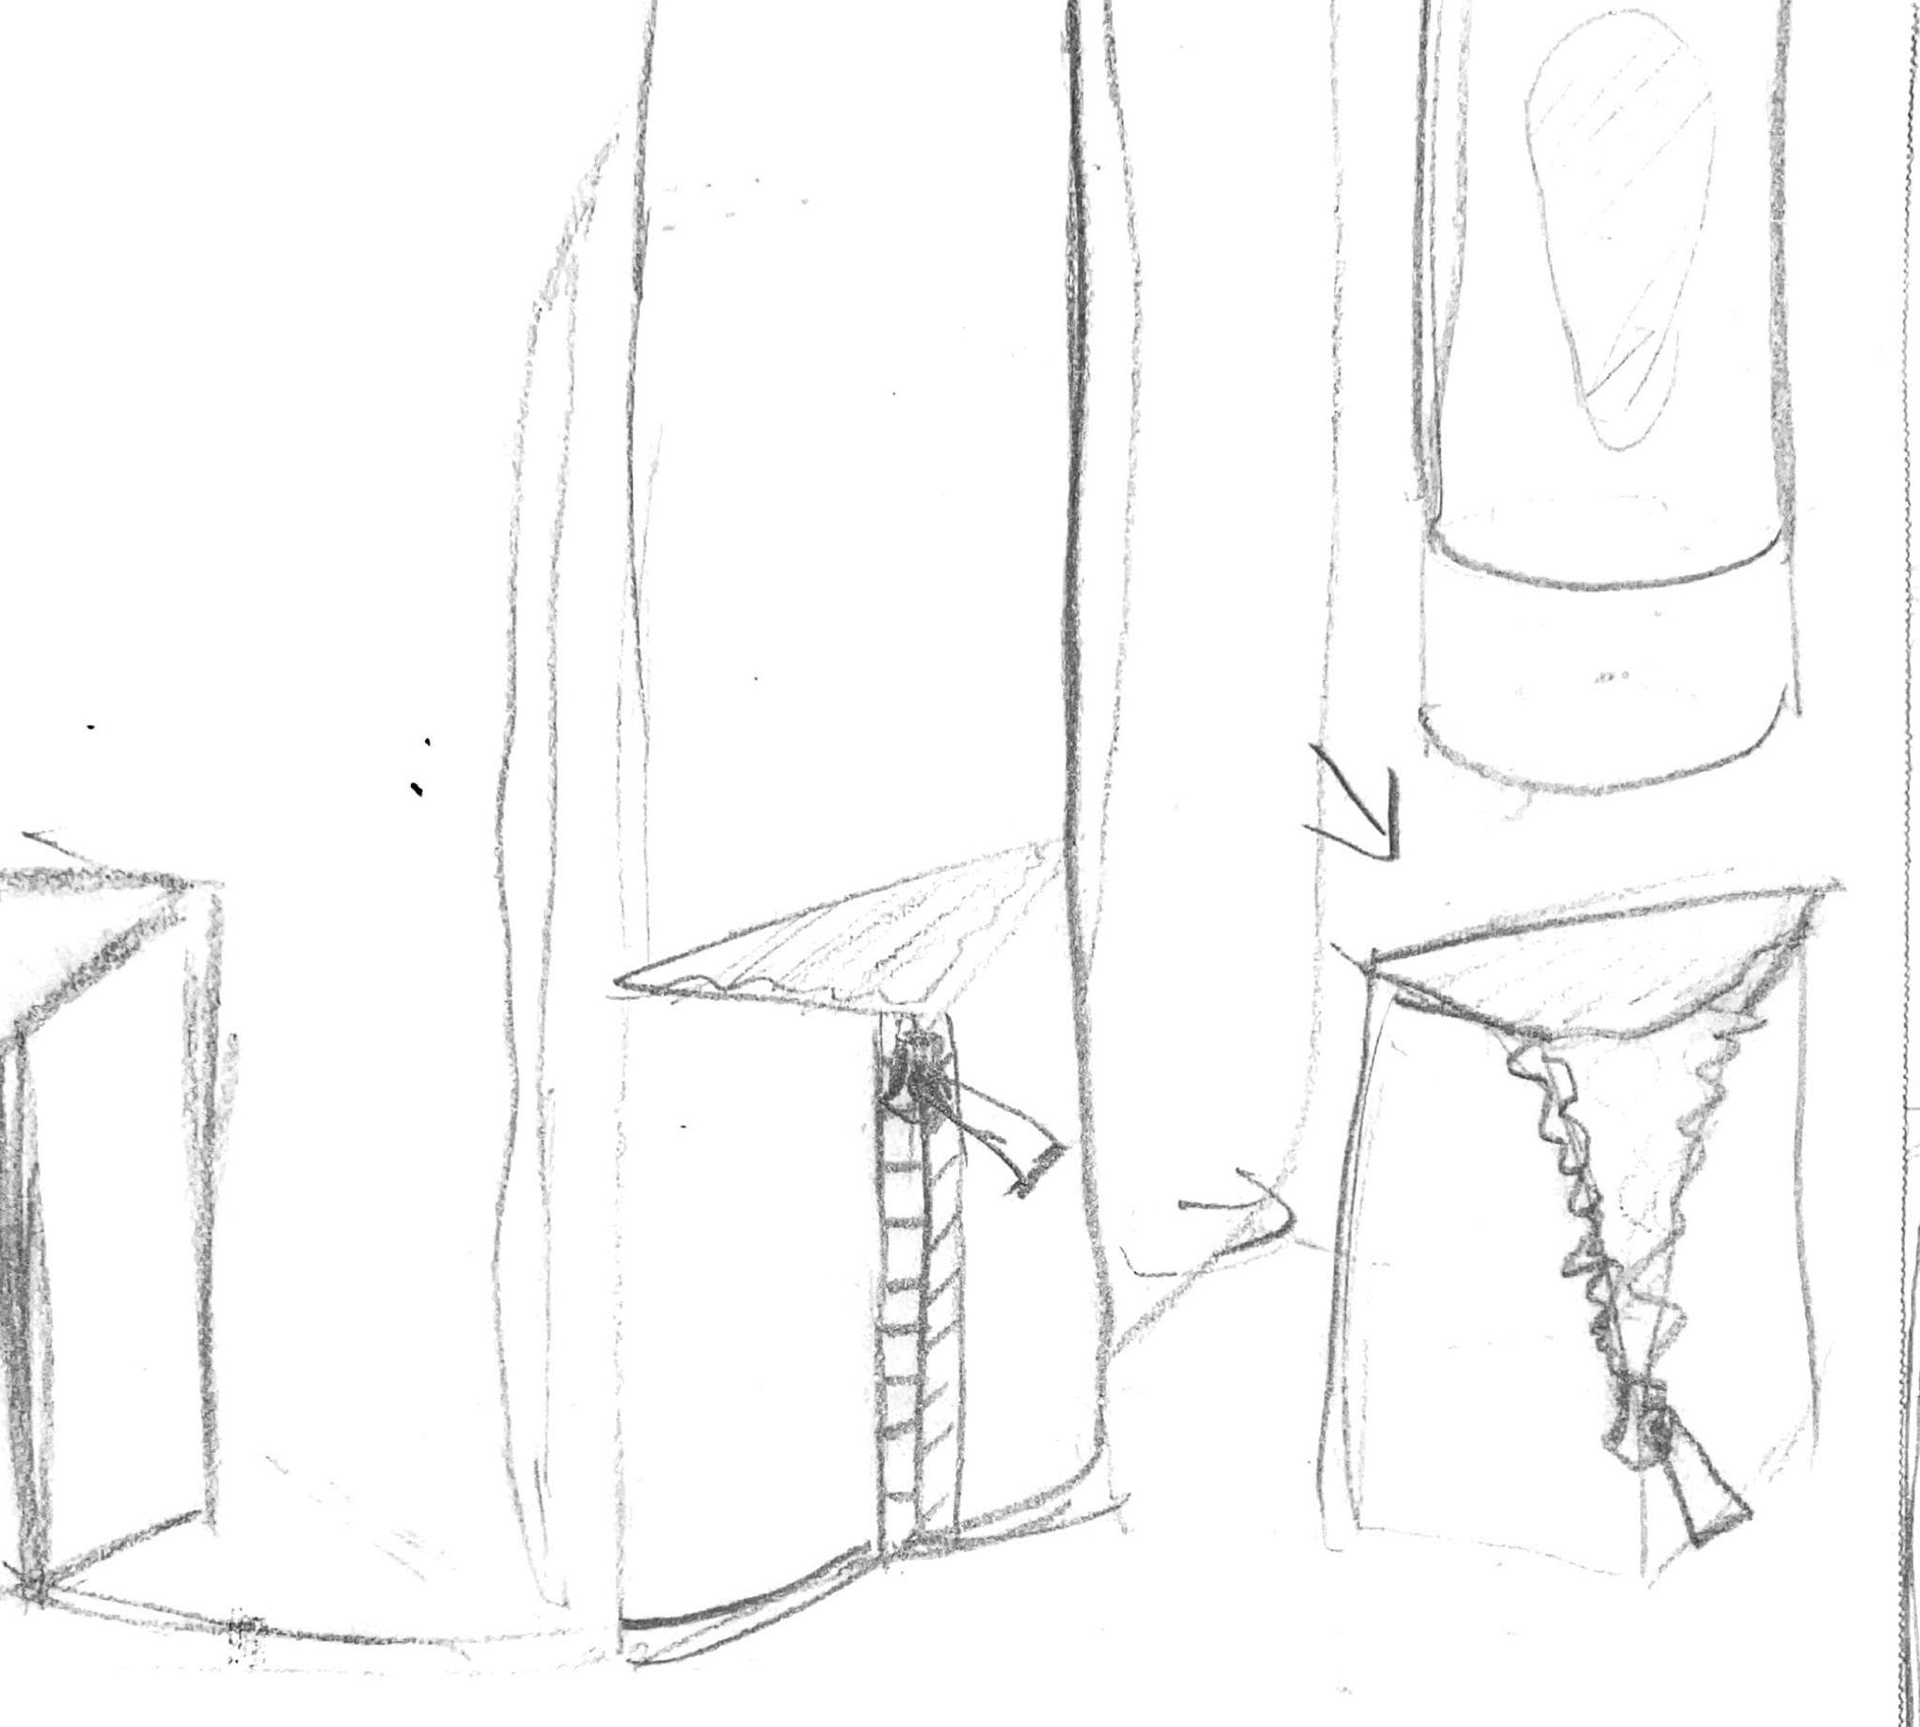
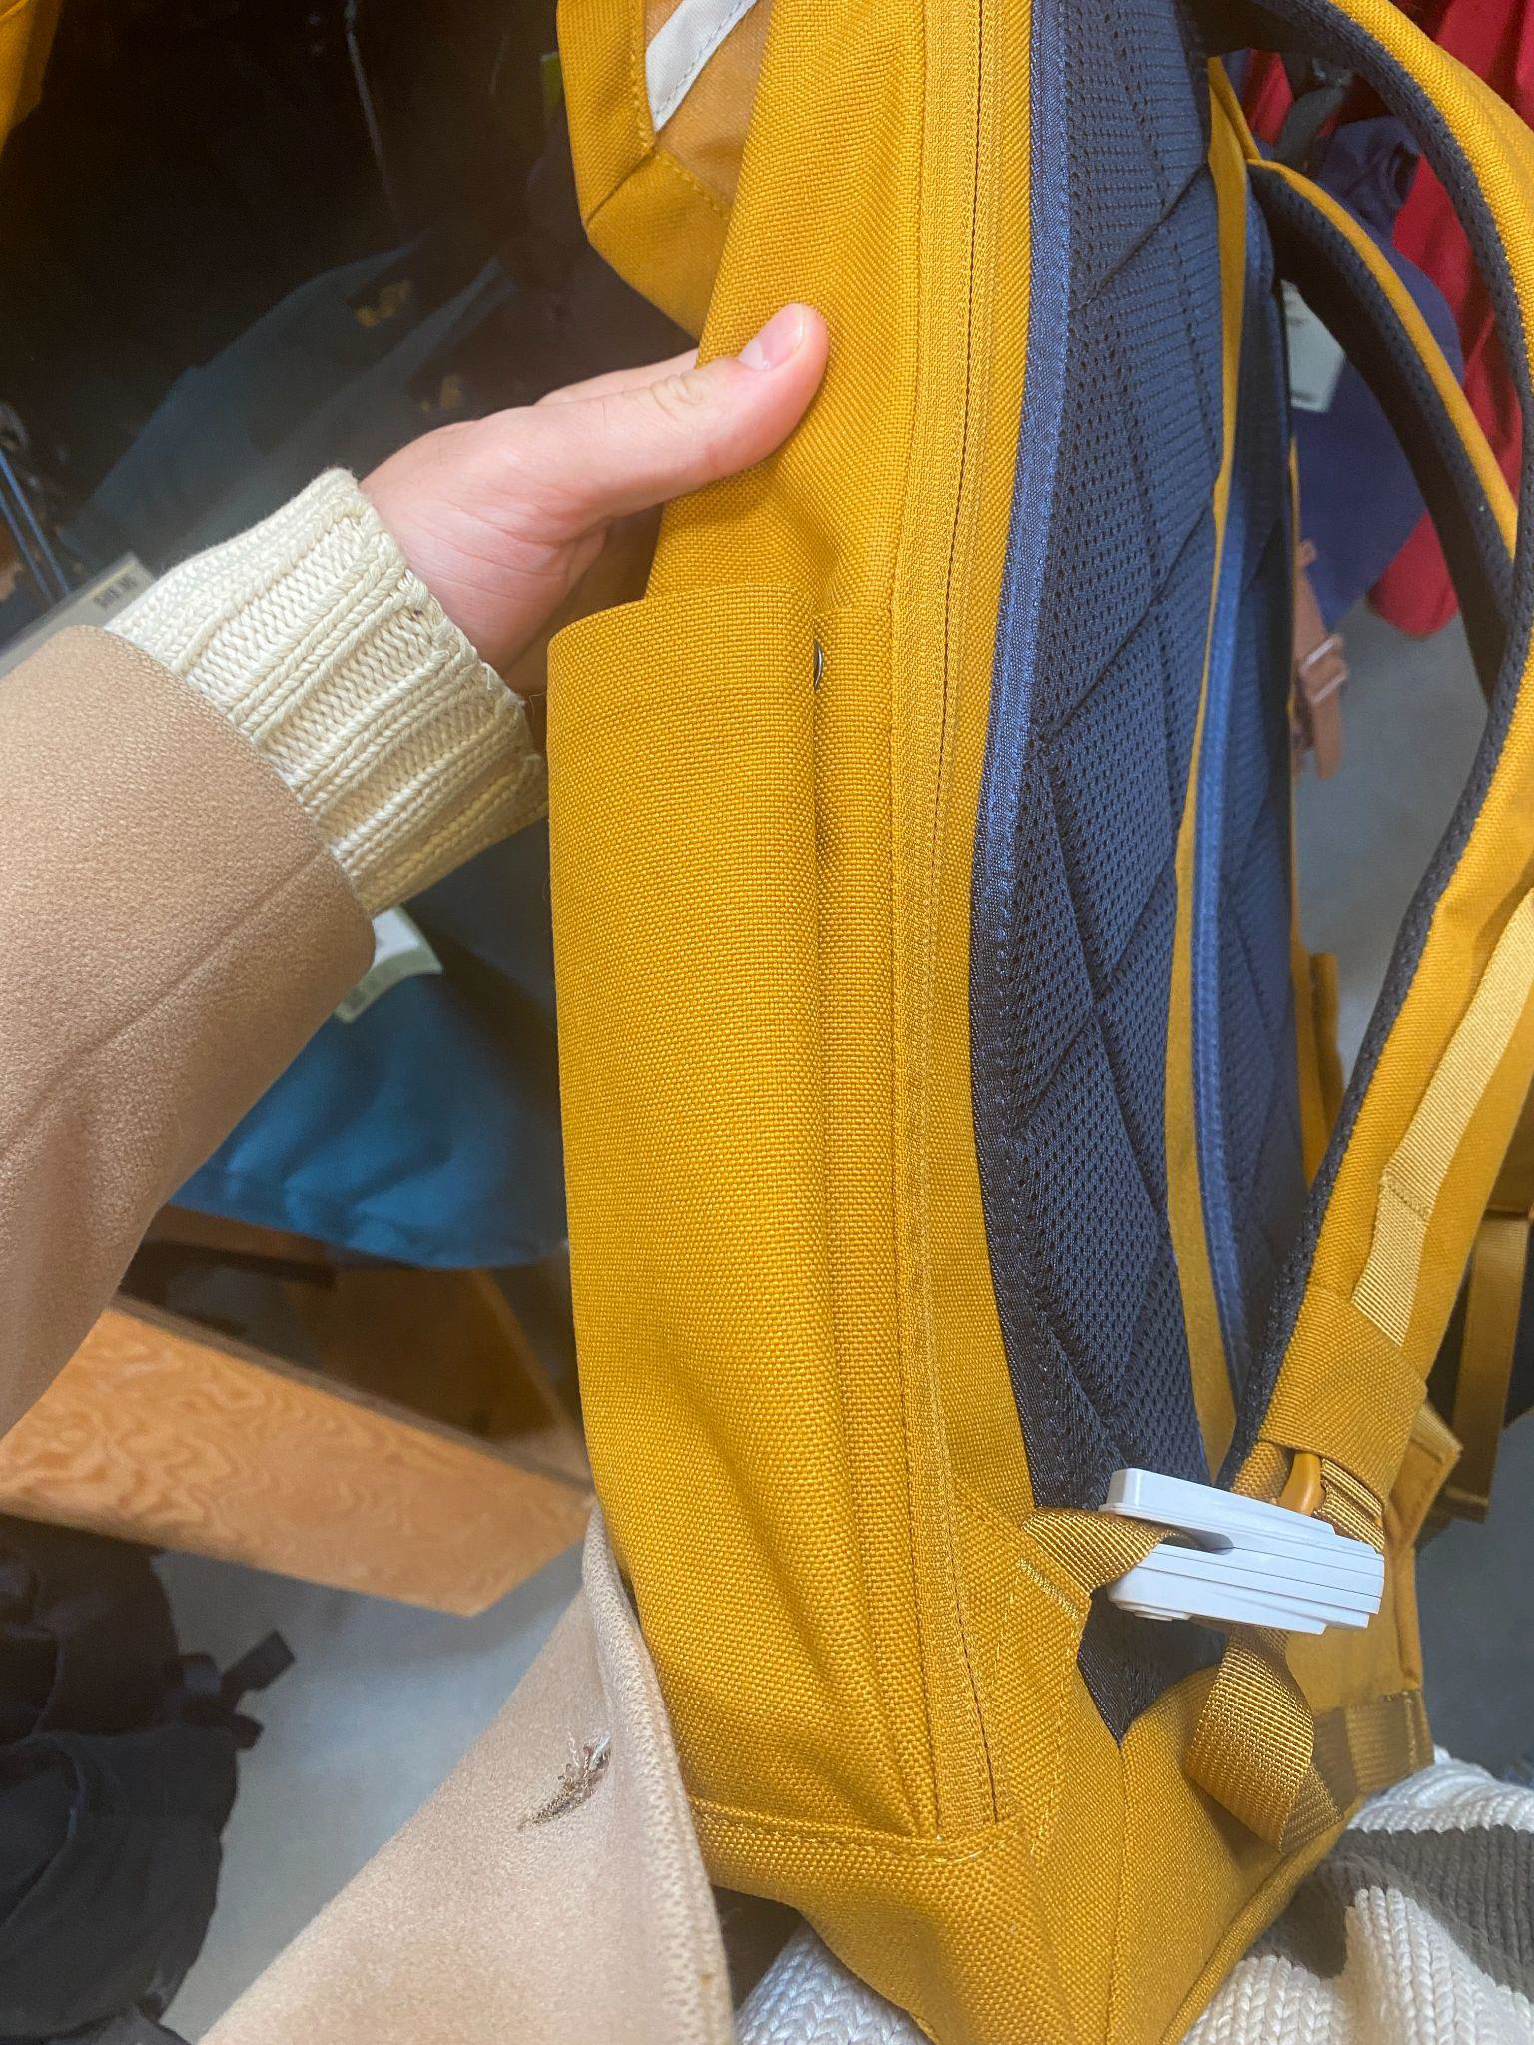
Prototype III: A recreation of Prototype II, made with muslin. The backpack strap becomes one of the tote straps when pulled through a guide strap, which is positioned below the seam that connects the top and the back sides of the bag. The backpack straps are attached to a triangular fabric section that attaches them to the bag.
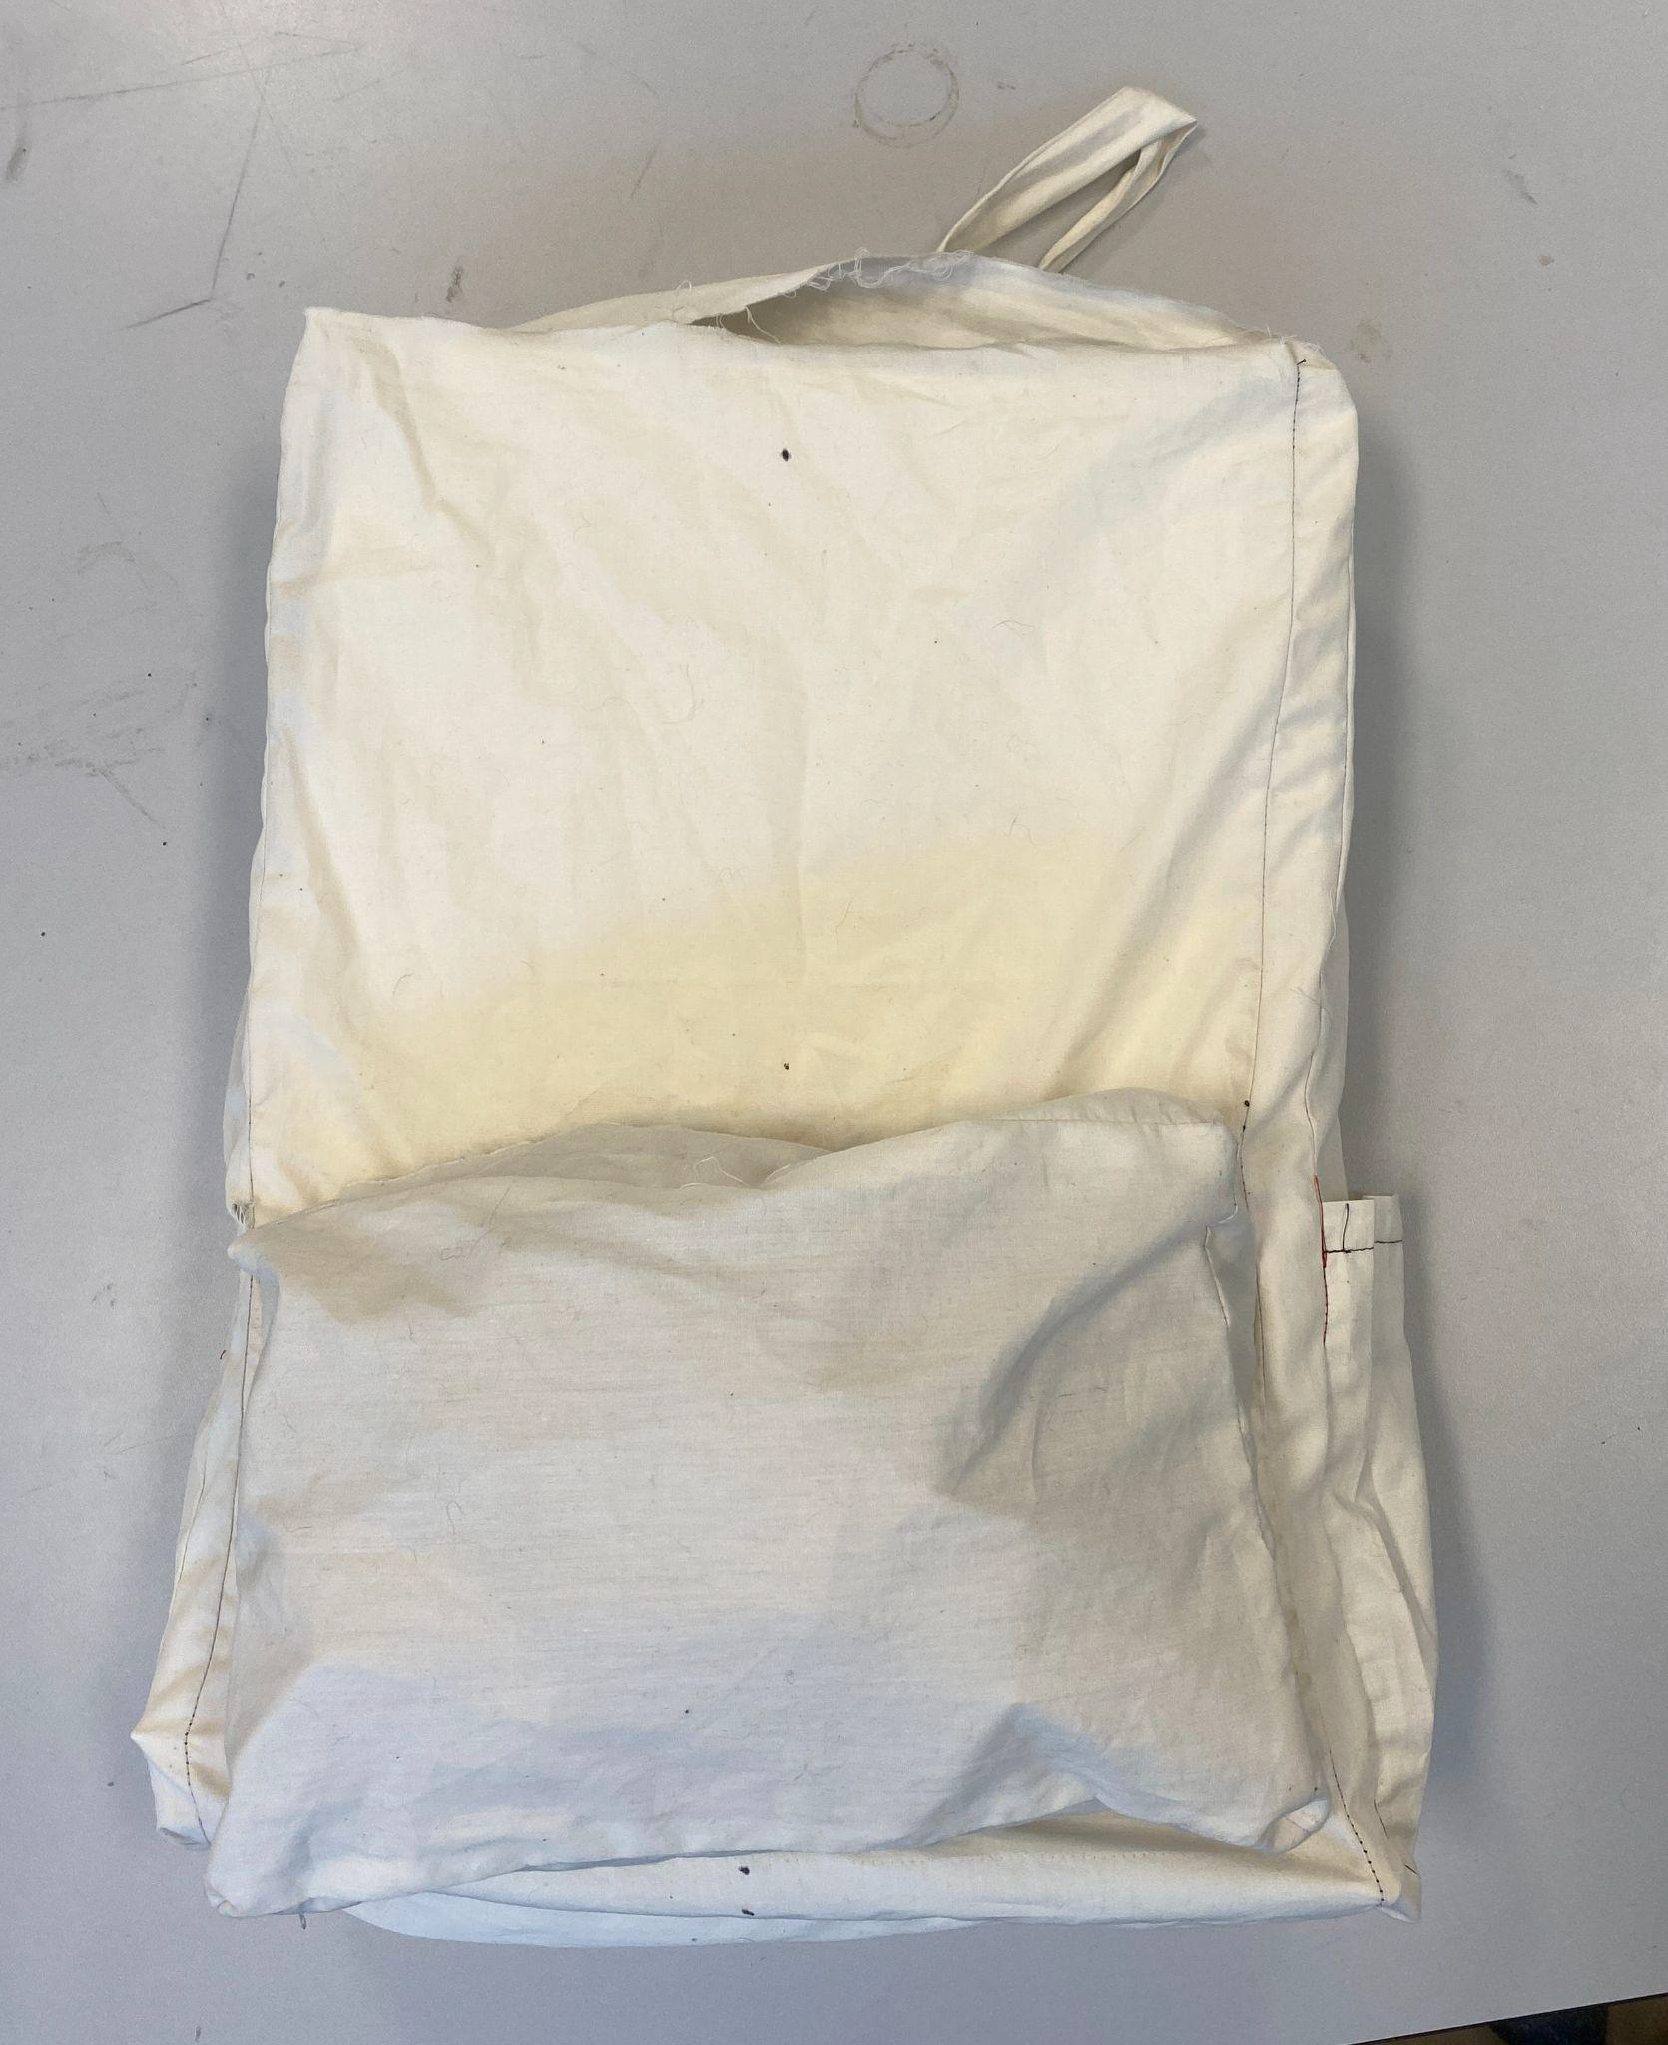
Muslin Protoype I Front
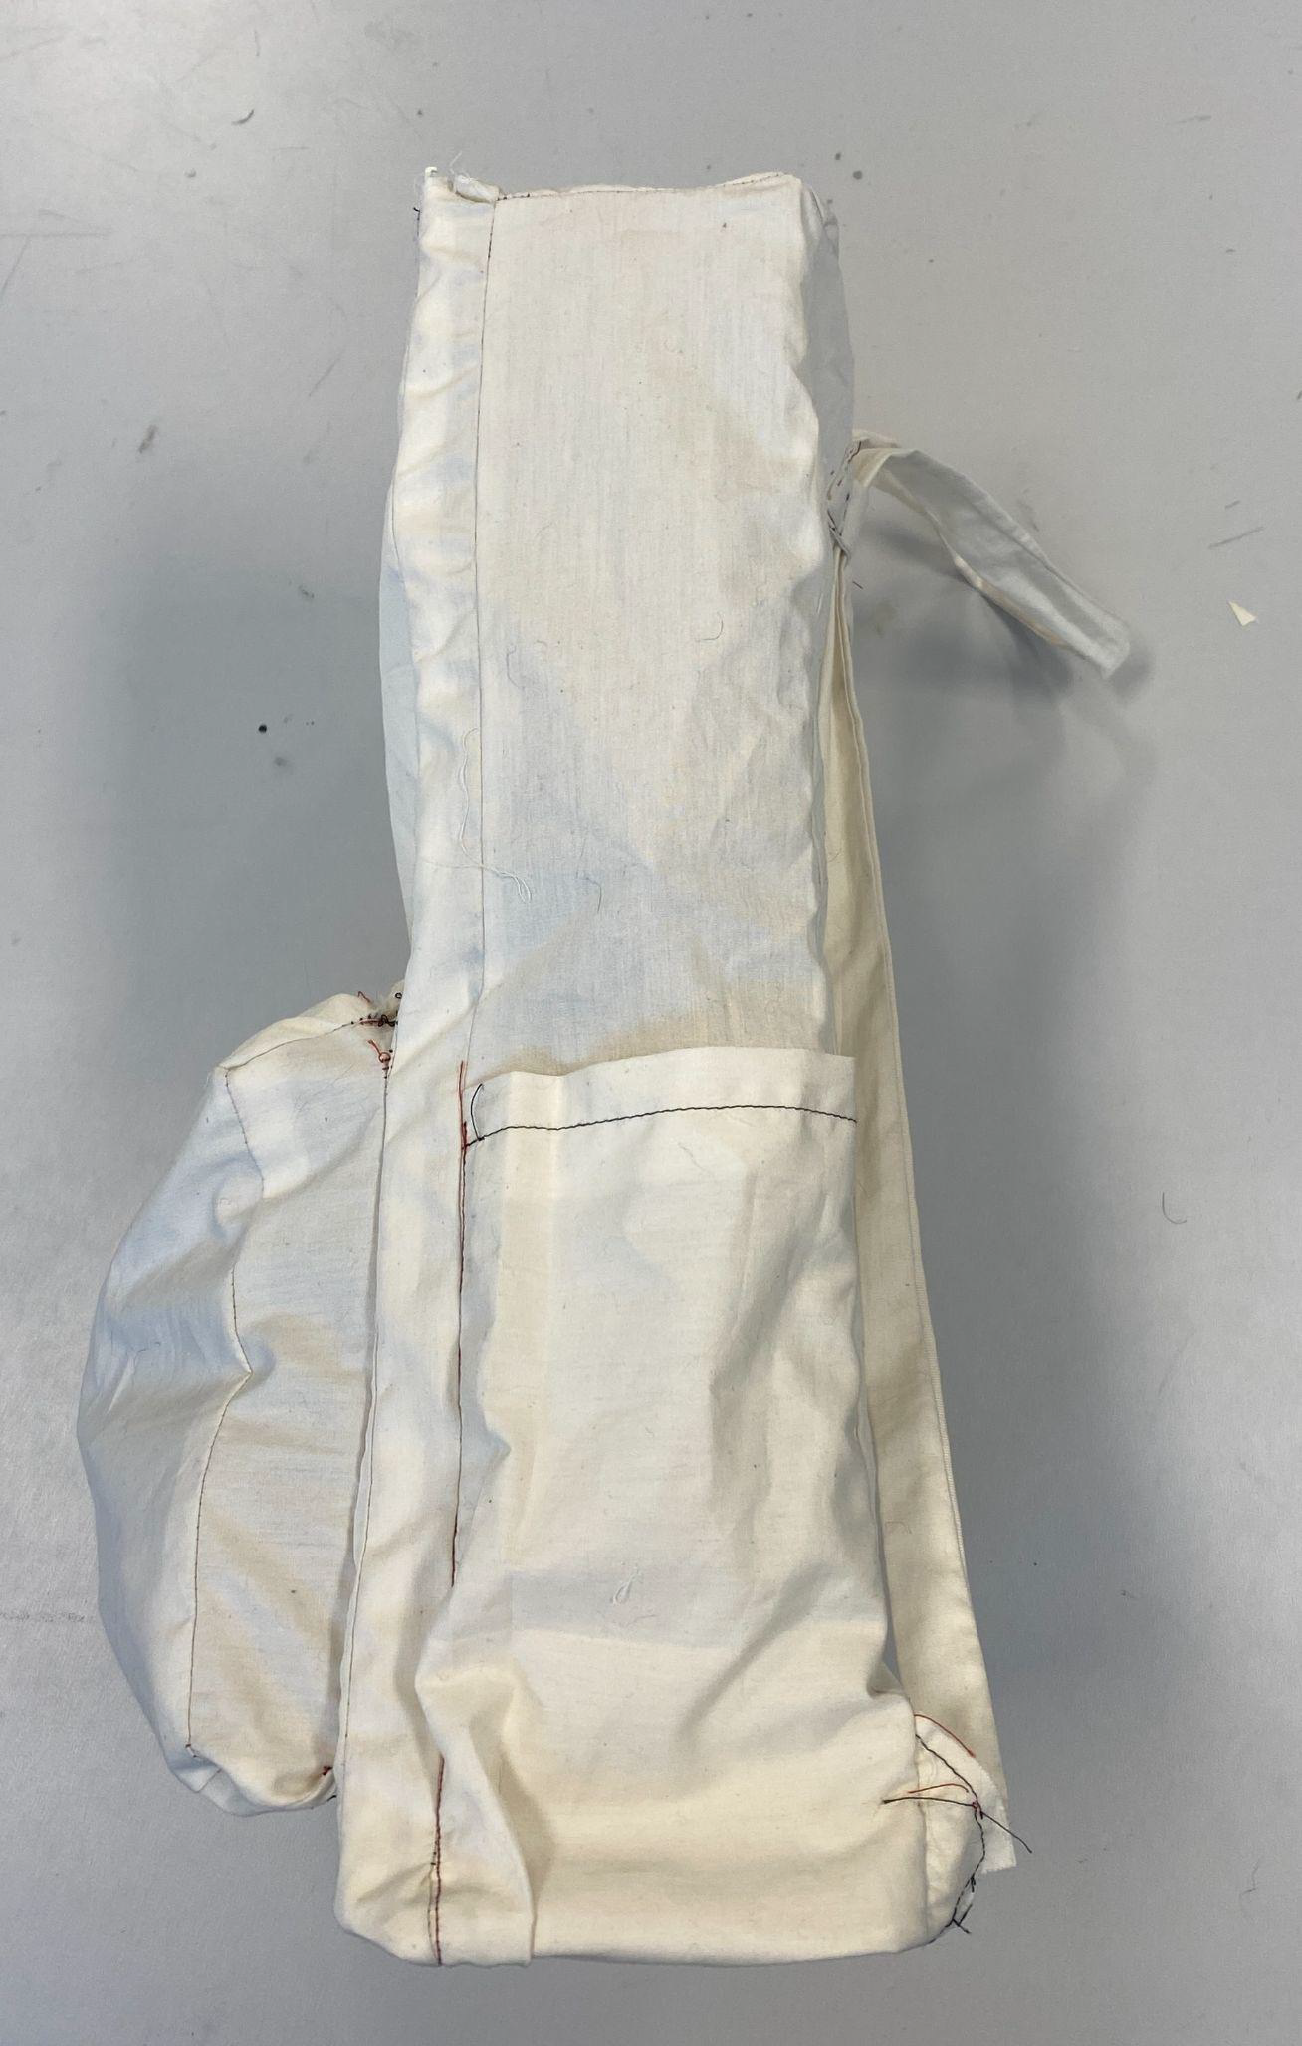
Muslin Protoype I Side

Muslin Protoype I Back
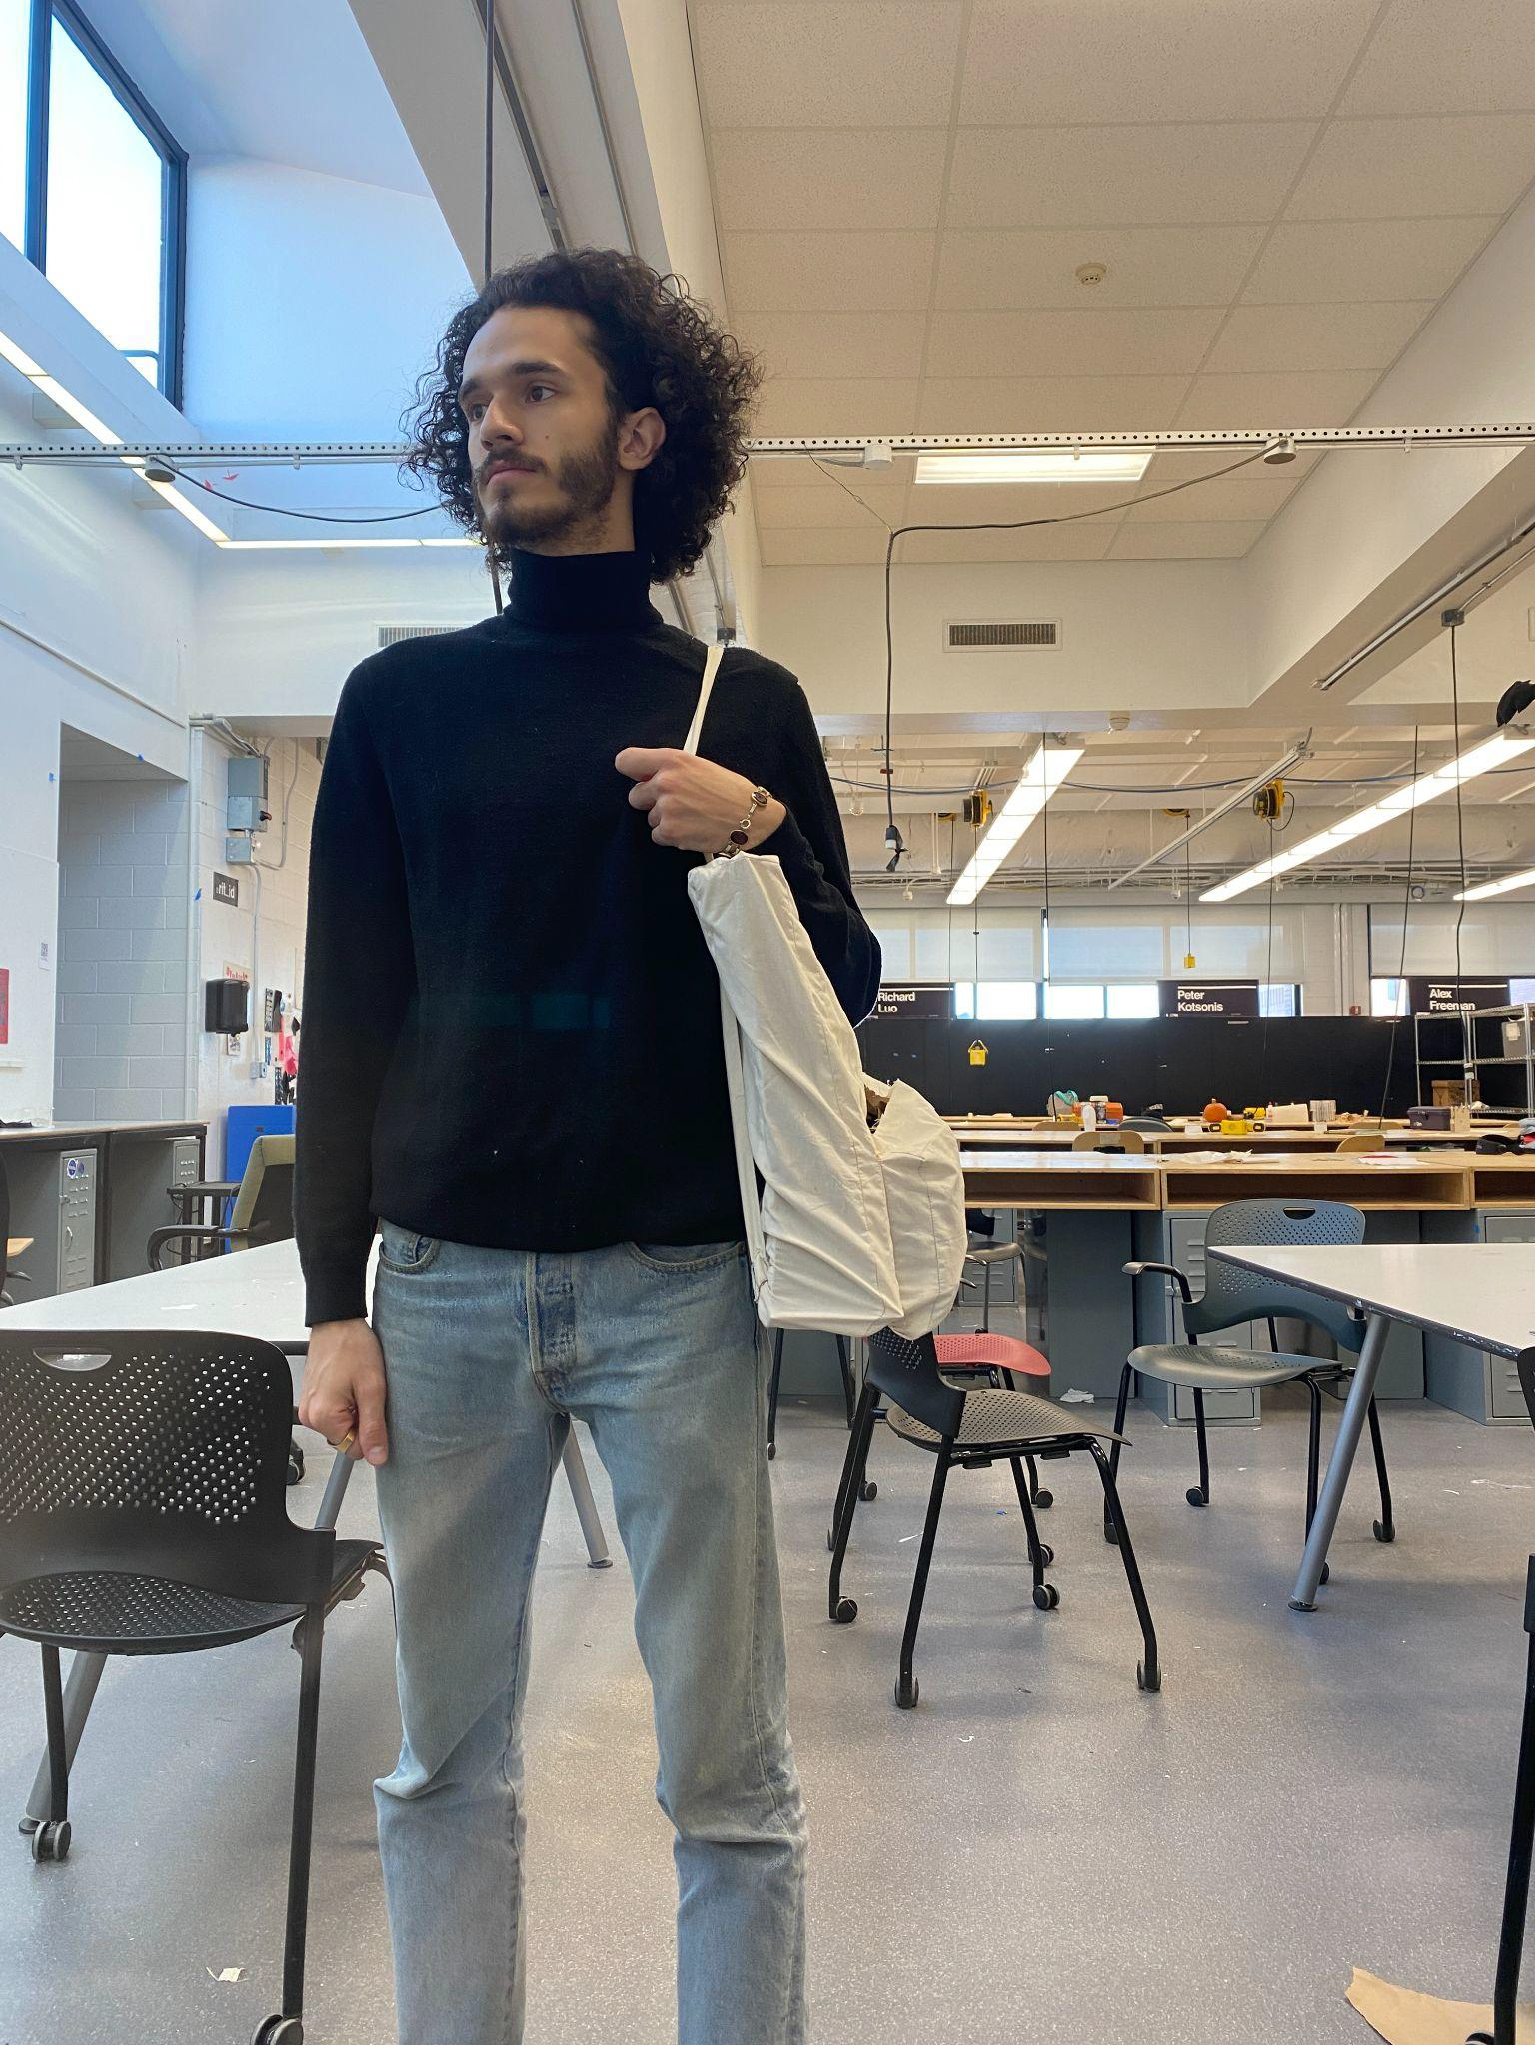
Fit Test (Tote Bag)

Fit Test (Backpack)
Muslin Prototype II Front
Muslin Prototype II Back
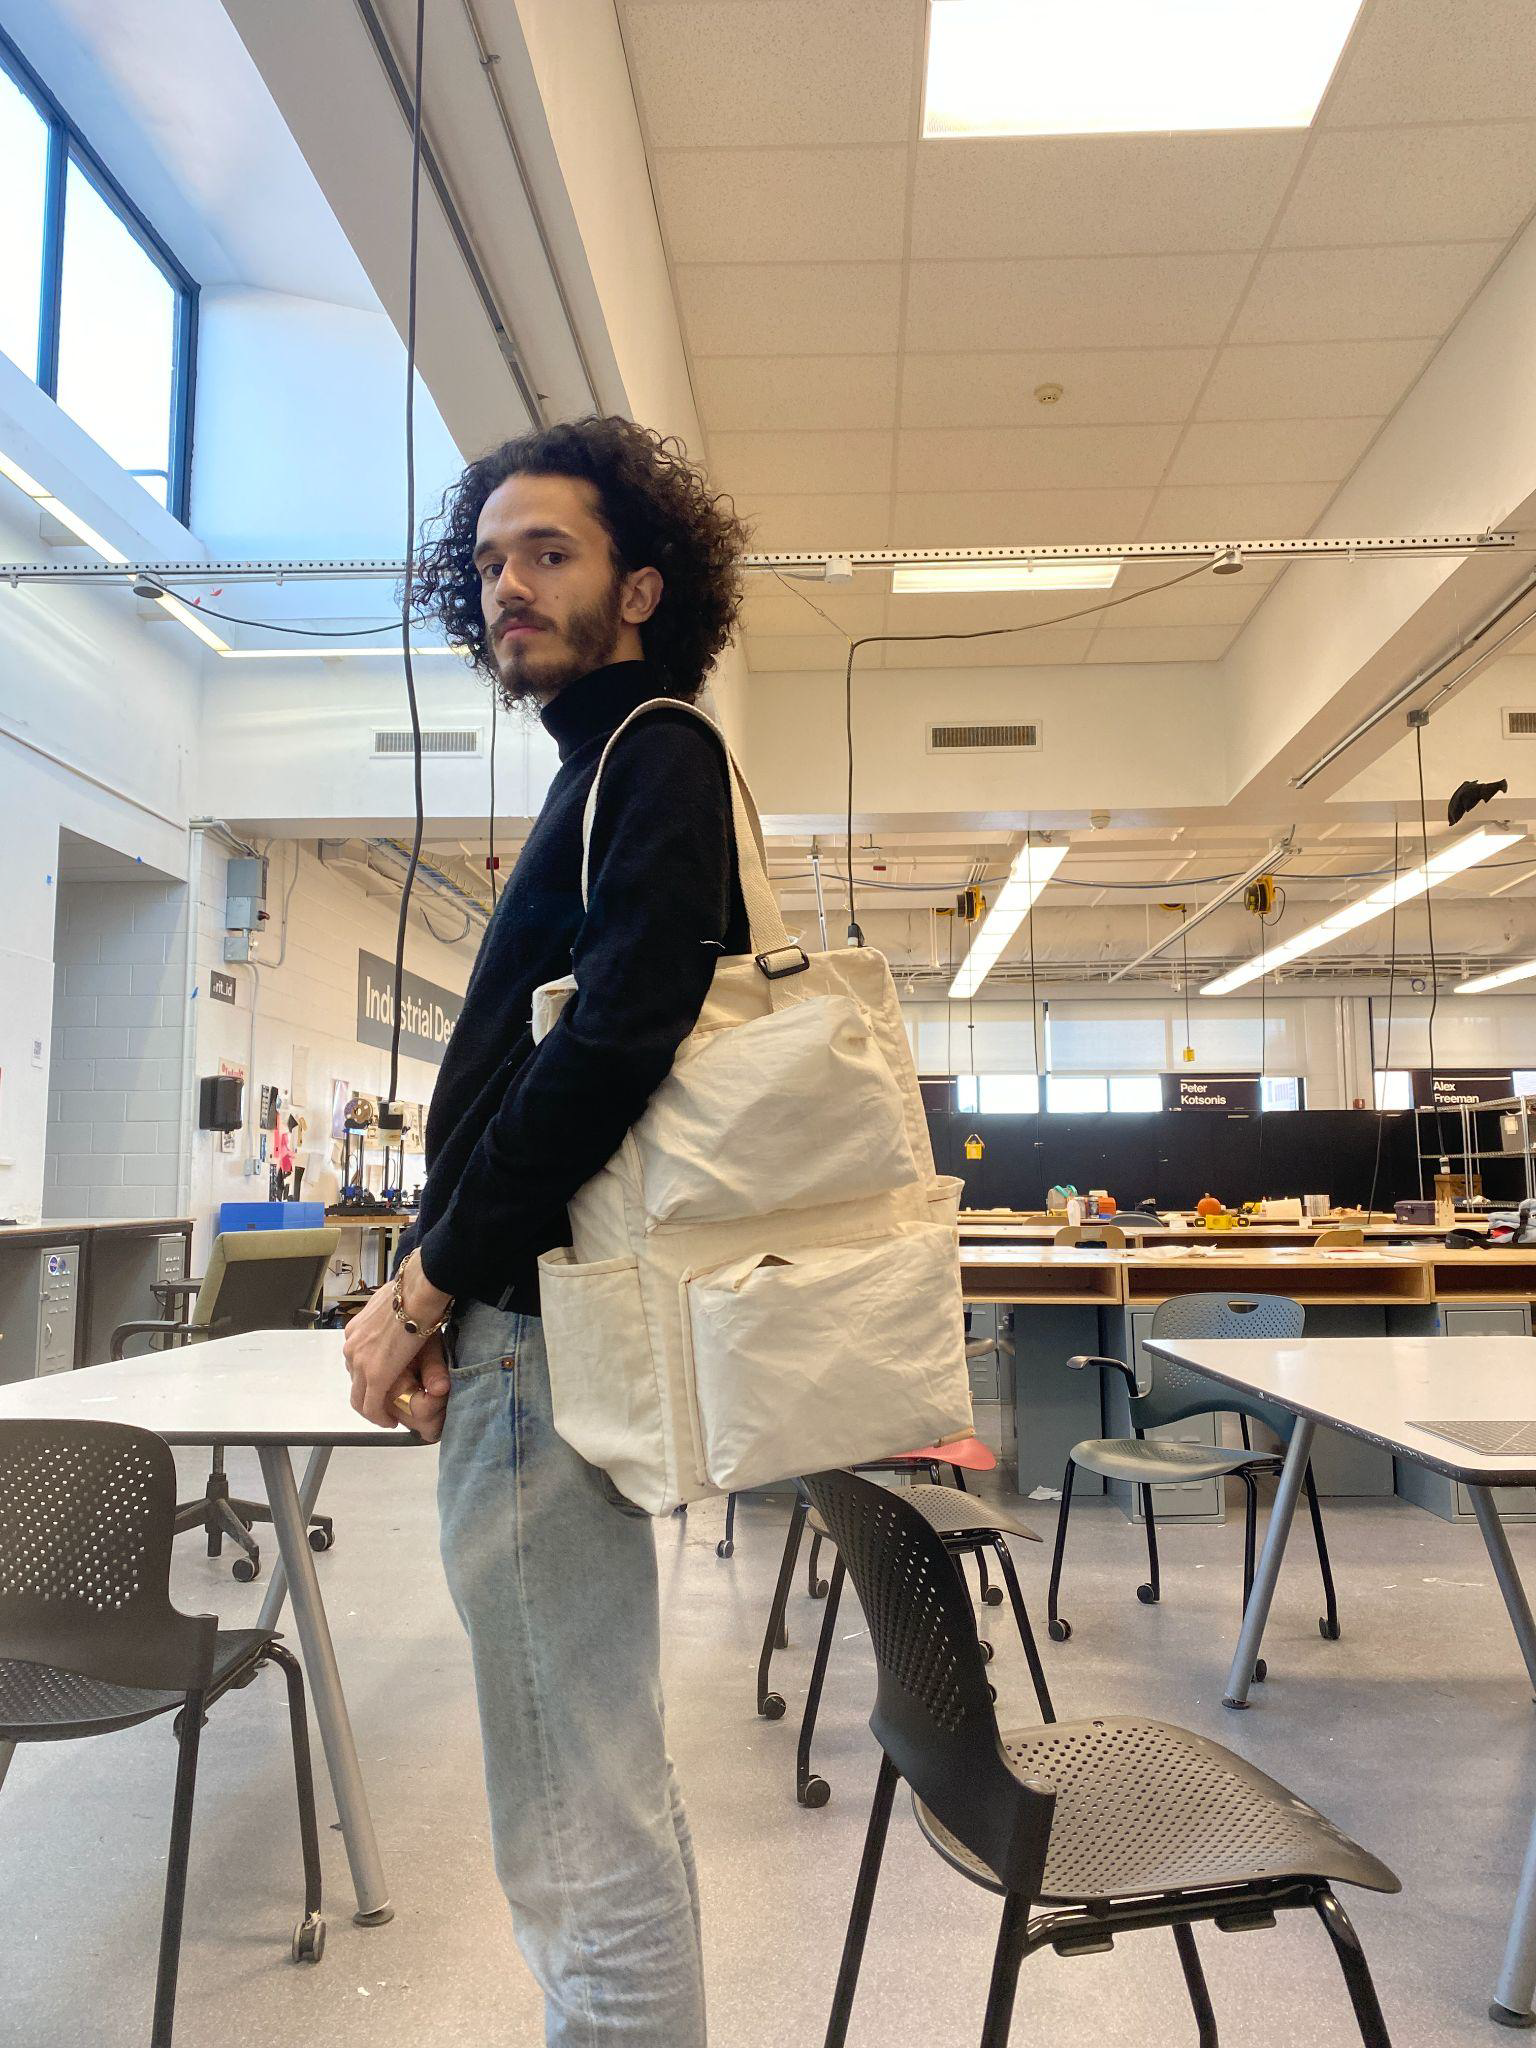
Fit Test
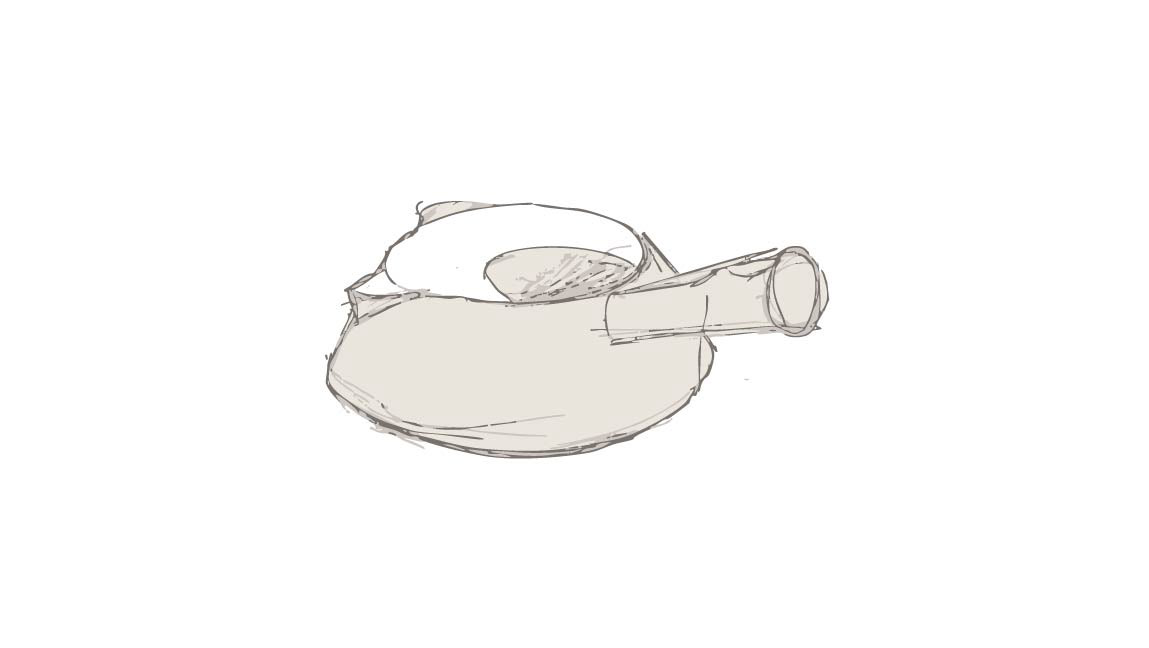
Prototype IV: Expanding on Prototype III, this prototype is made of muslin and the straps are made with all-cotton webbing. Both front box pockets are present, but are topstitched to the bag instead of being strangely attached as described in Prototype III. A prototype for a leather corner was made to figure out how it would be constructed and attached to the bag. The water bottle pockets are folded over on one side, expanding once opened.
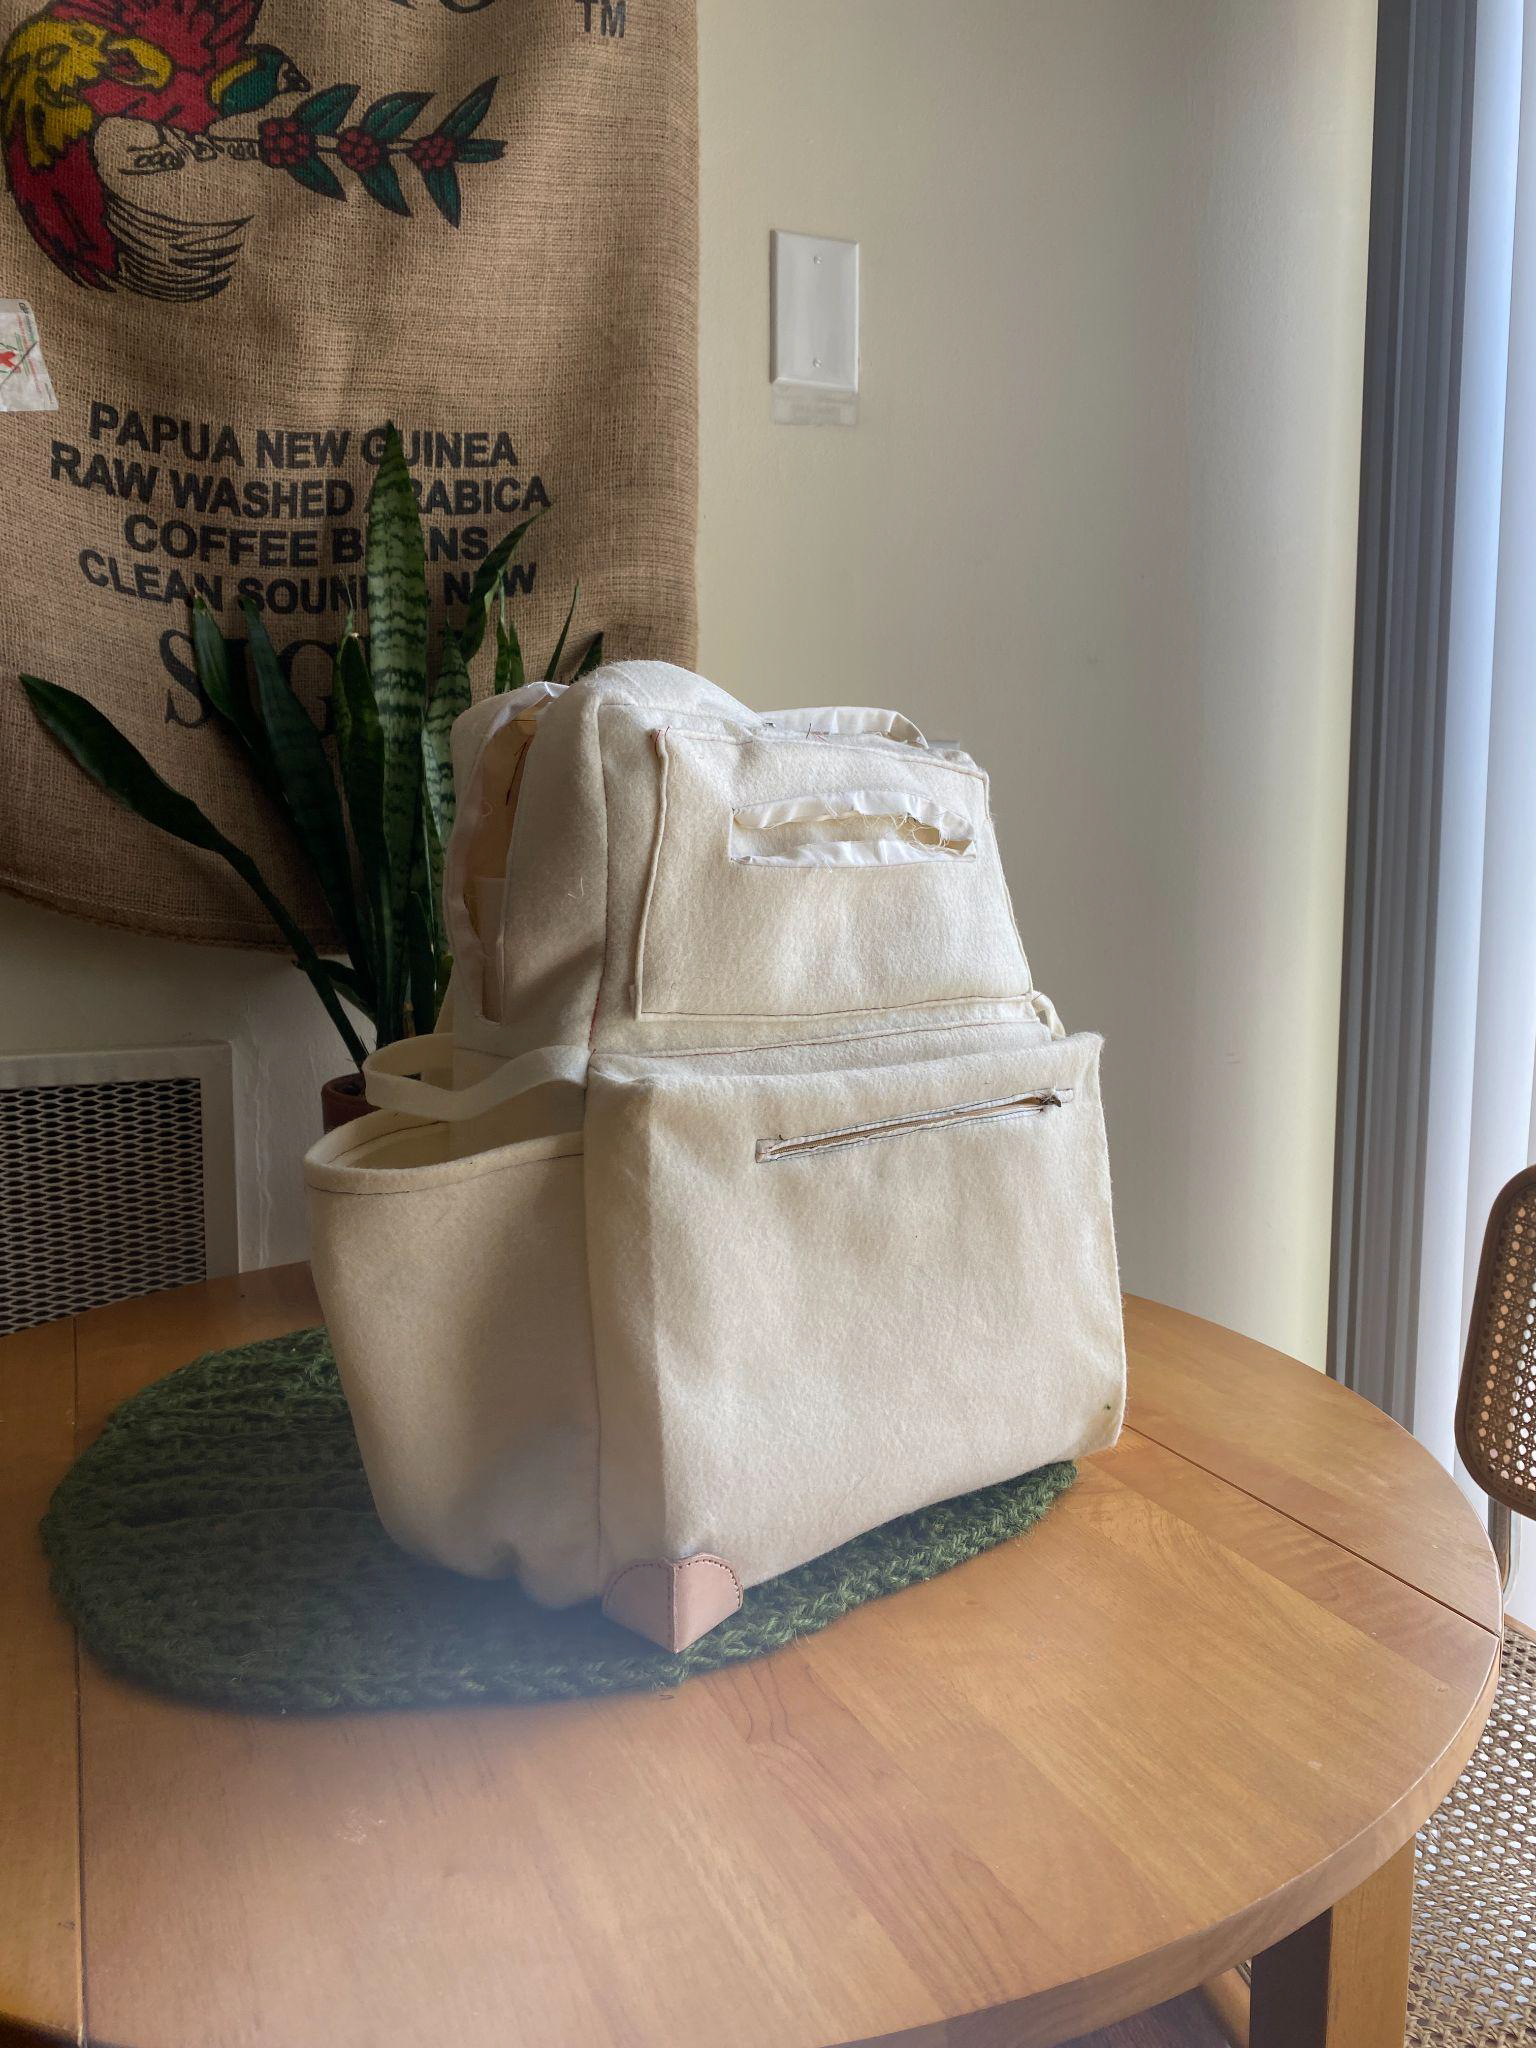
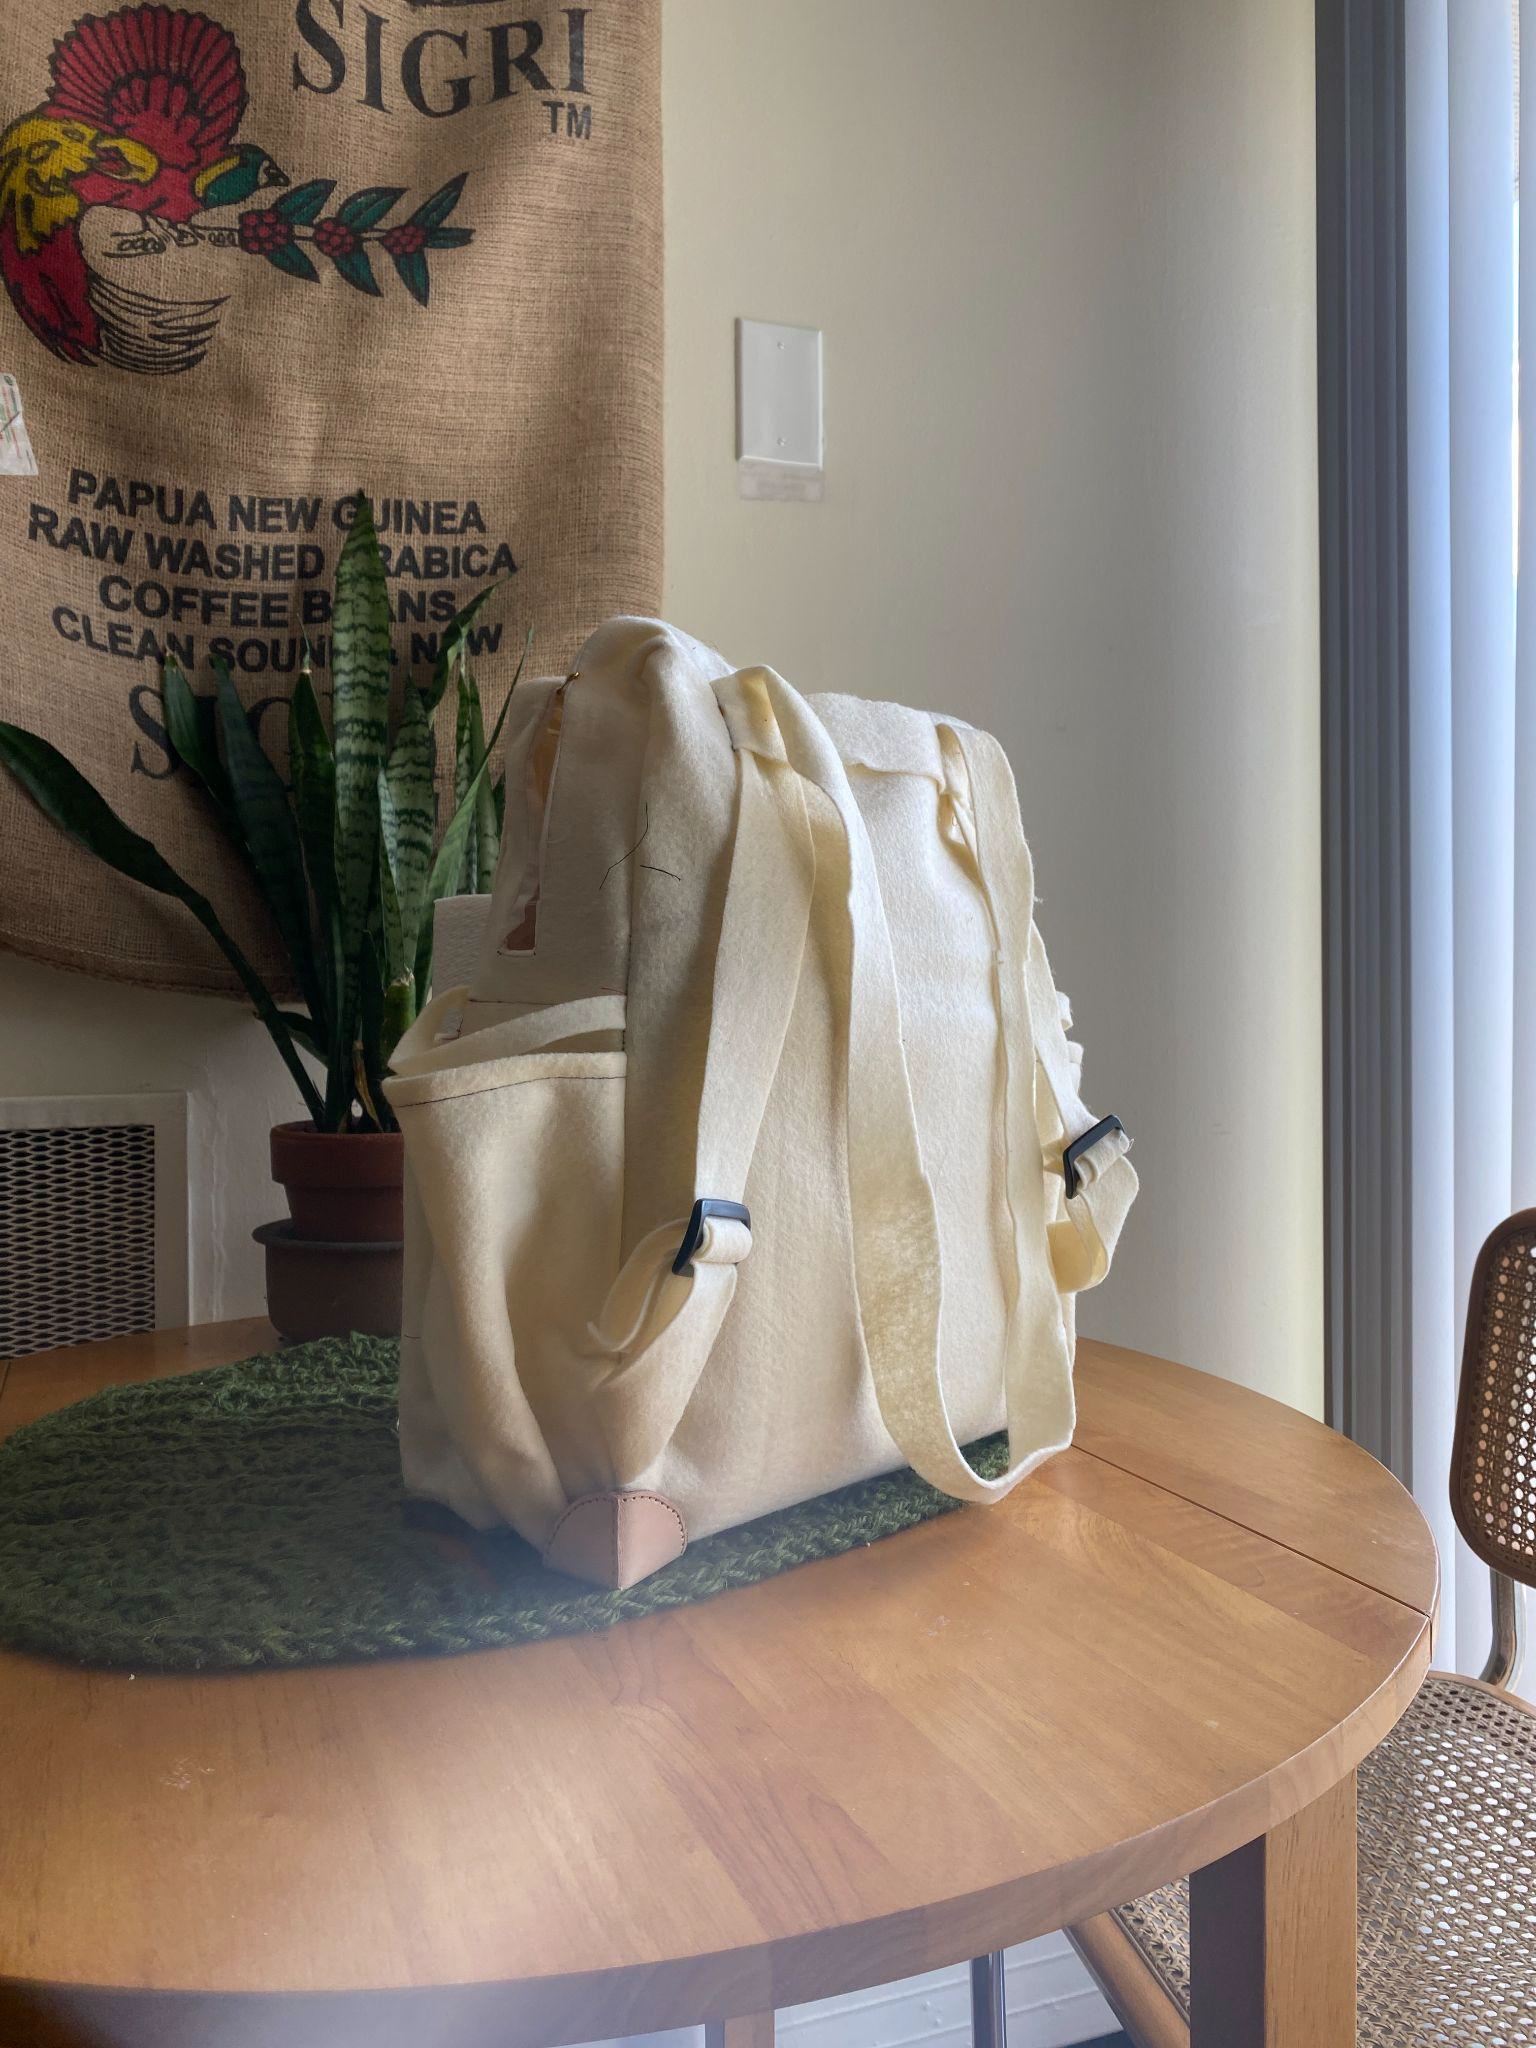
Prototype V: An updated prototype made of polyester felt. The pattern for the bag was changed in several places. The overall design shrinks in height, from 18 inches to 15.5 inches. A single box pocket and a single flat pocket are found on the front of the bag. The zipper to access the main body of the bag extends past the top of the bag, and down the sides a few inches.
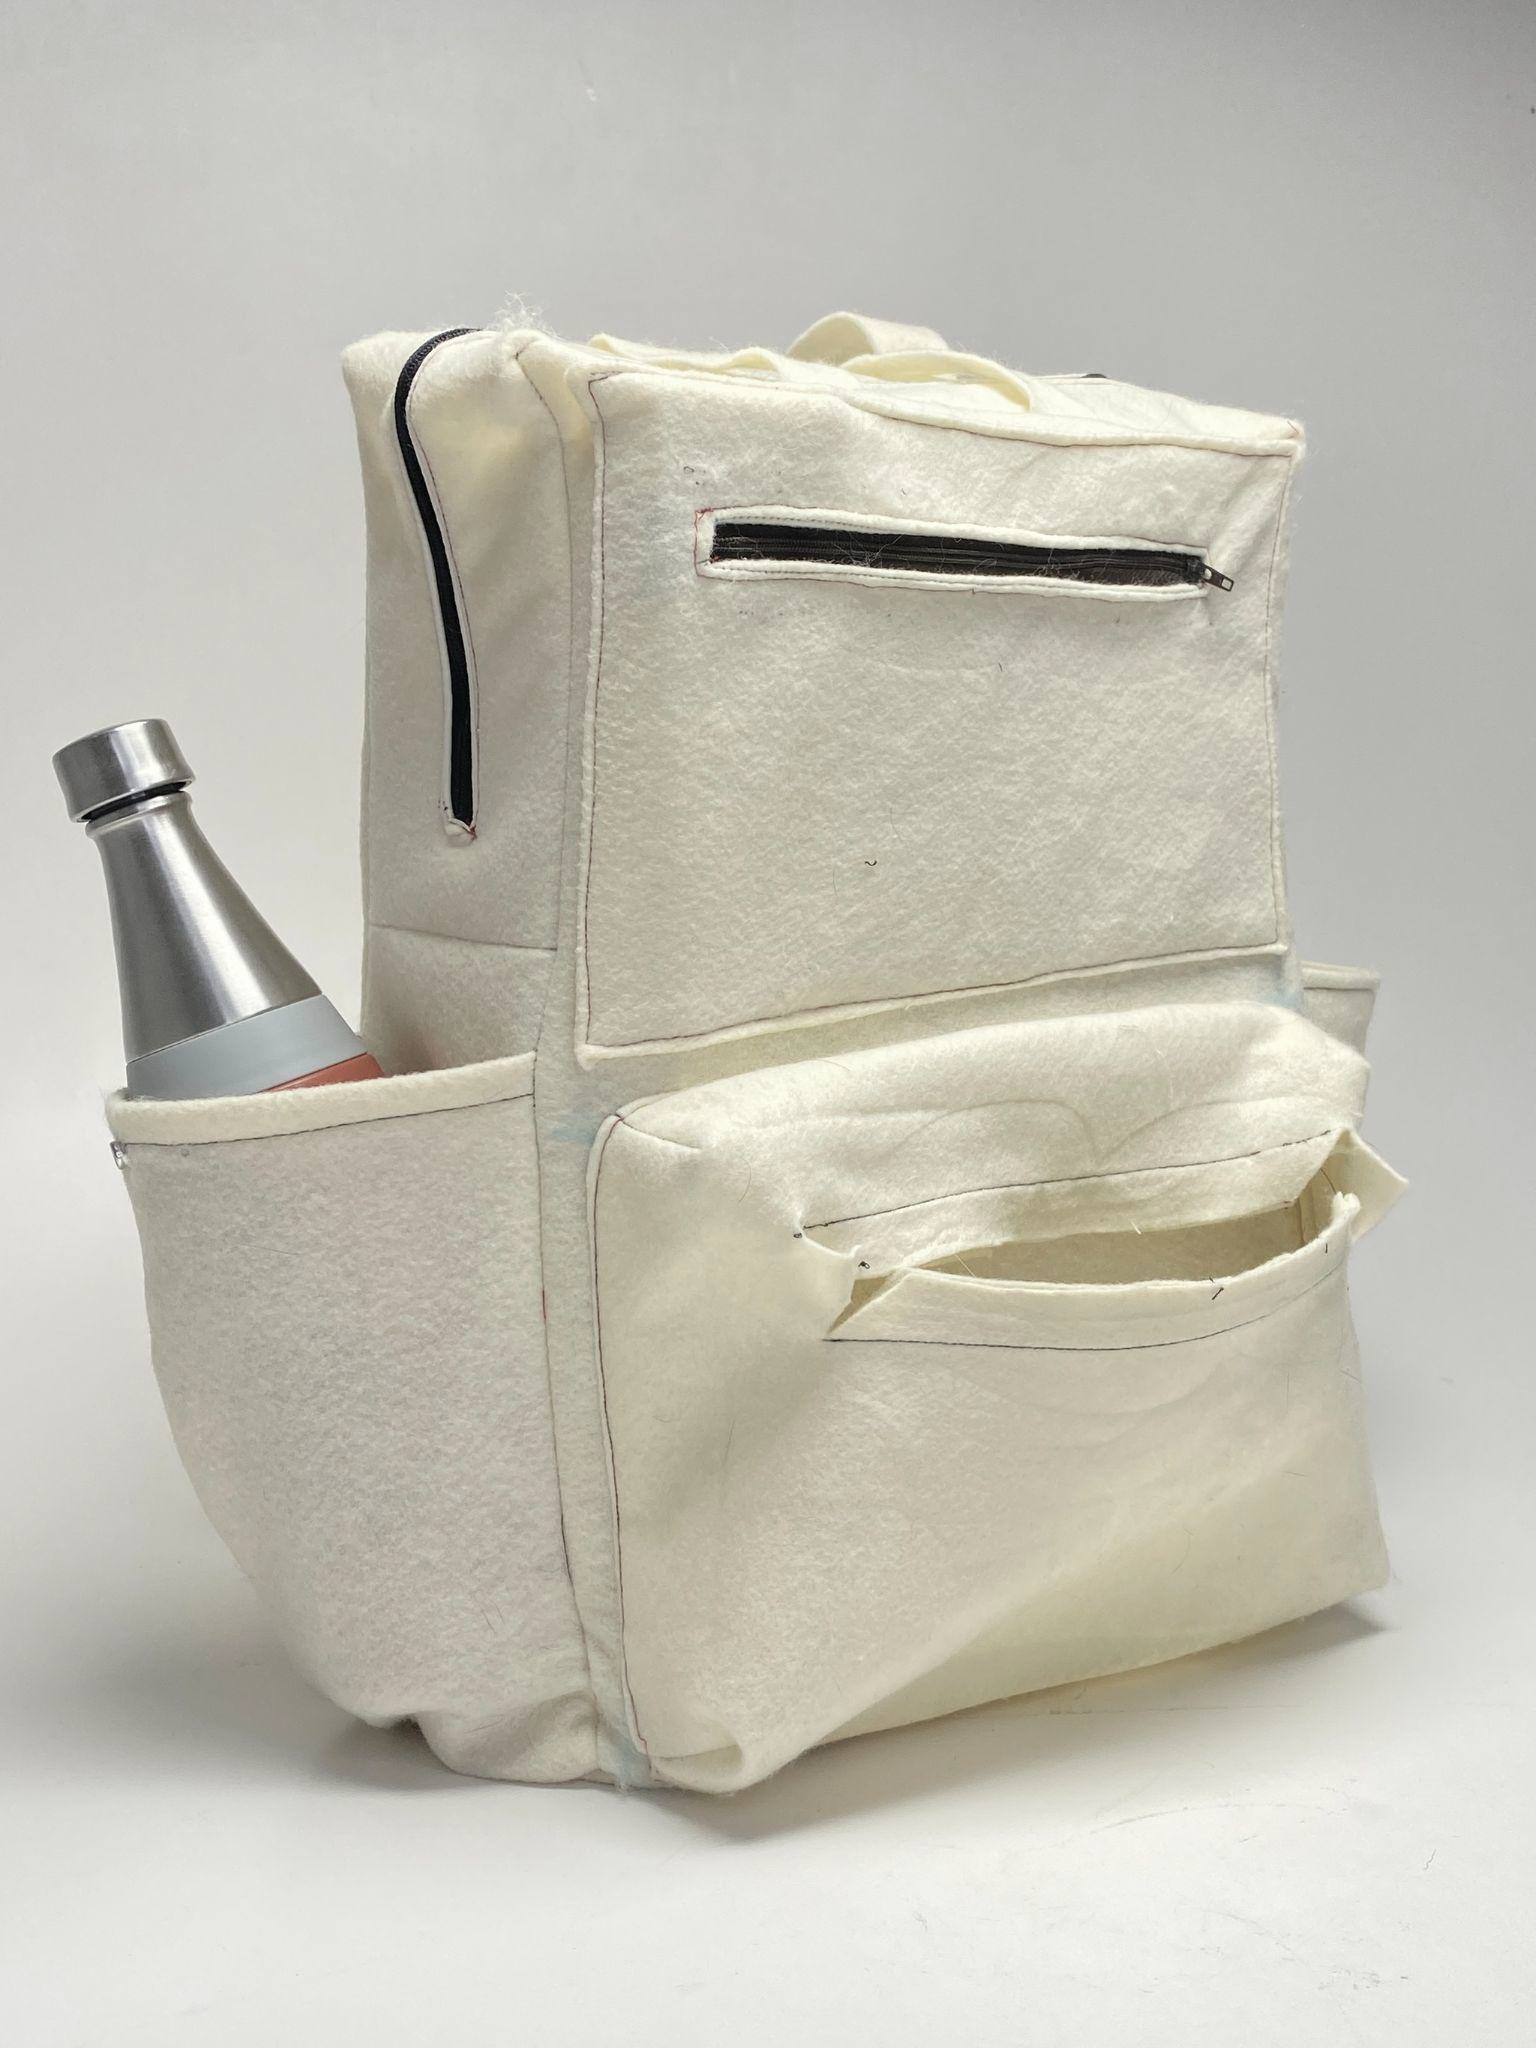
Felt Prototype I Front
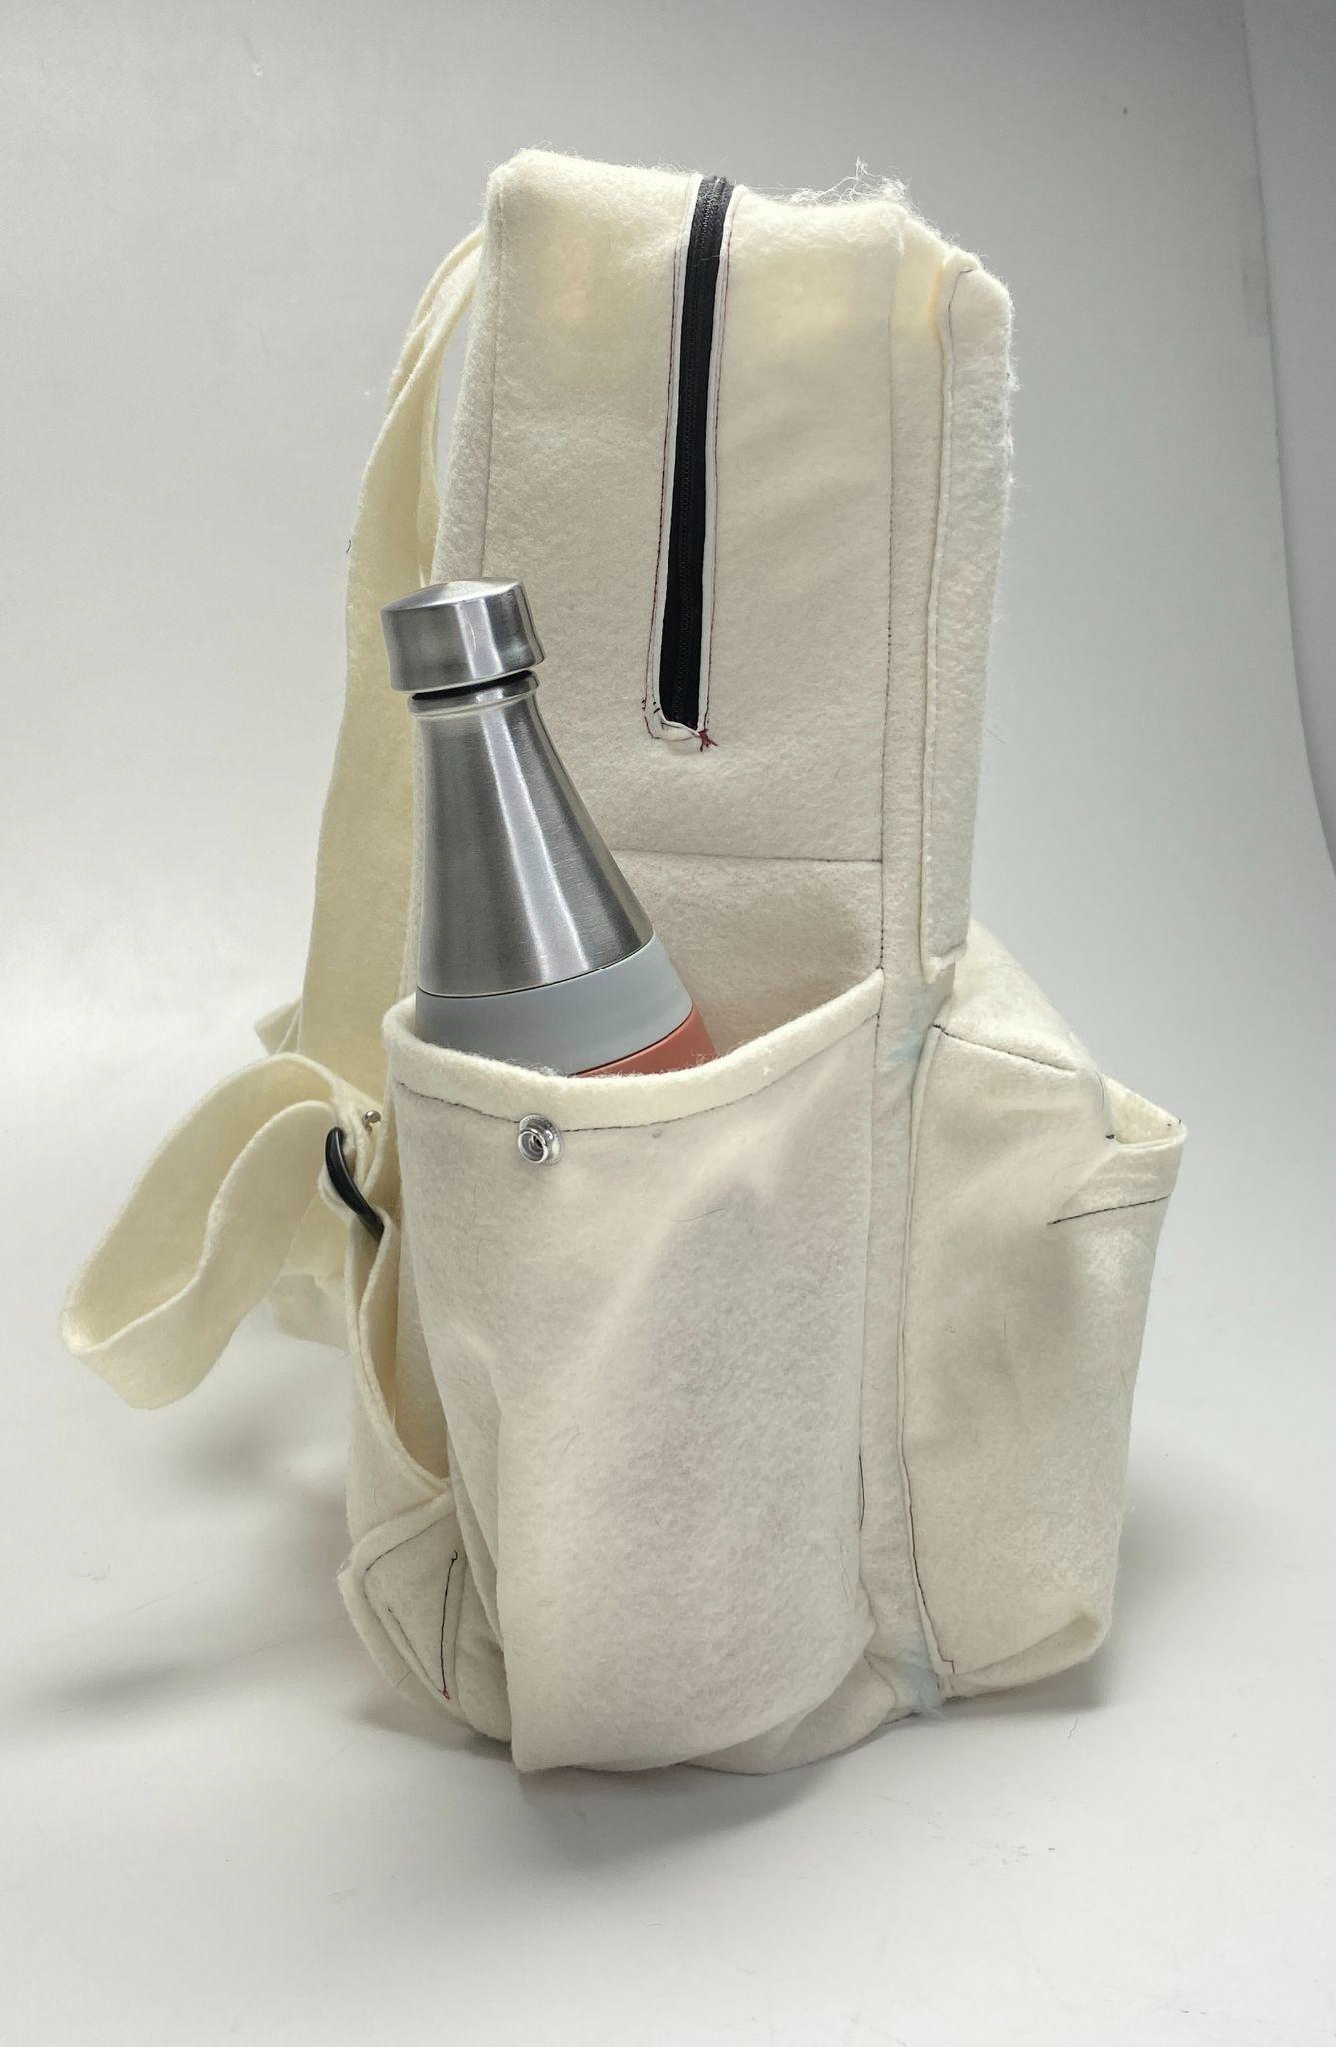
Felt Prototype I Side
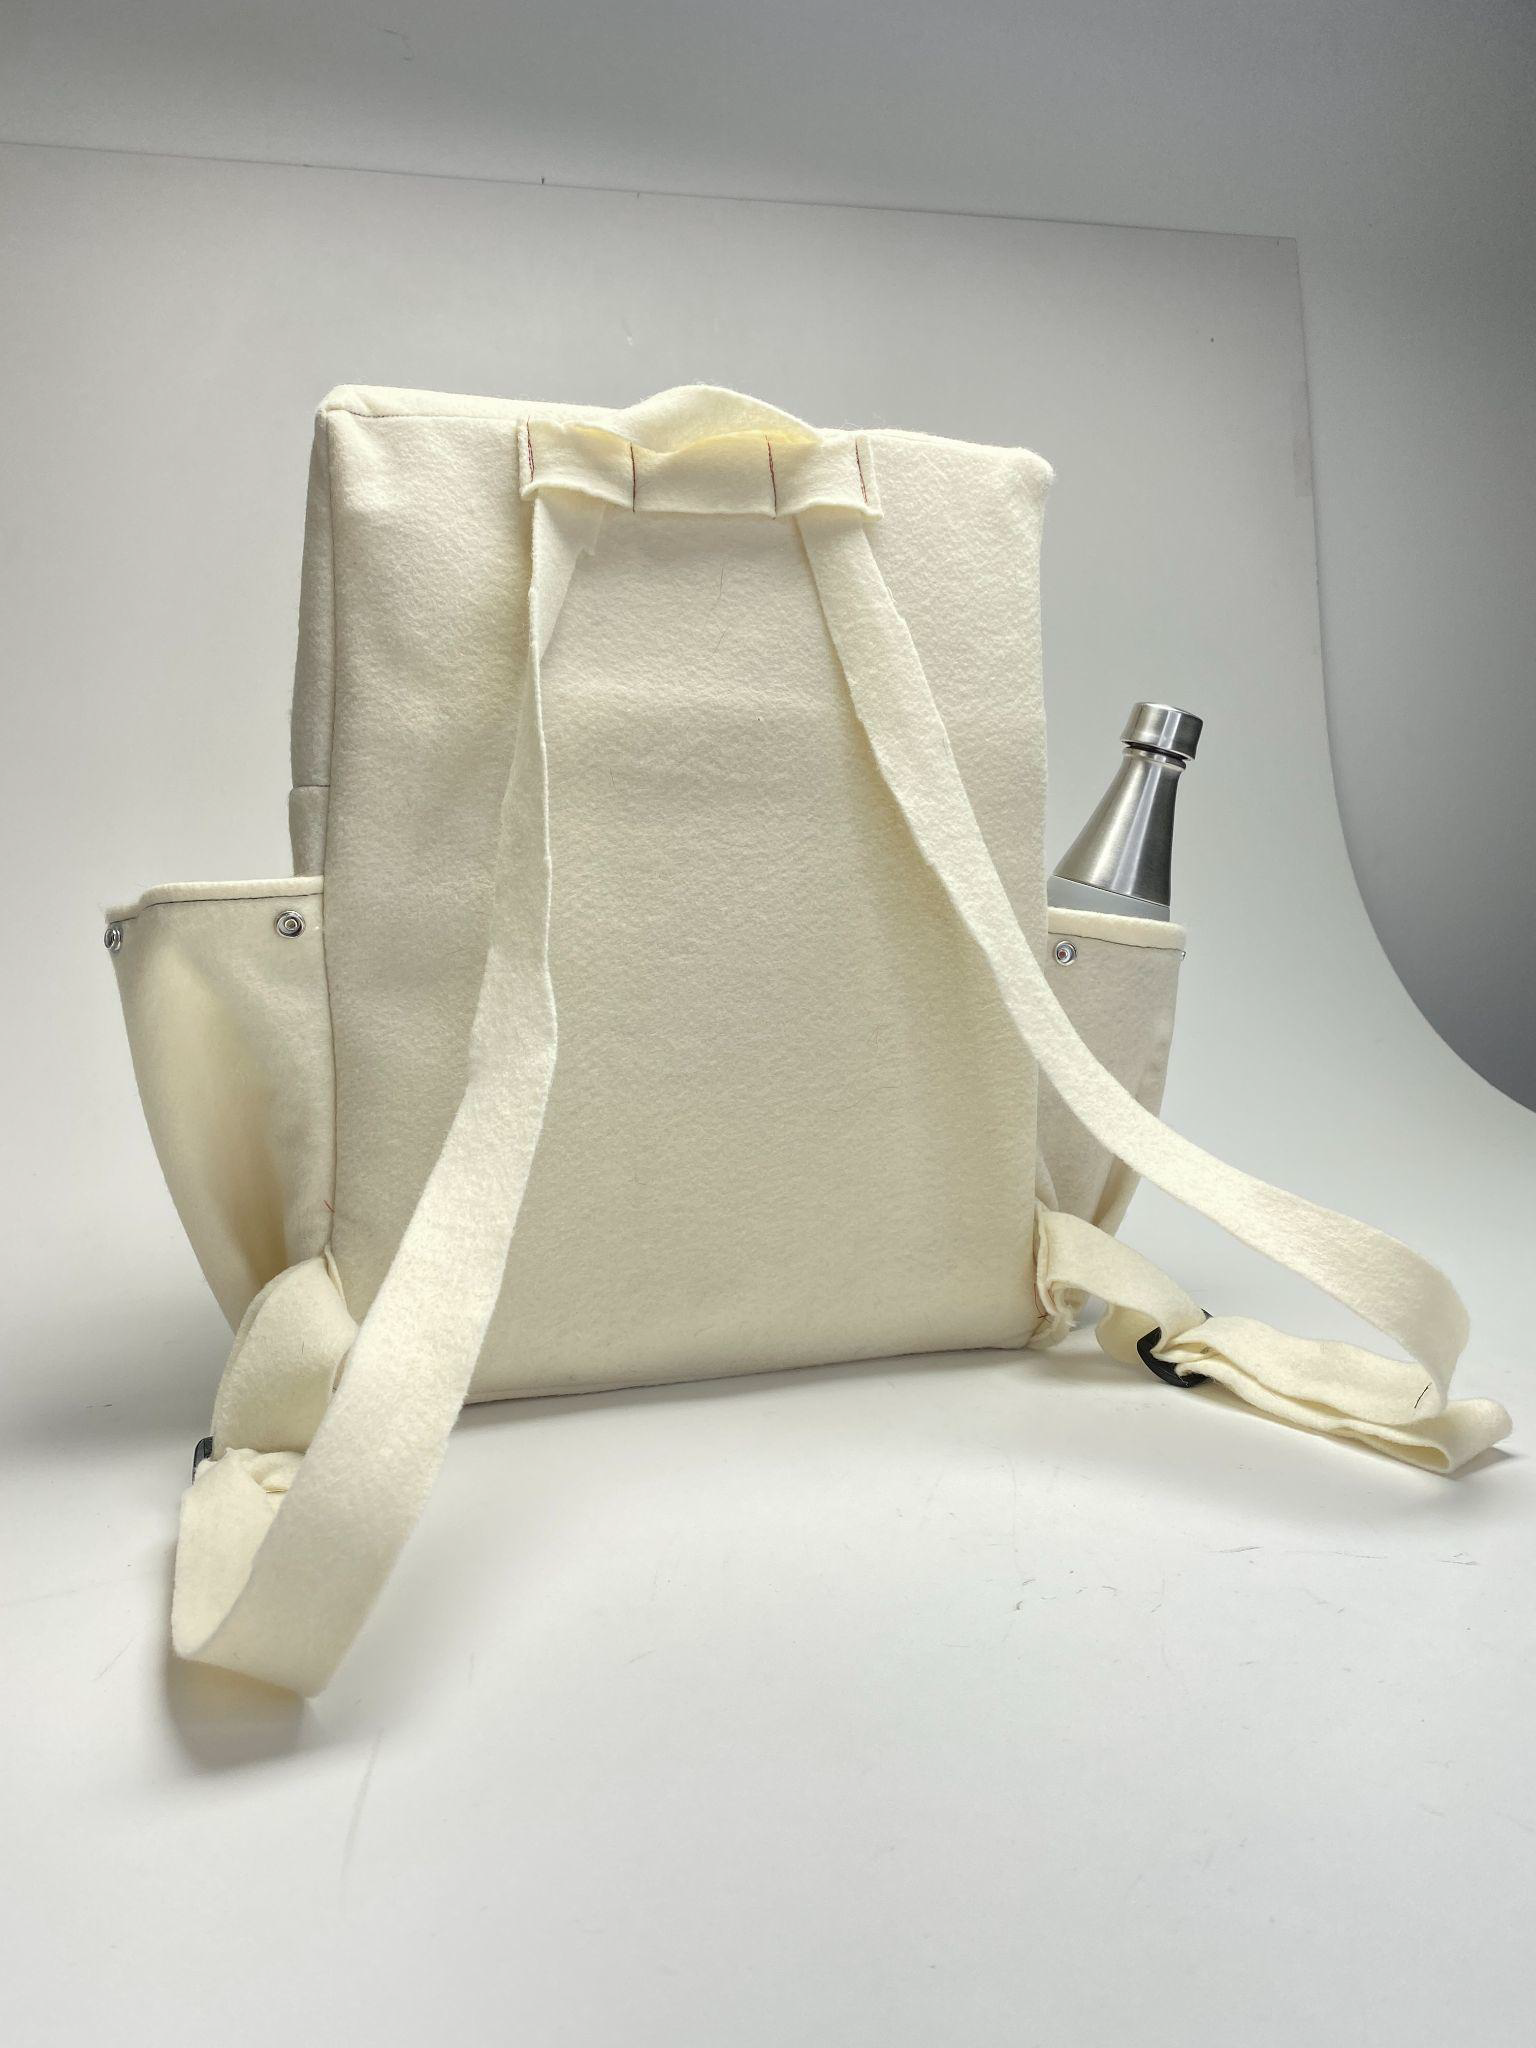
Felt Prototype I Back
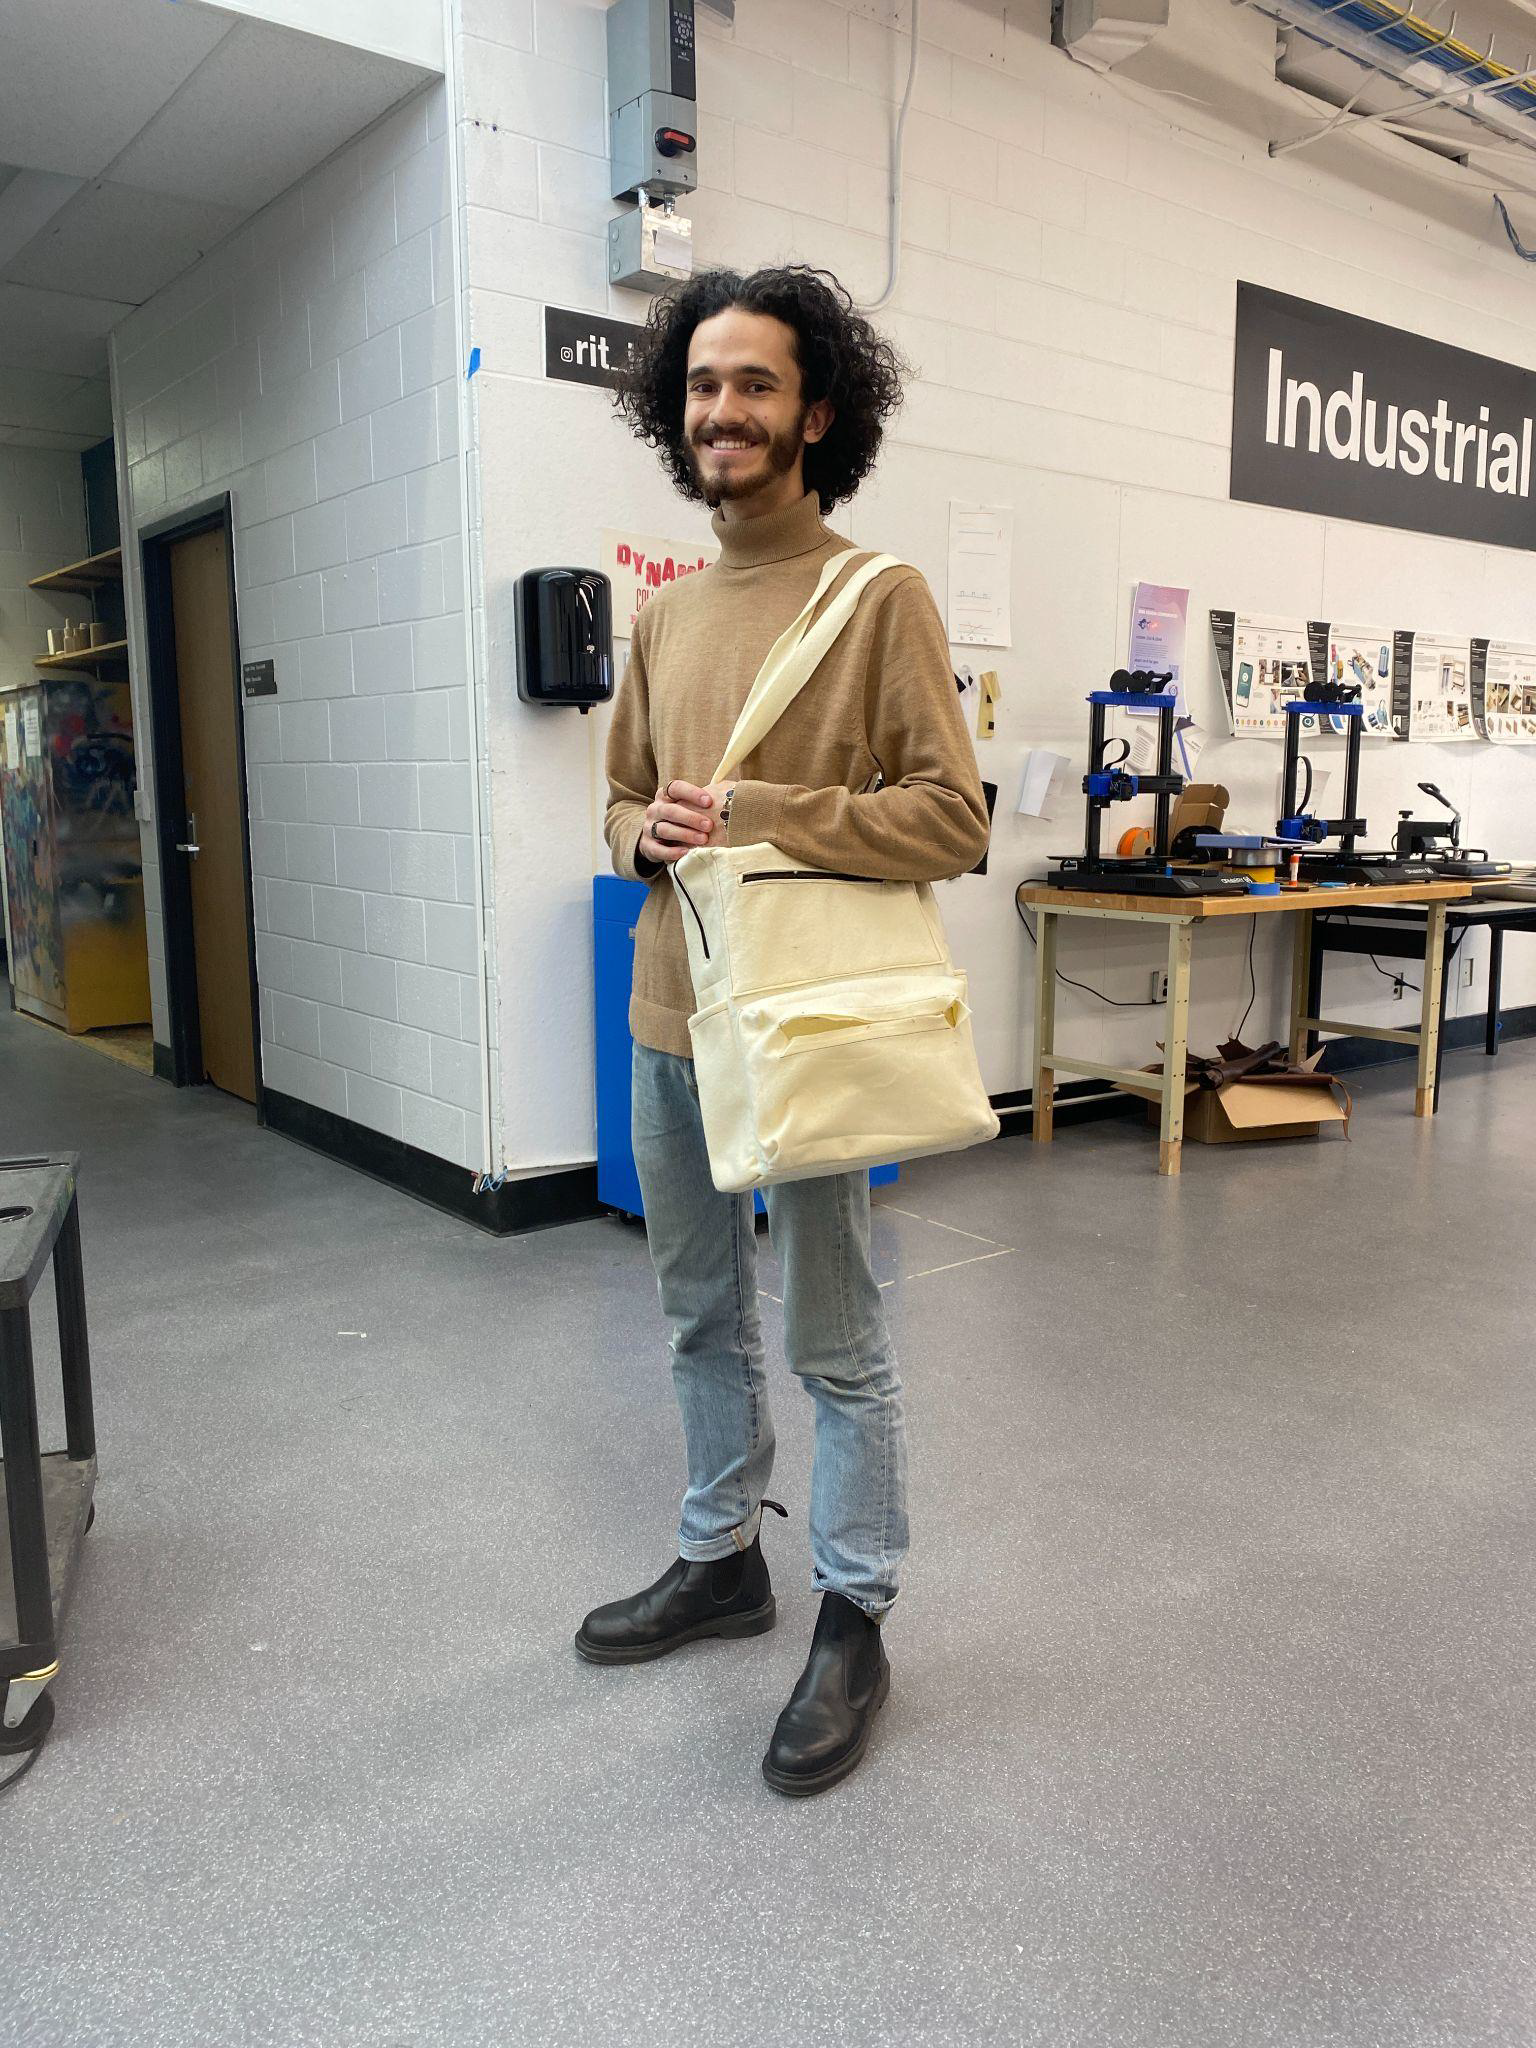
Fit Test
Felt Prototype II Front
Felt Prototype II Back
This prototype is essentially the exact same as Prototype V with fewer complete features, with one zipper (box pocket) and no other hardware, as these elements were shown to work on the previous prototype.
The lower box pocket now shares its bottom edge with the backpack, allowing for more stability.
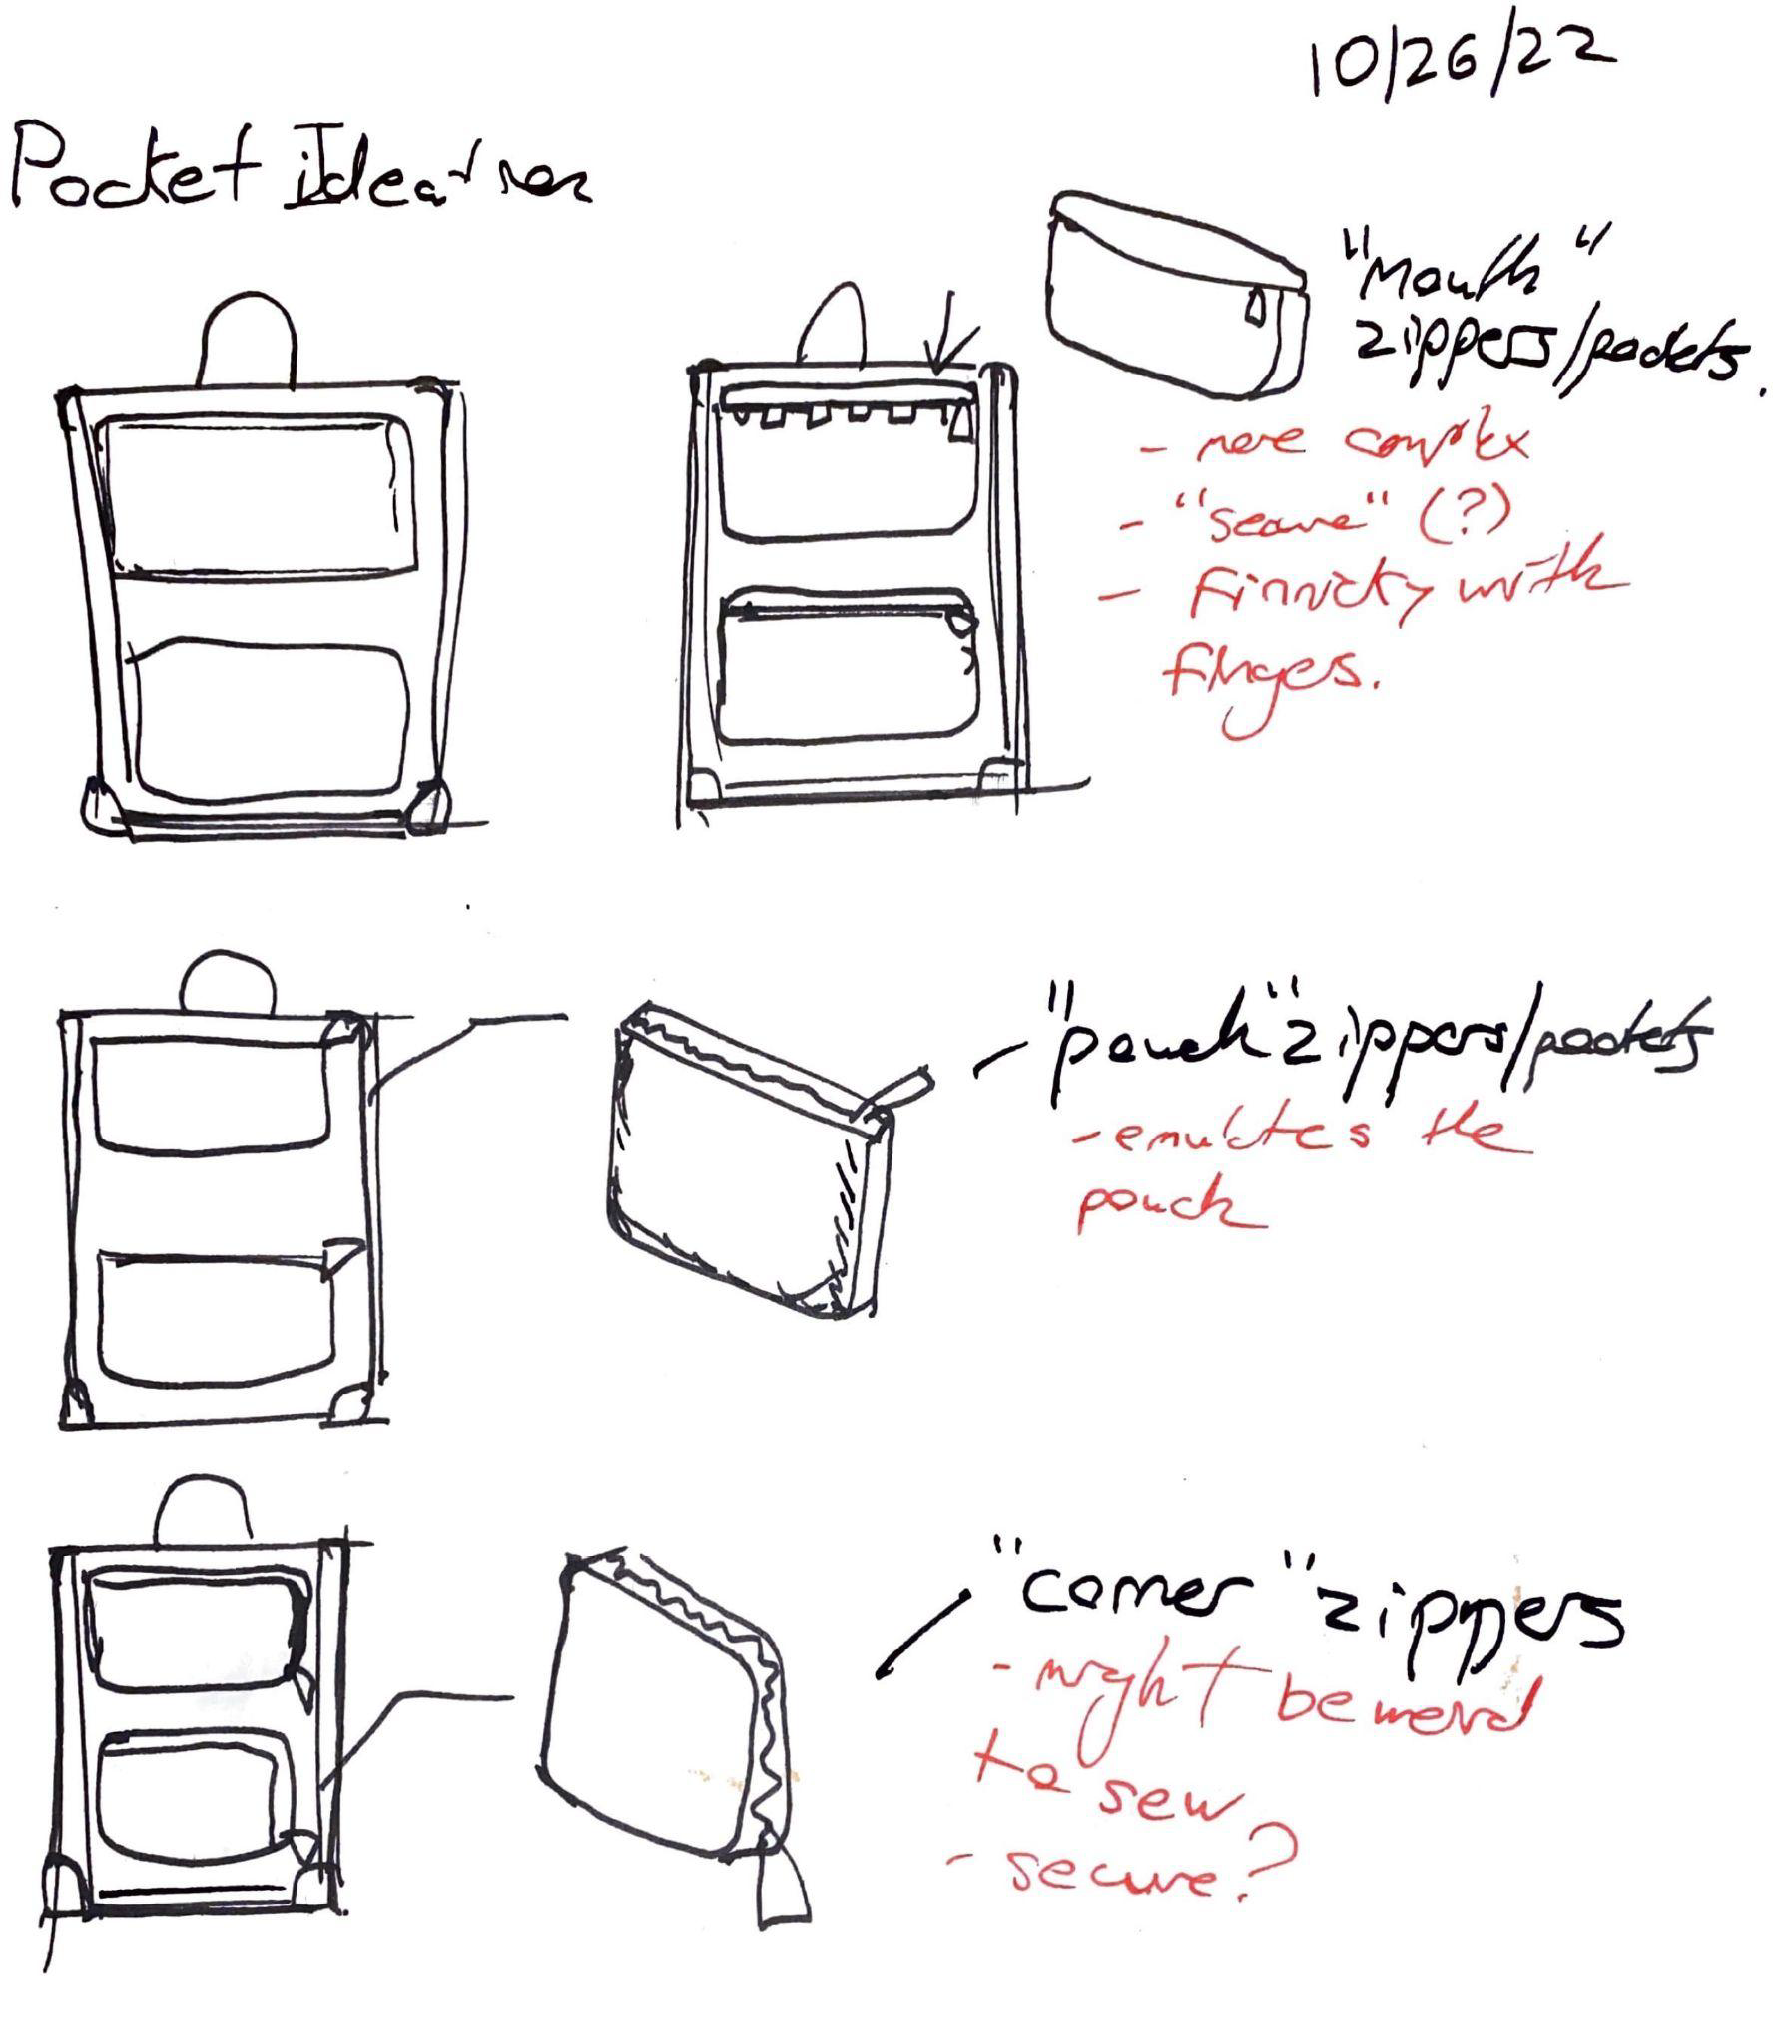
Much thought was put into what style the zippered pockets would take.
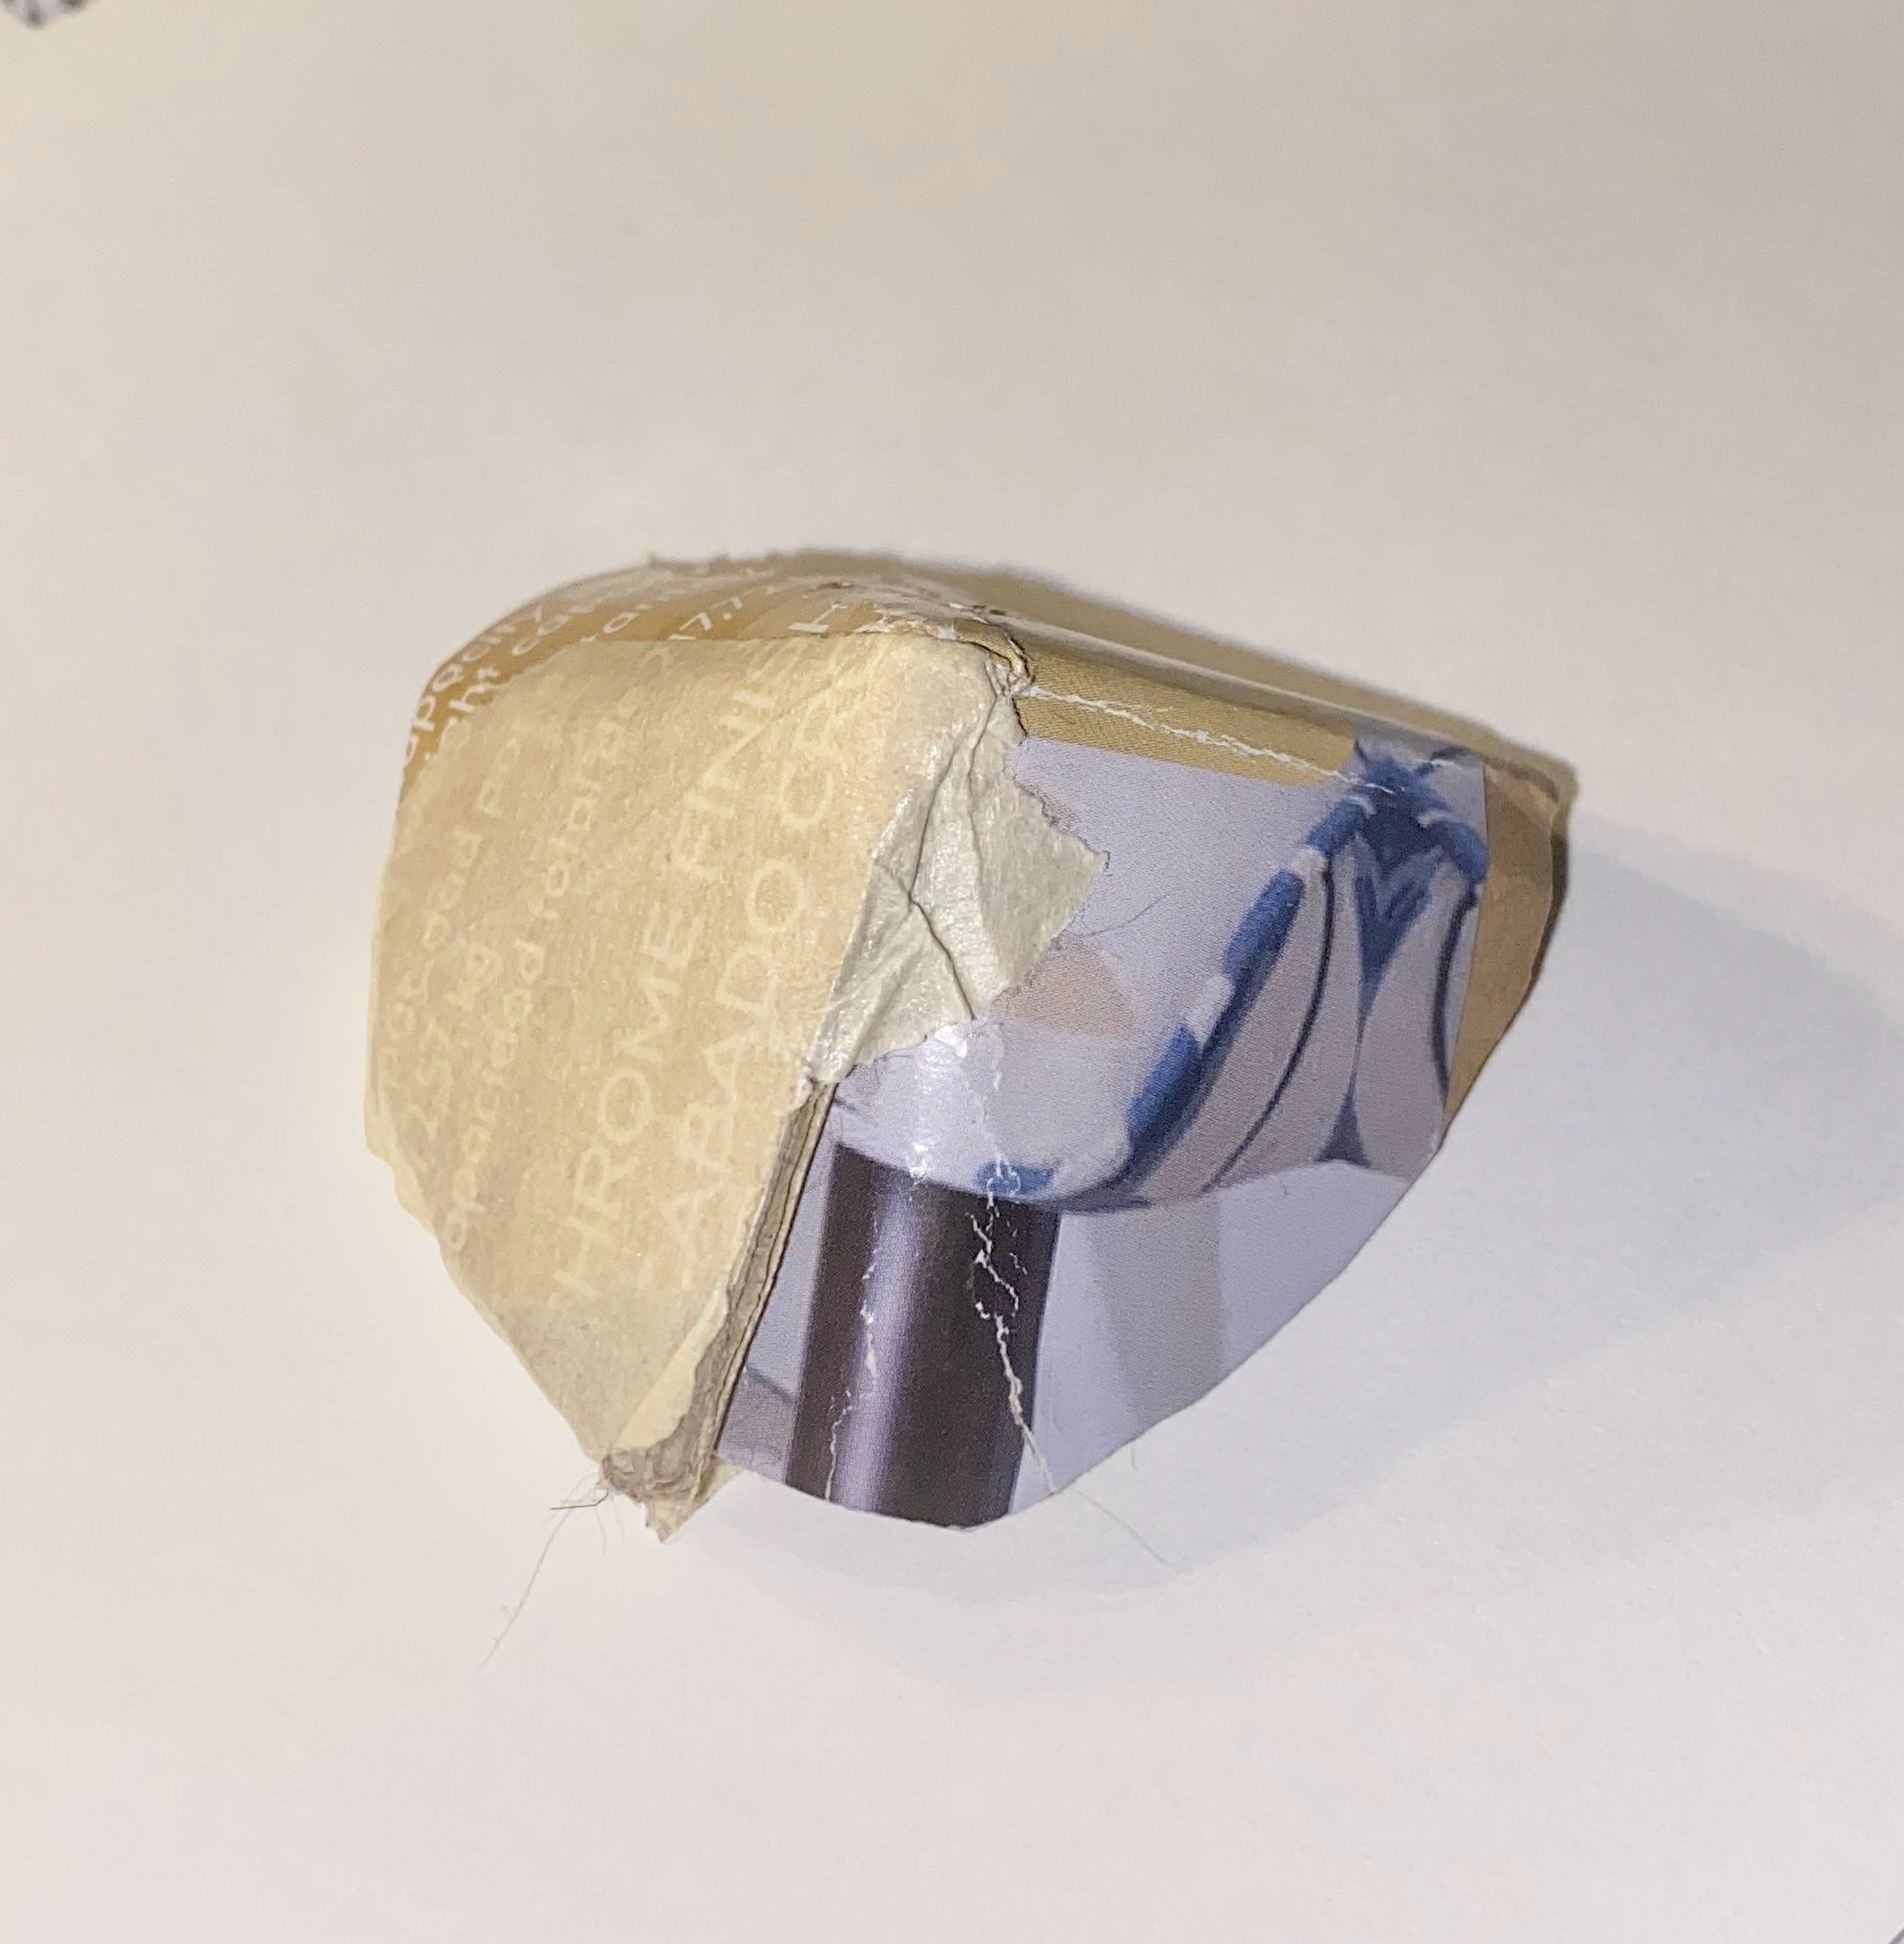
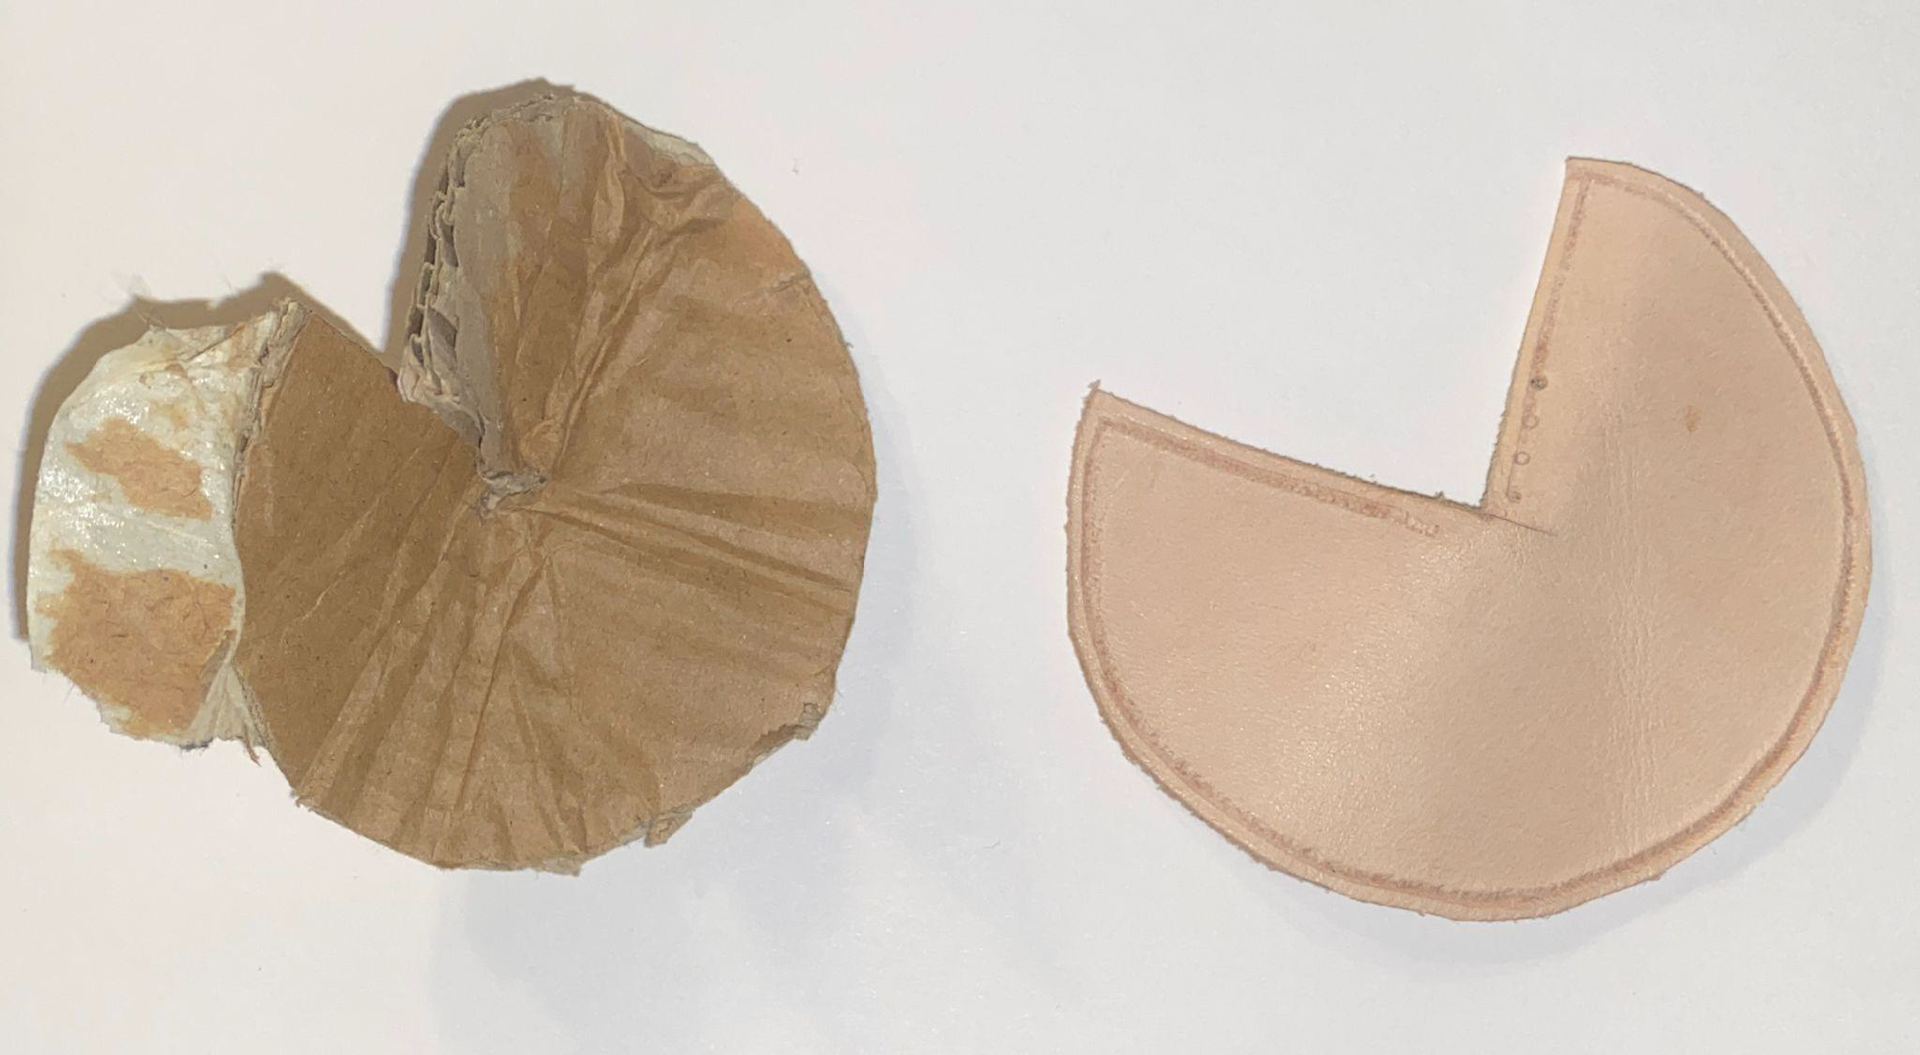
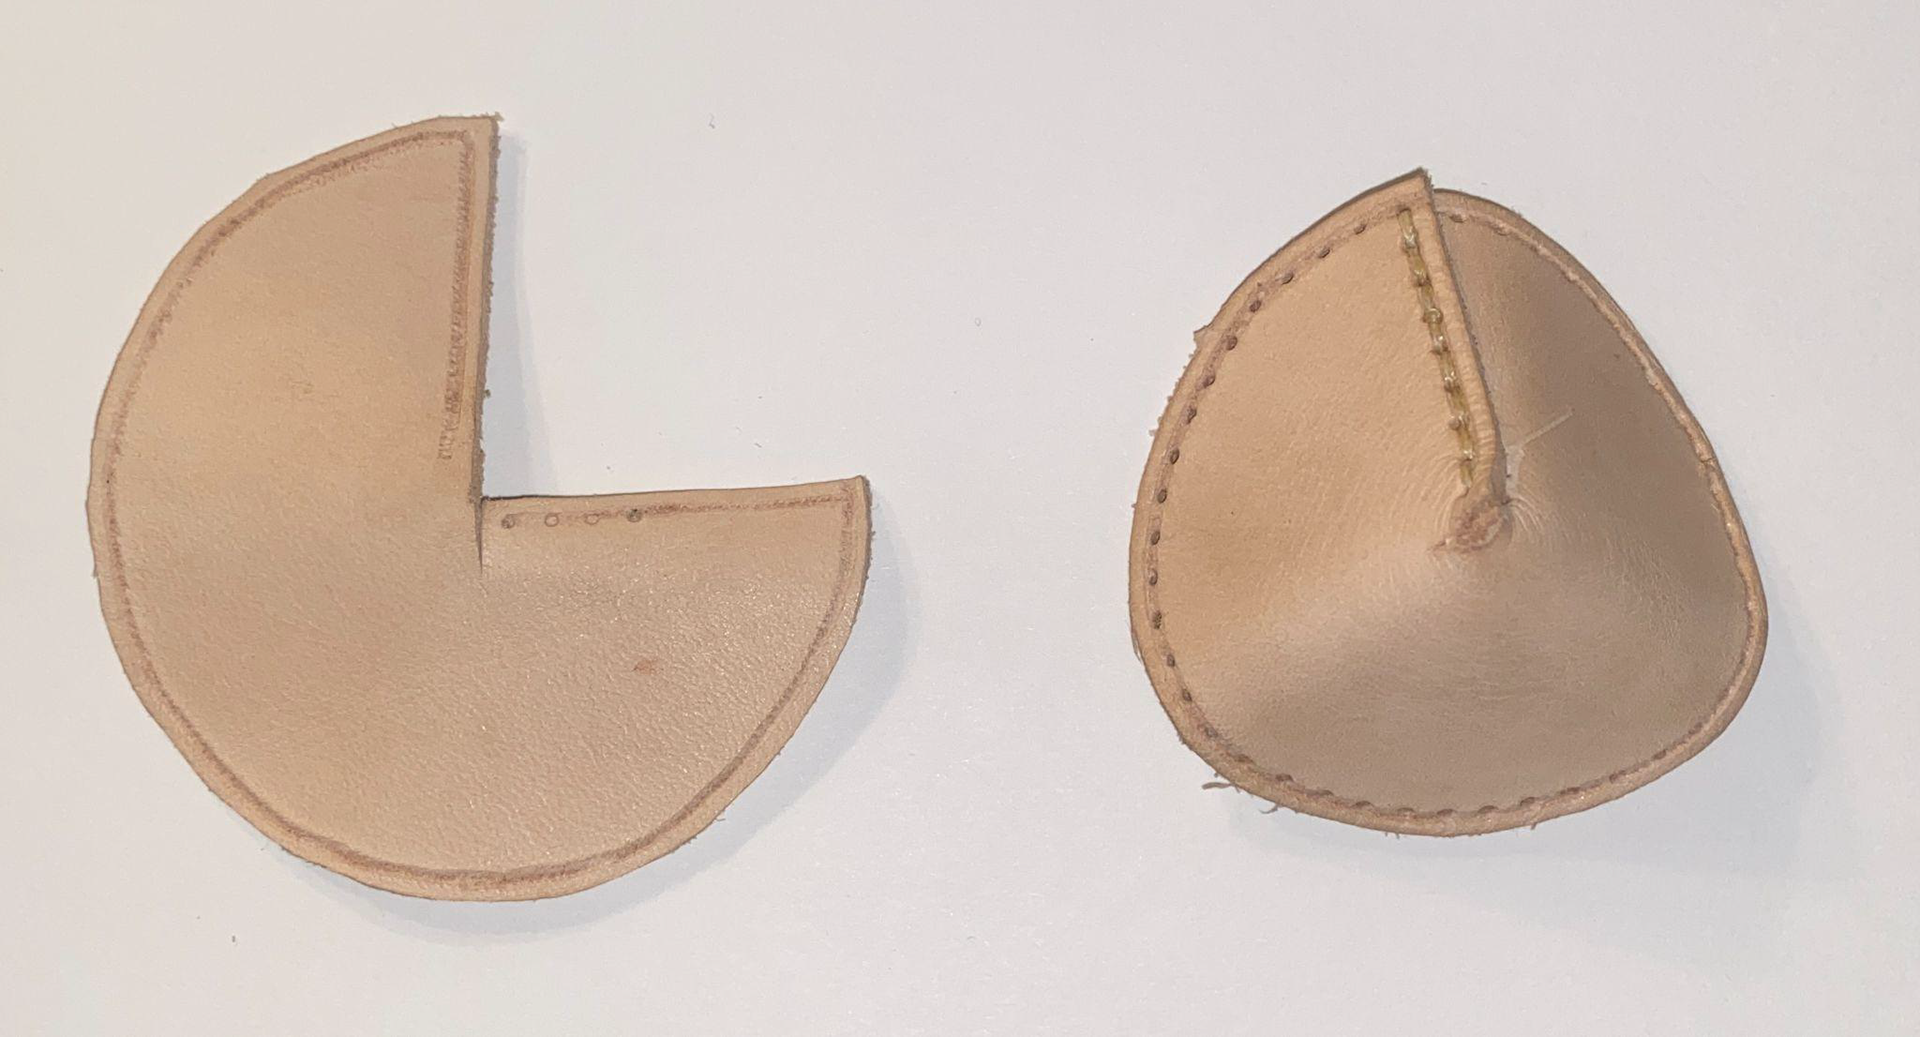
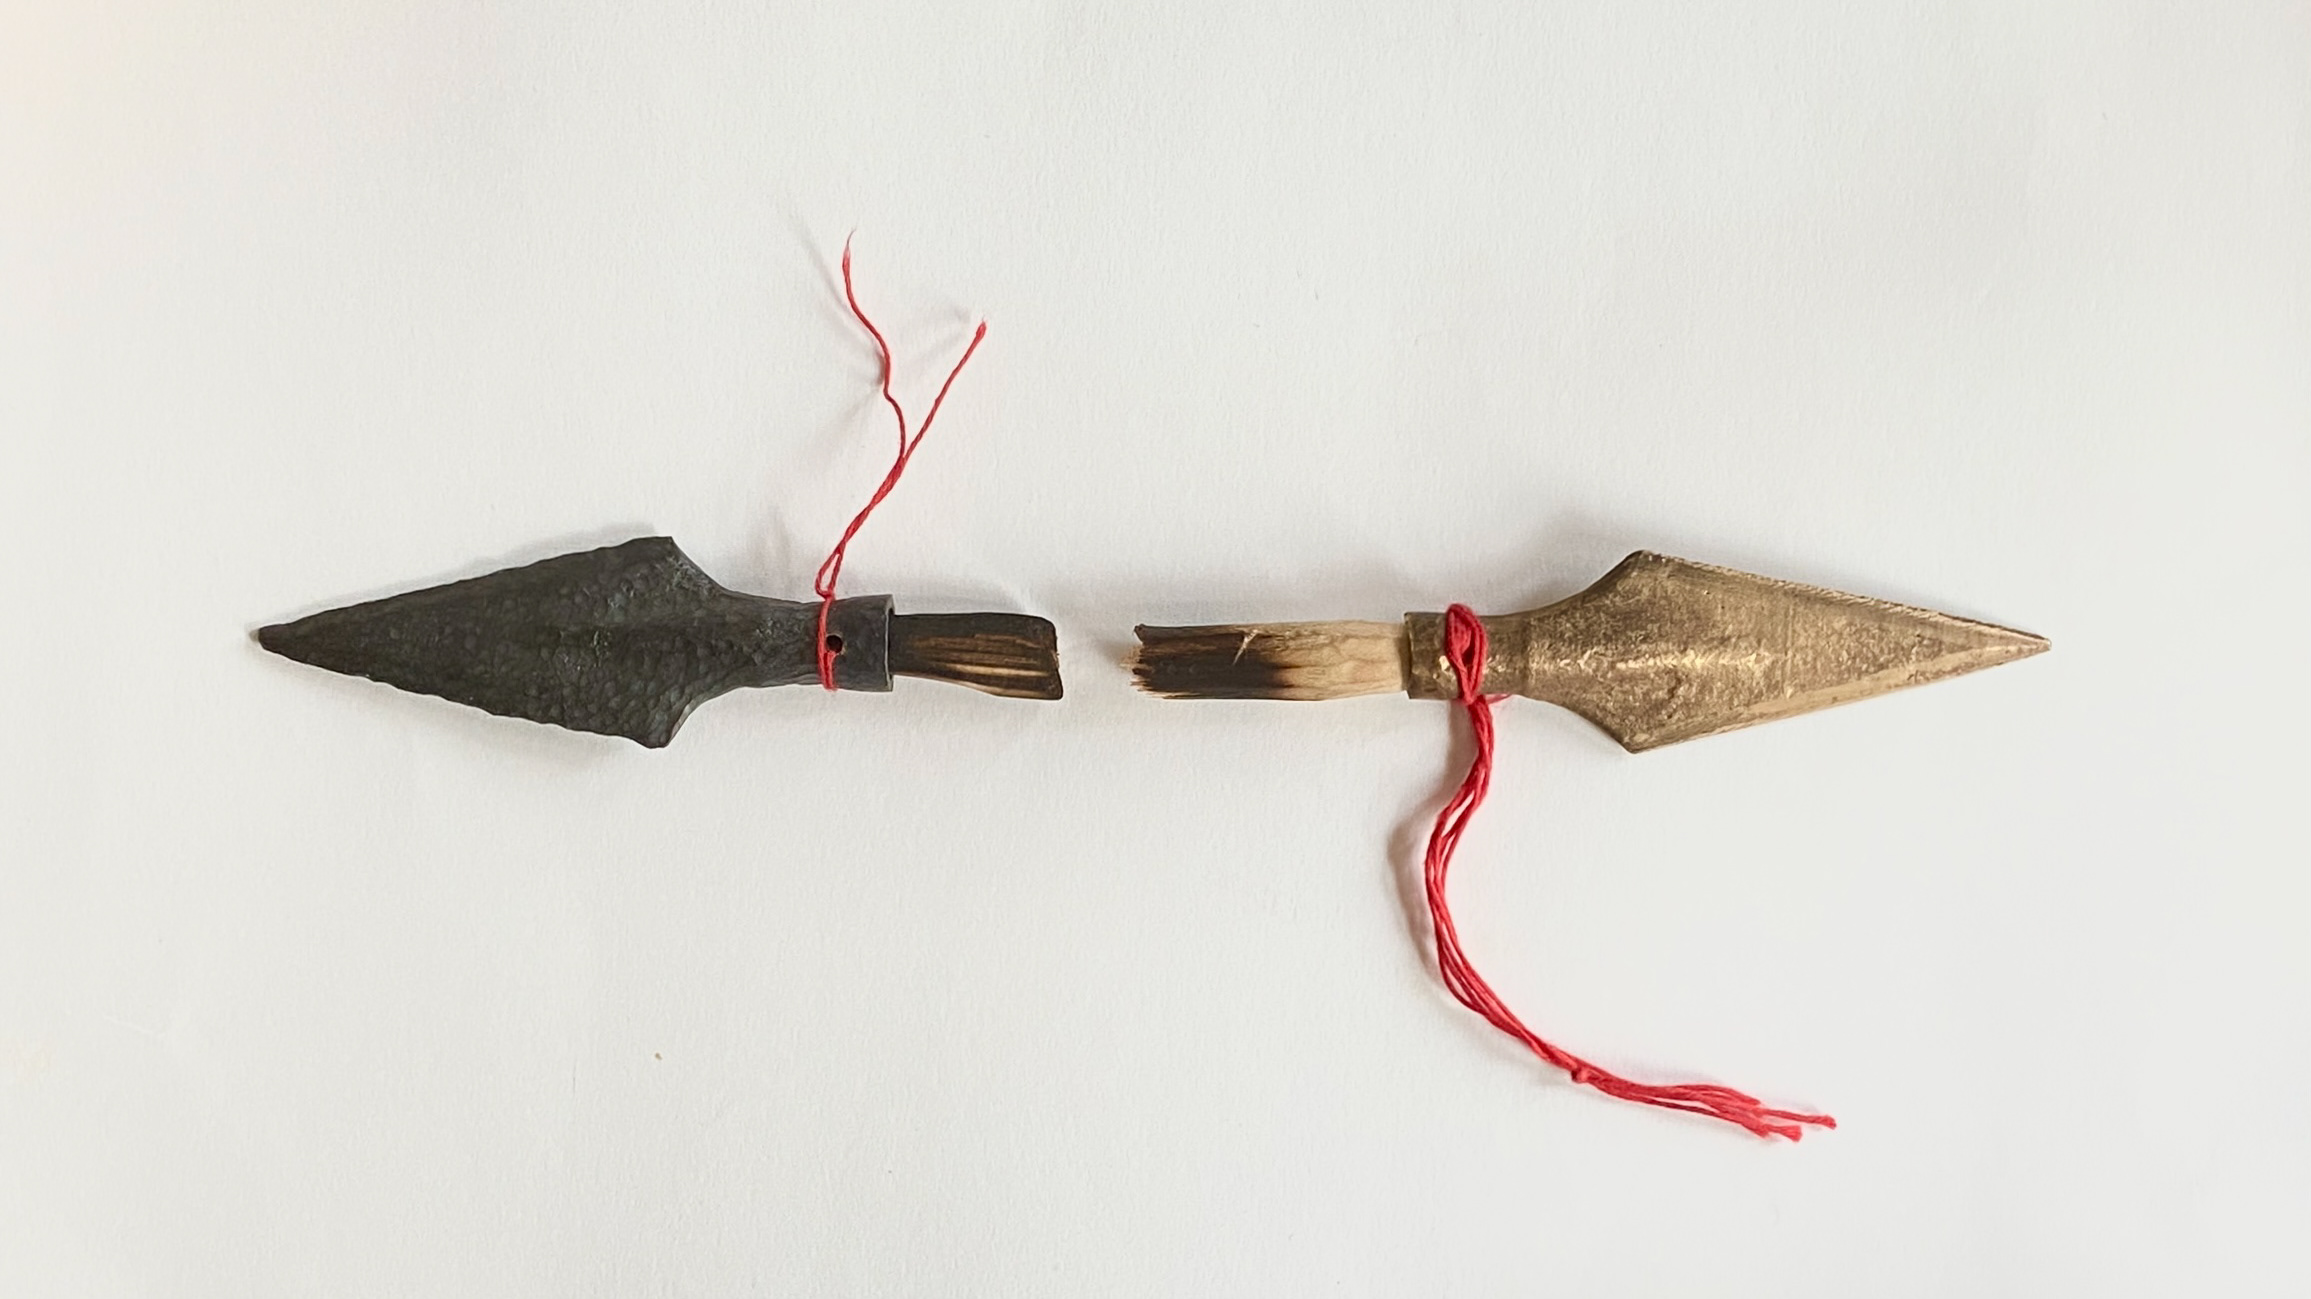
Leather corner "bumpers" were prototyped before being hand sewn in vegetable tanned leather.
Tech Pack

Colorways
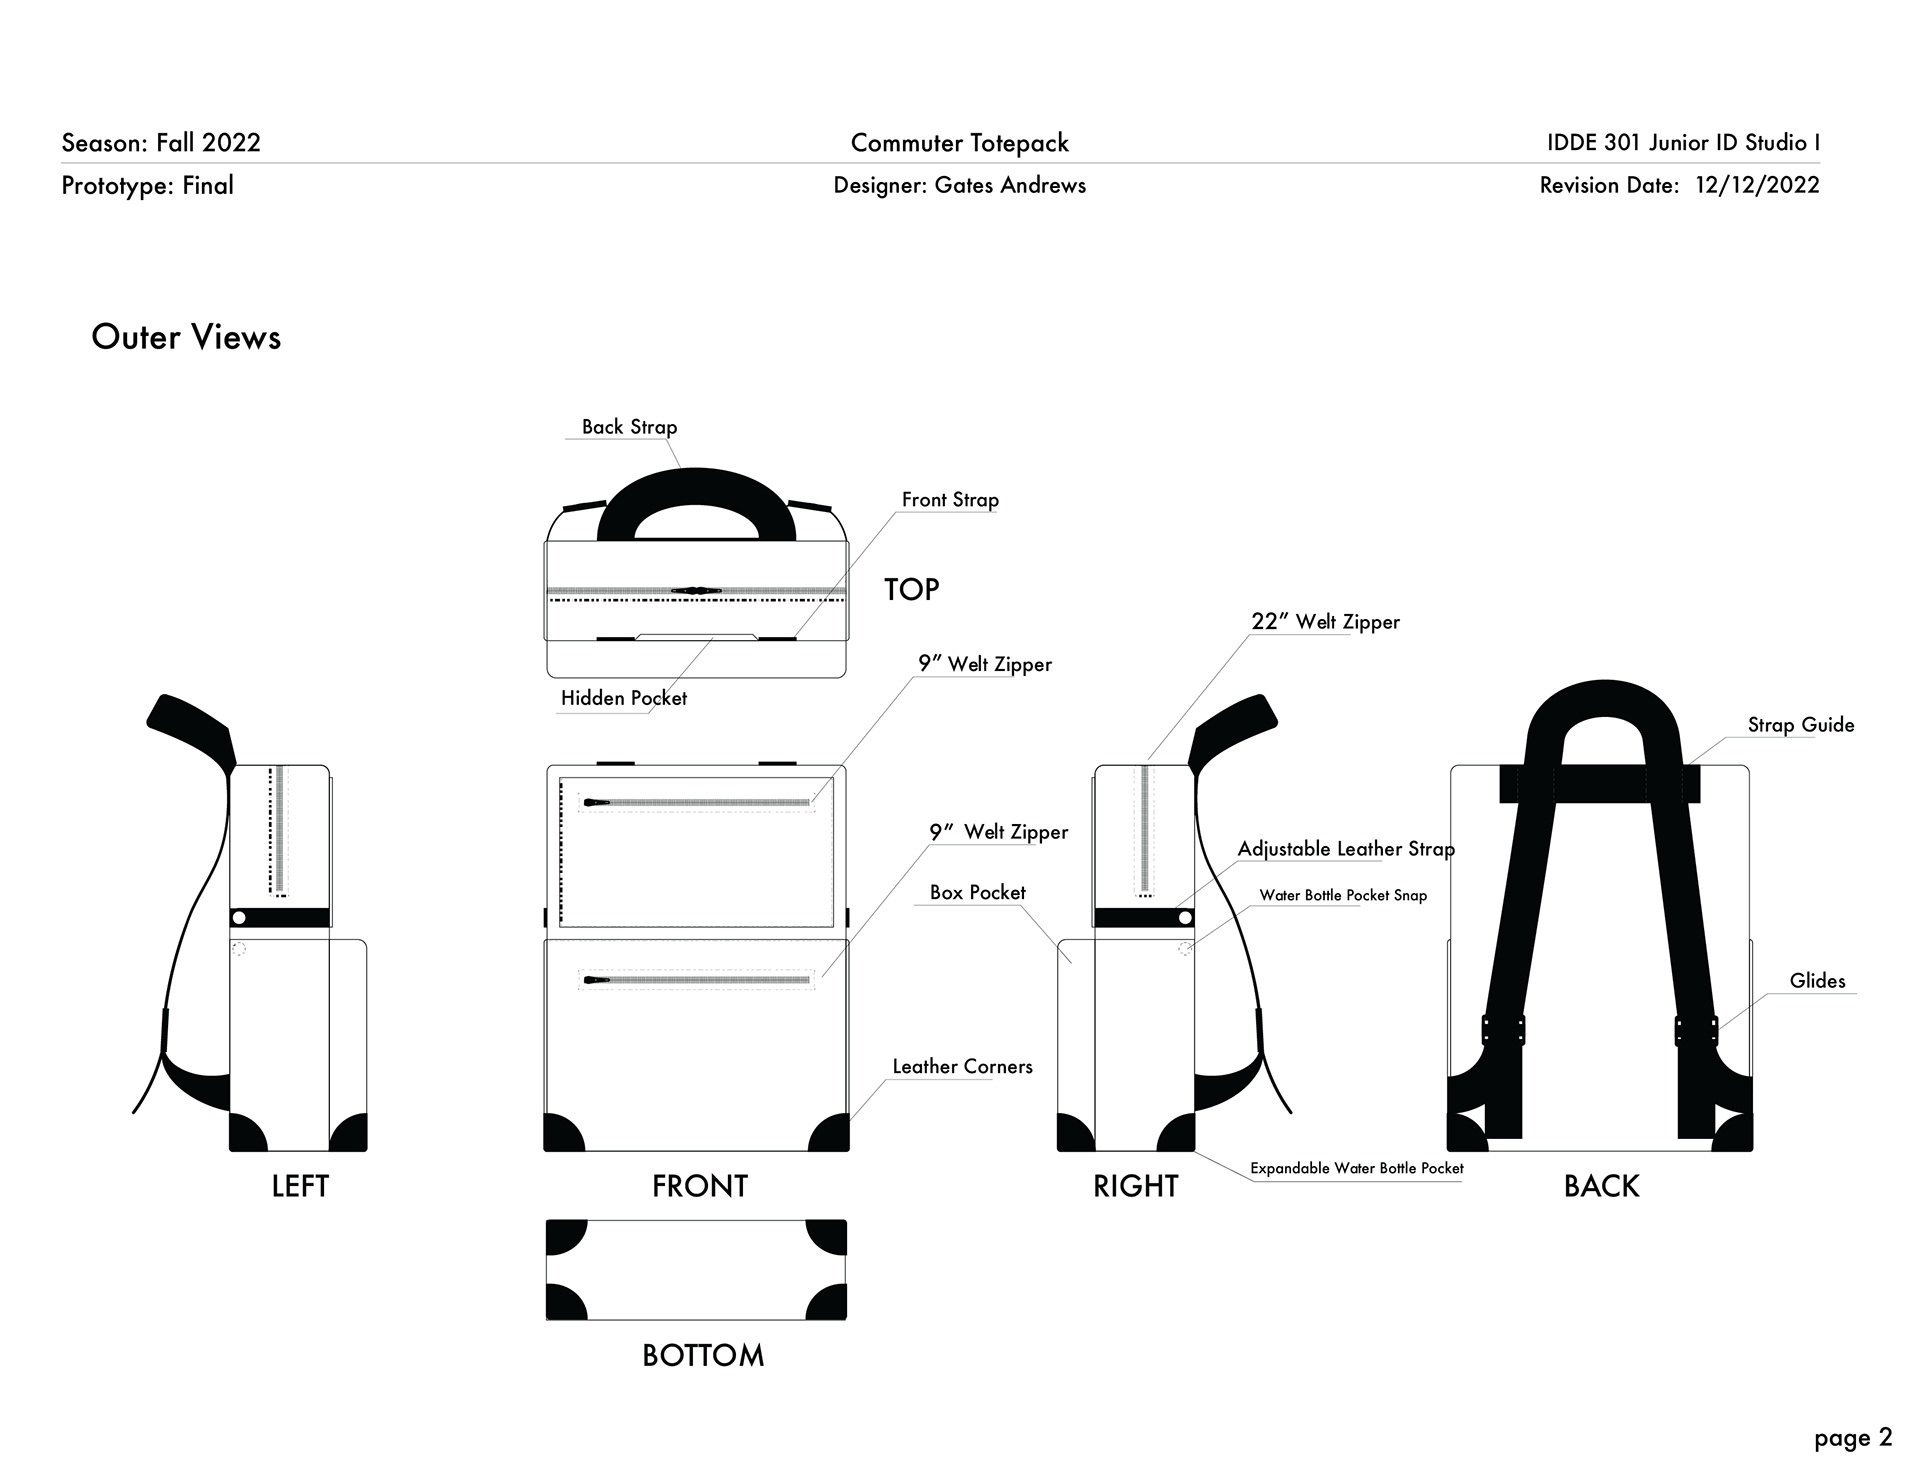
Orthographics
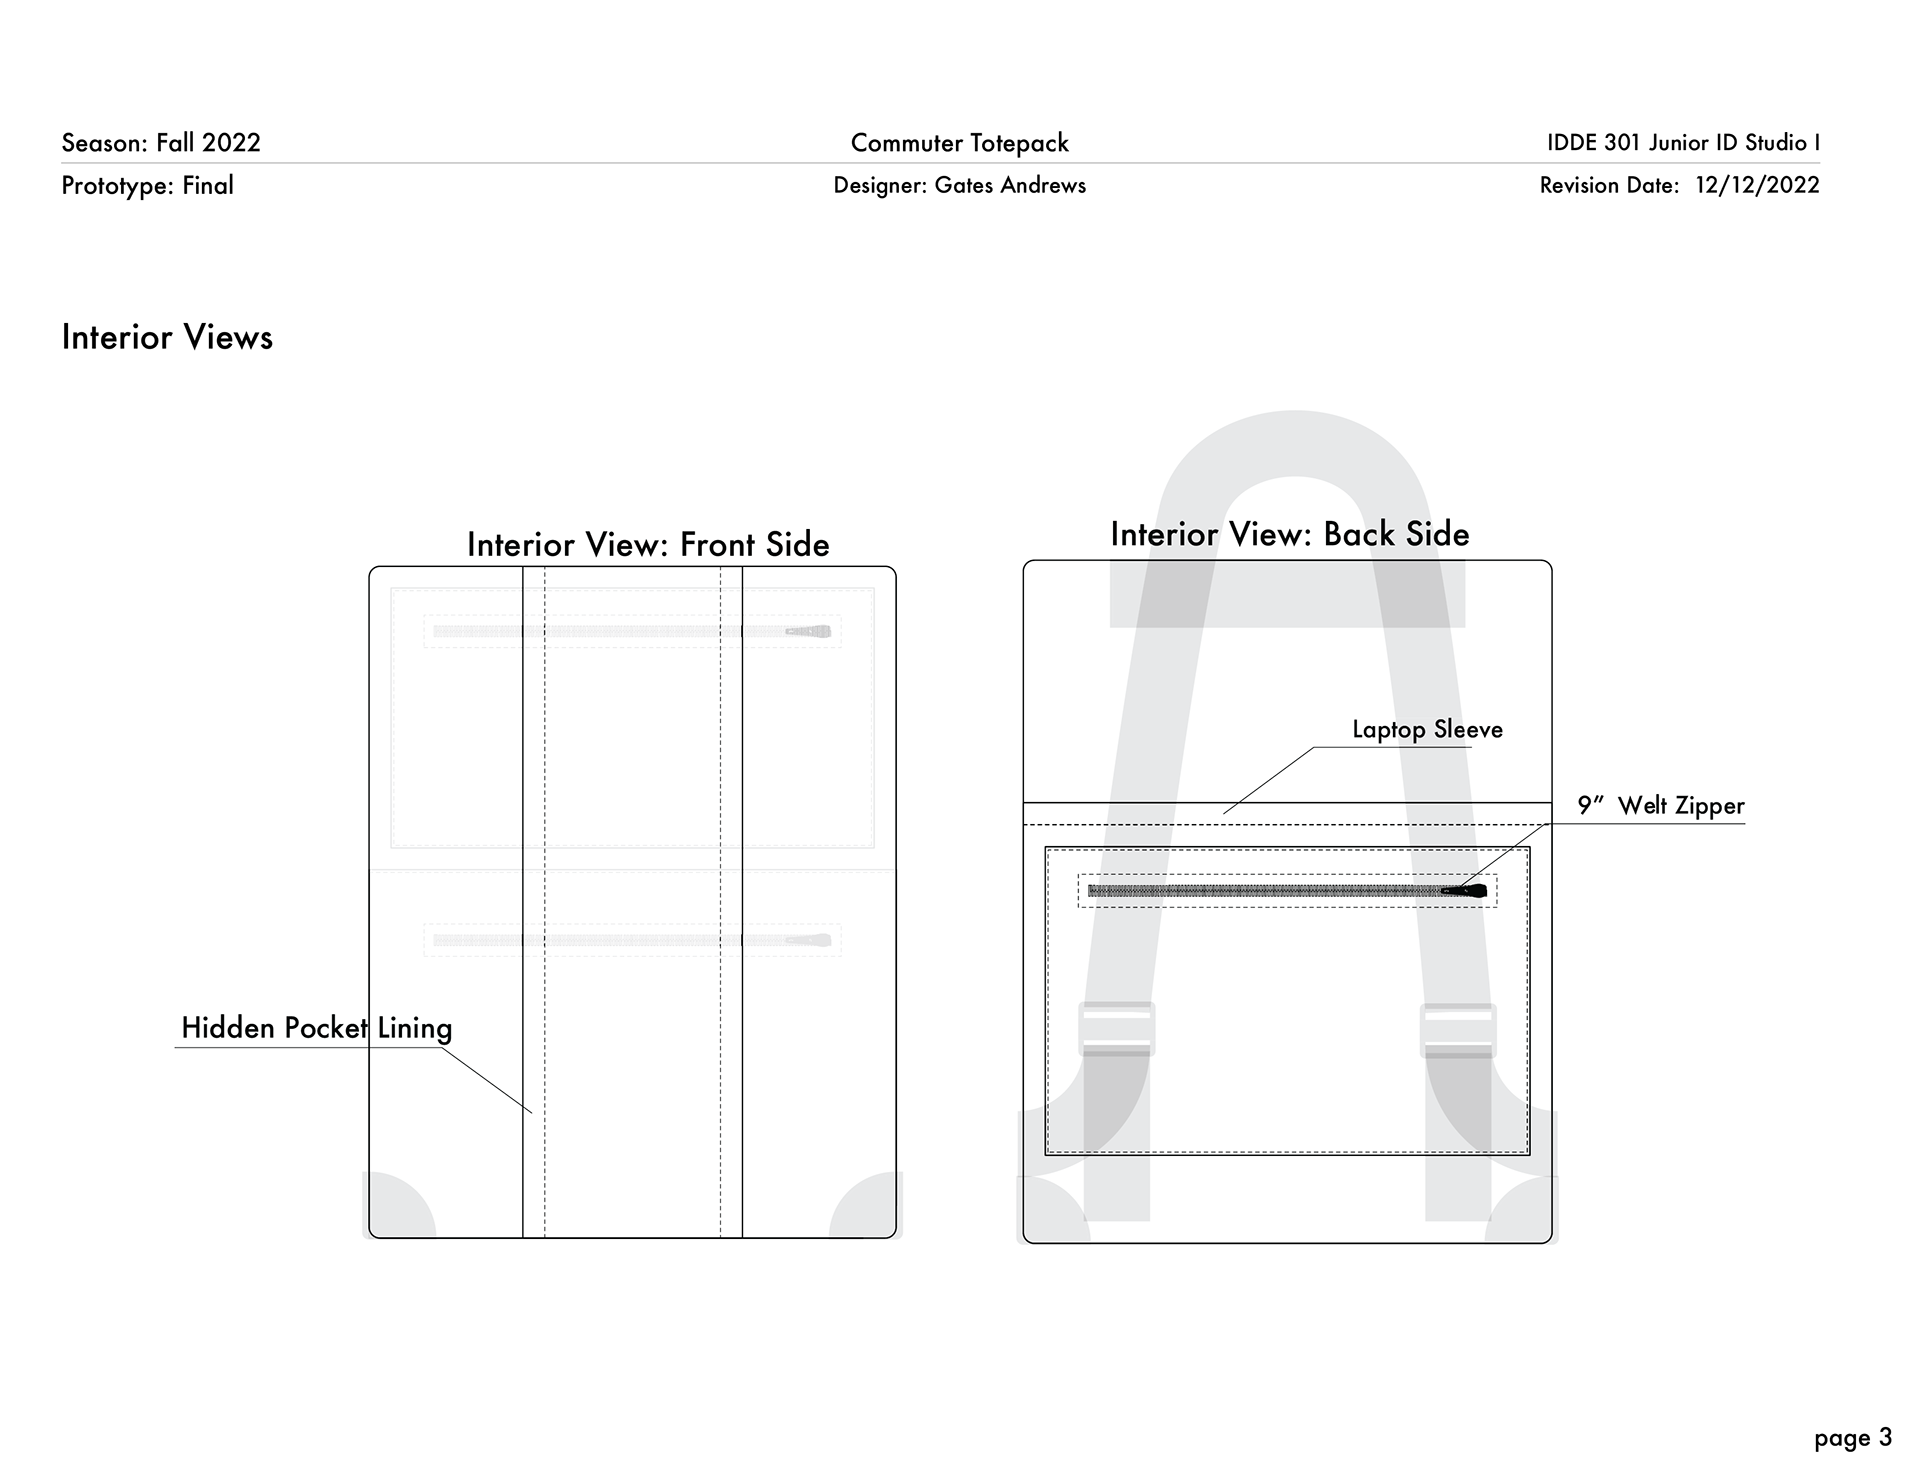
Interior View
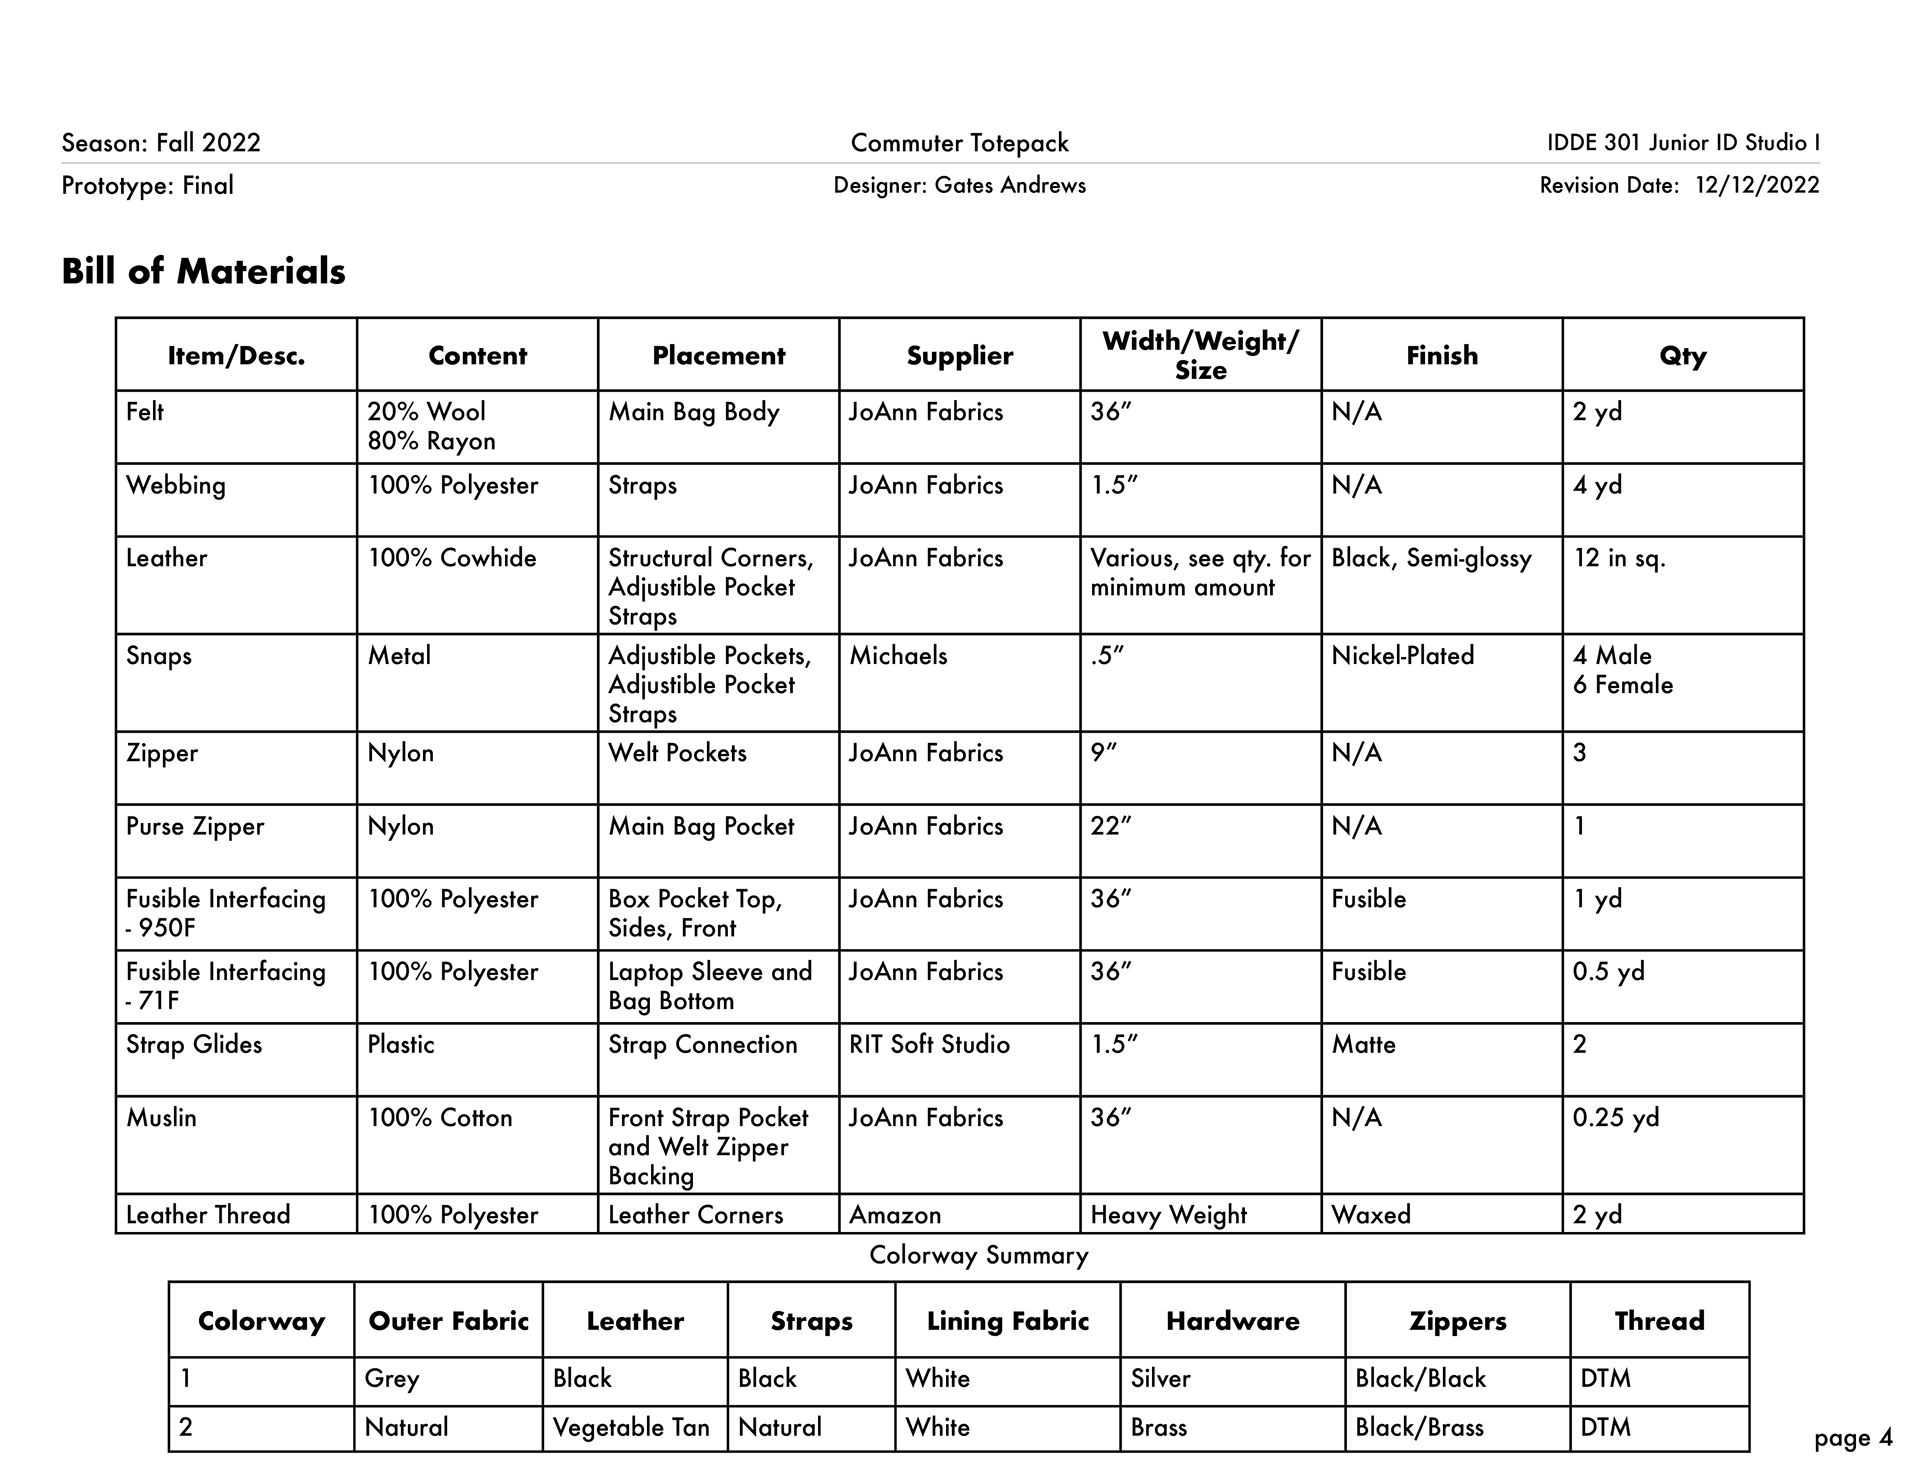
Bill of Materials
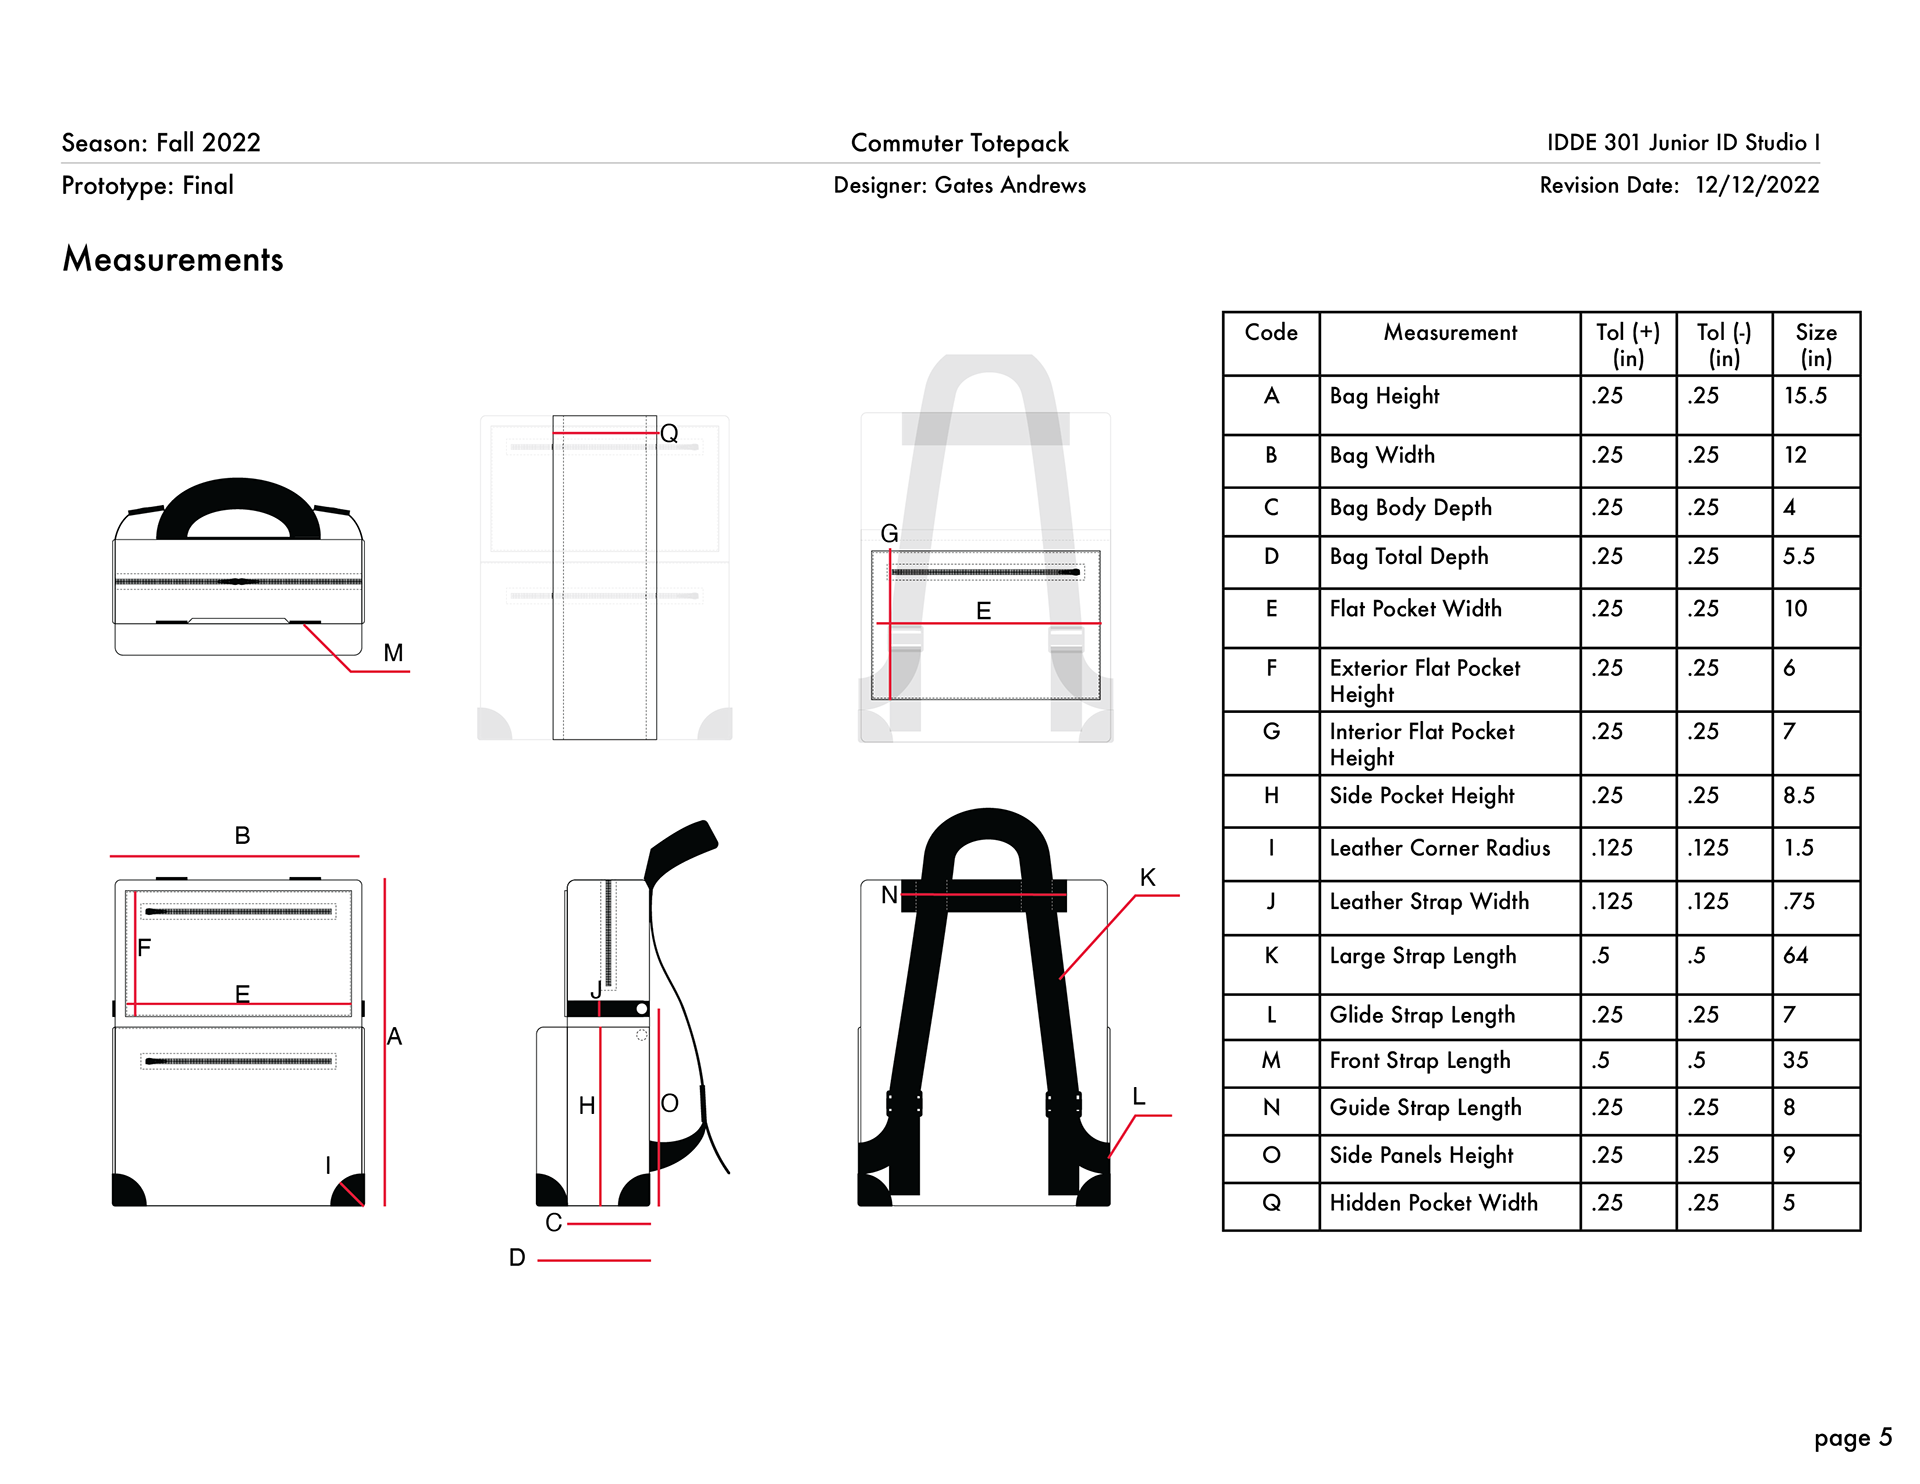
Measurements

Order of Operations I

Order of Operations II

Care and Brand Label
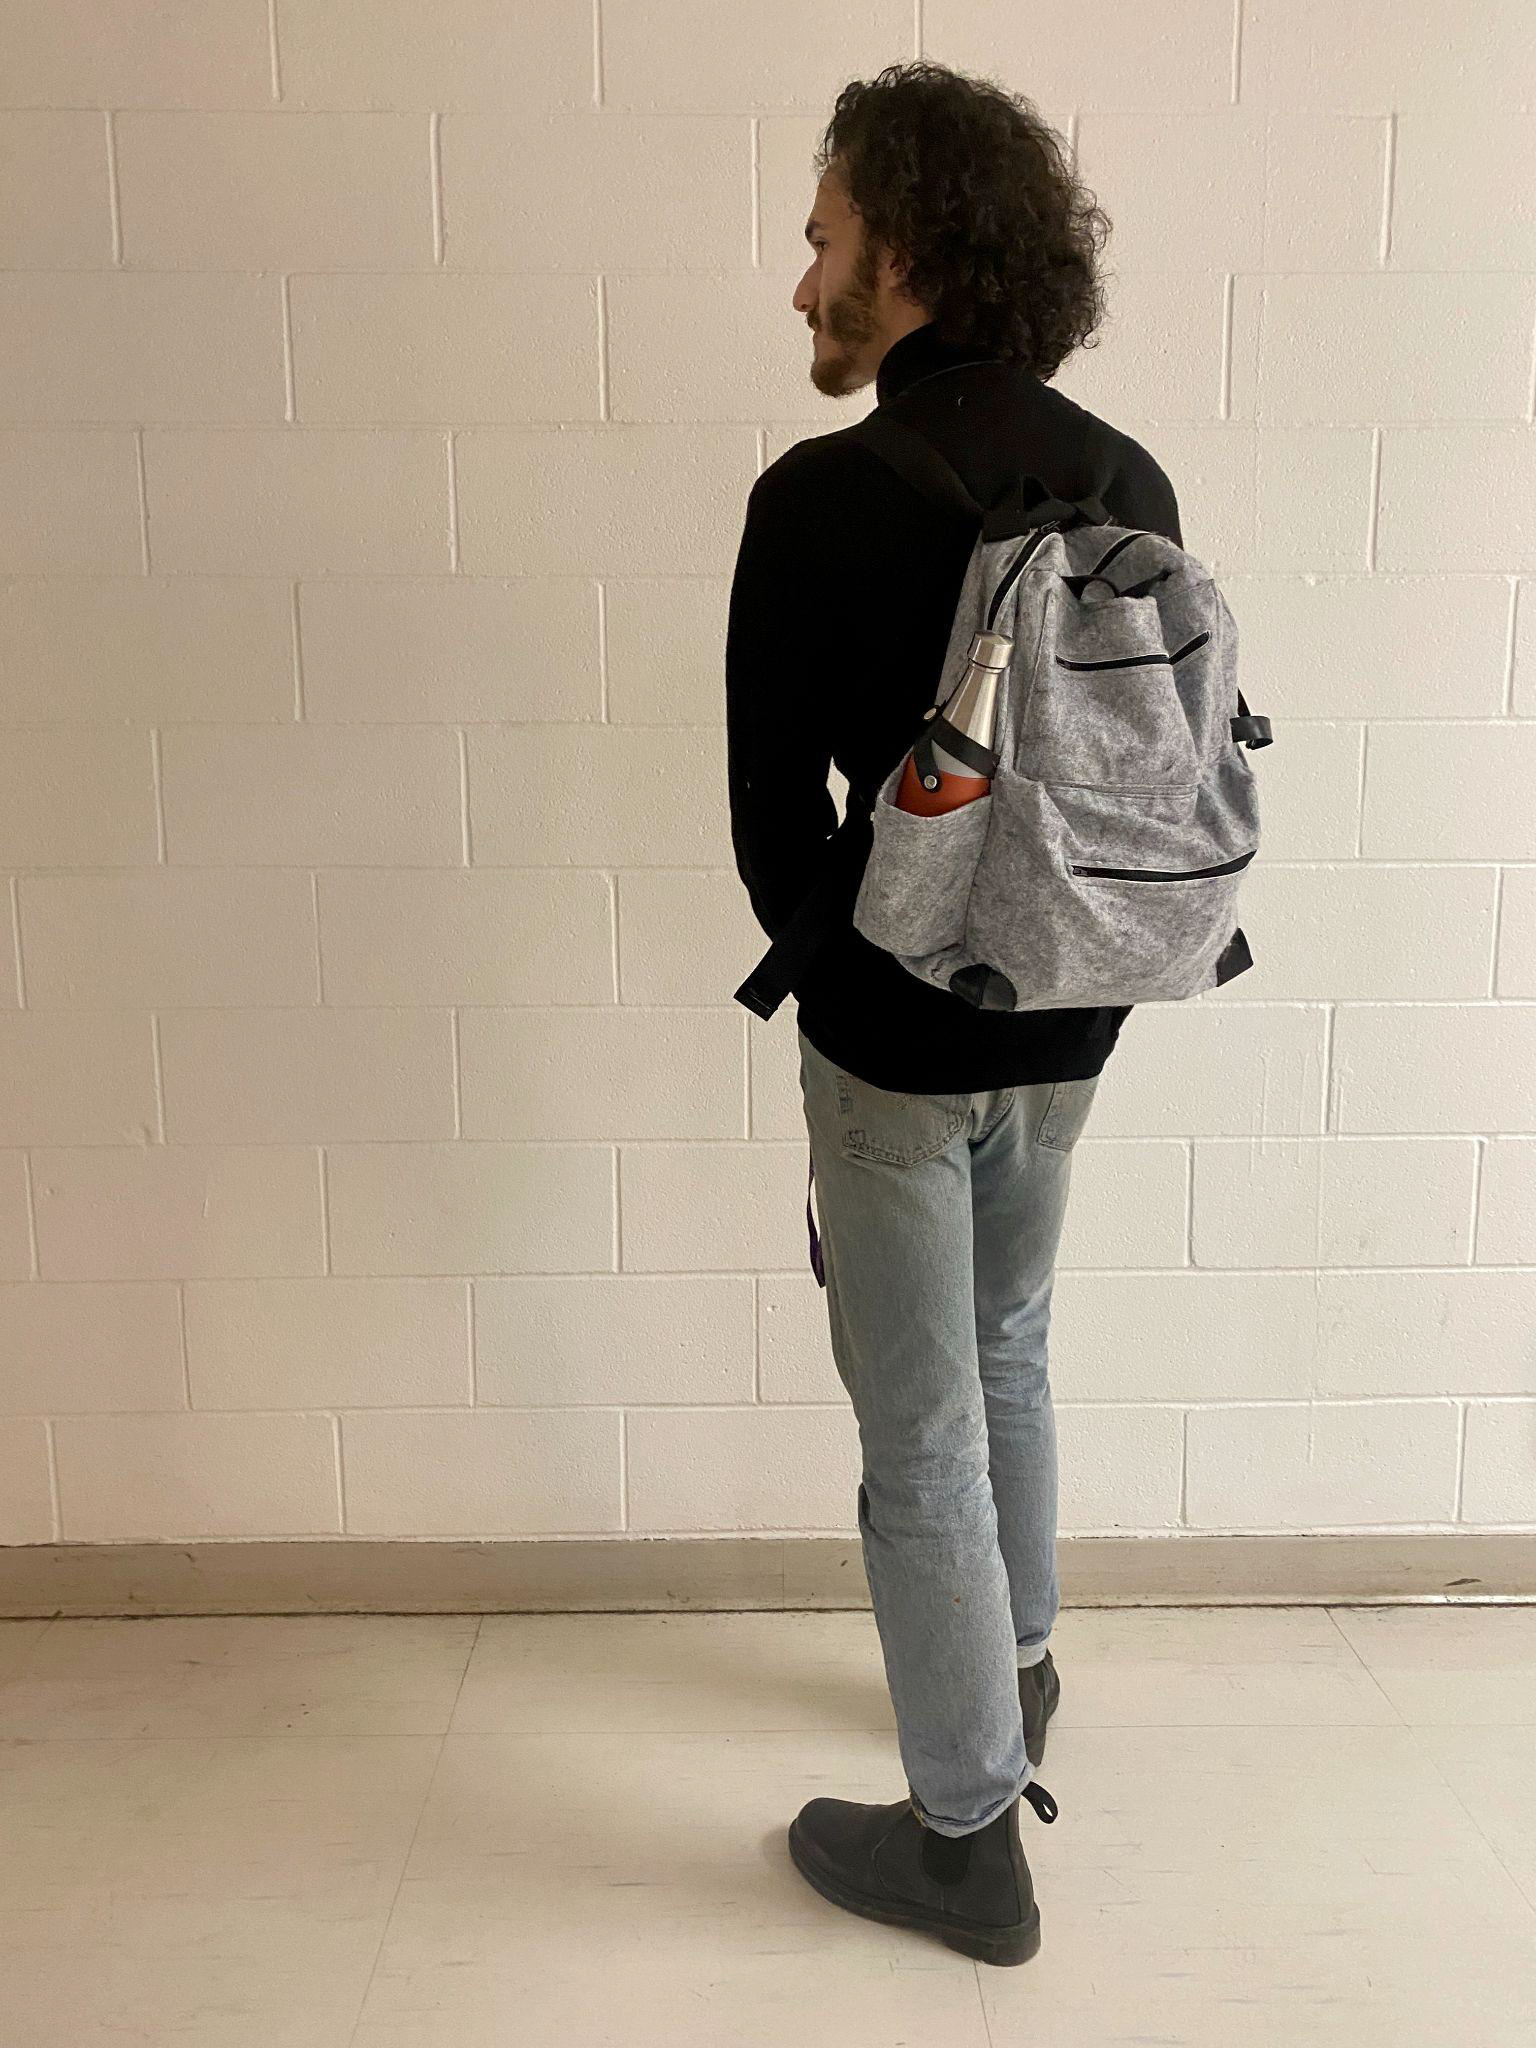
Backpack
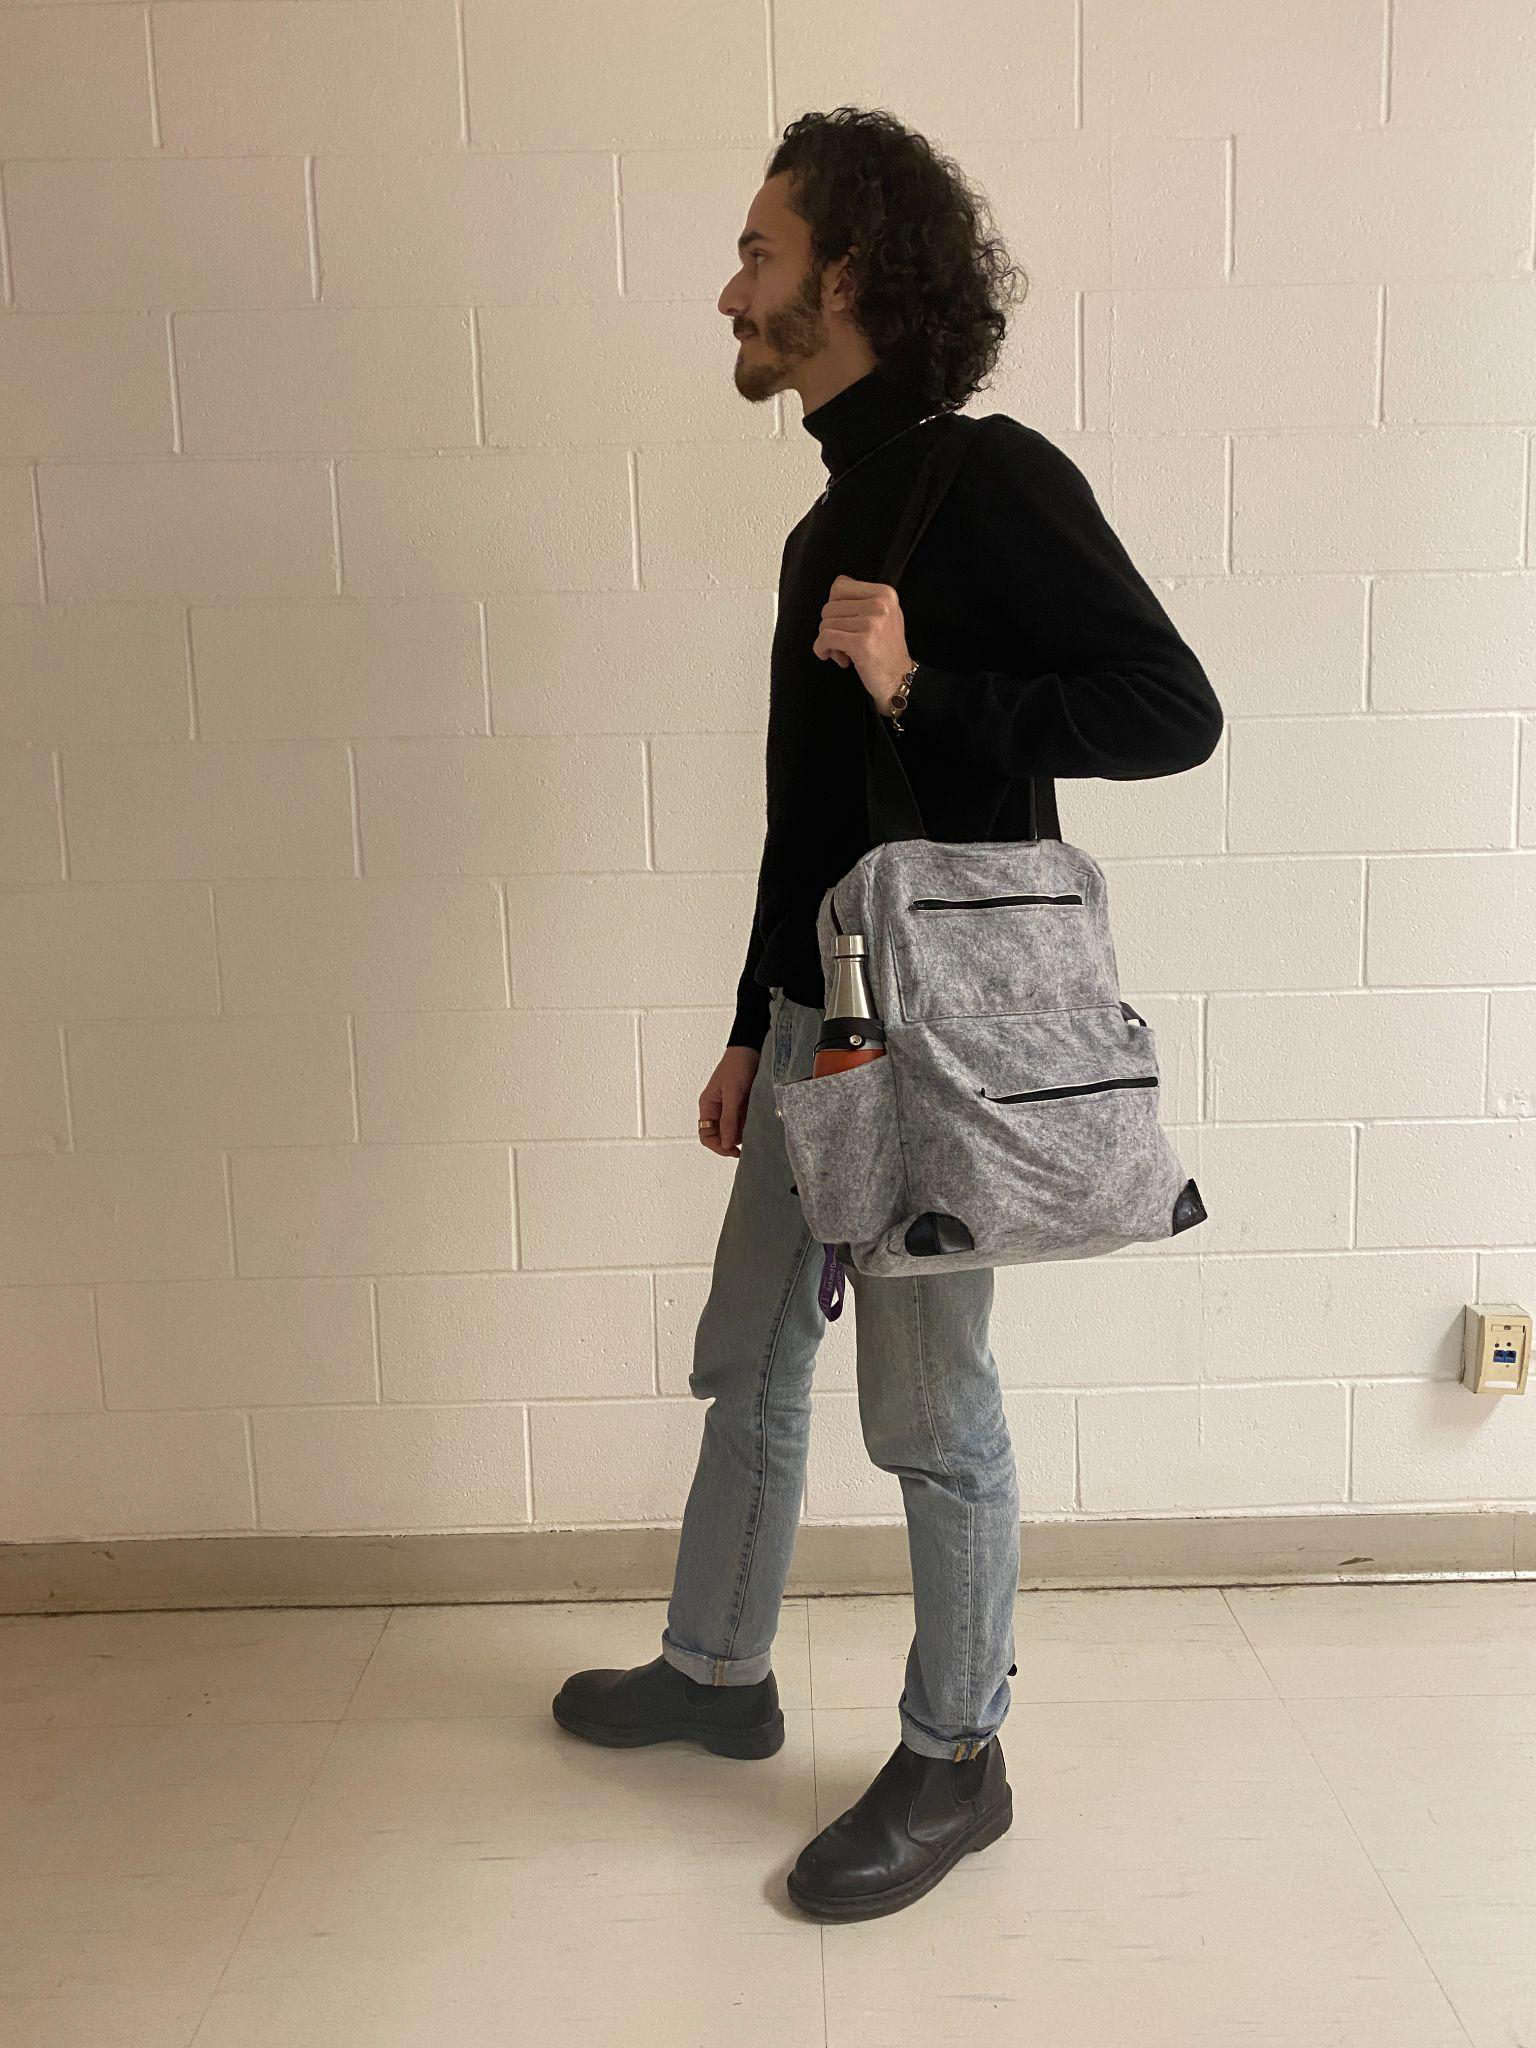
Tote